Quarter Panel Swap
Even at the time of purchase, it was known the passenger side rear quarter panel had damage. It wasn’t until the car was sanded to bare metal that we realized the previous owner had spliced a used panel onto the damaged original, burying the mess under an inch of Bondo. The entire panel was compromised. We sourced a new replacement panel for approximately $250US.
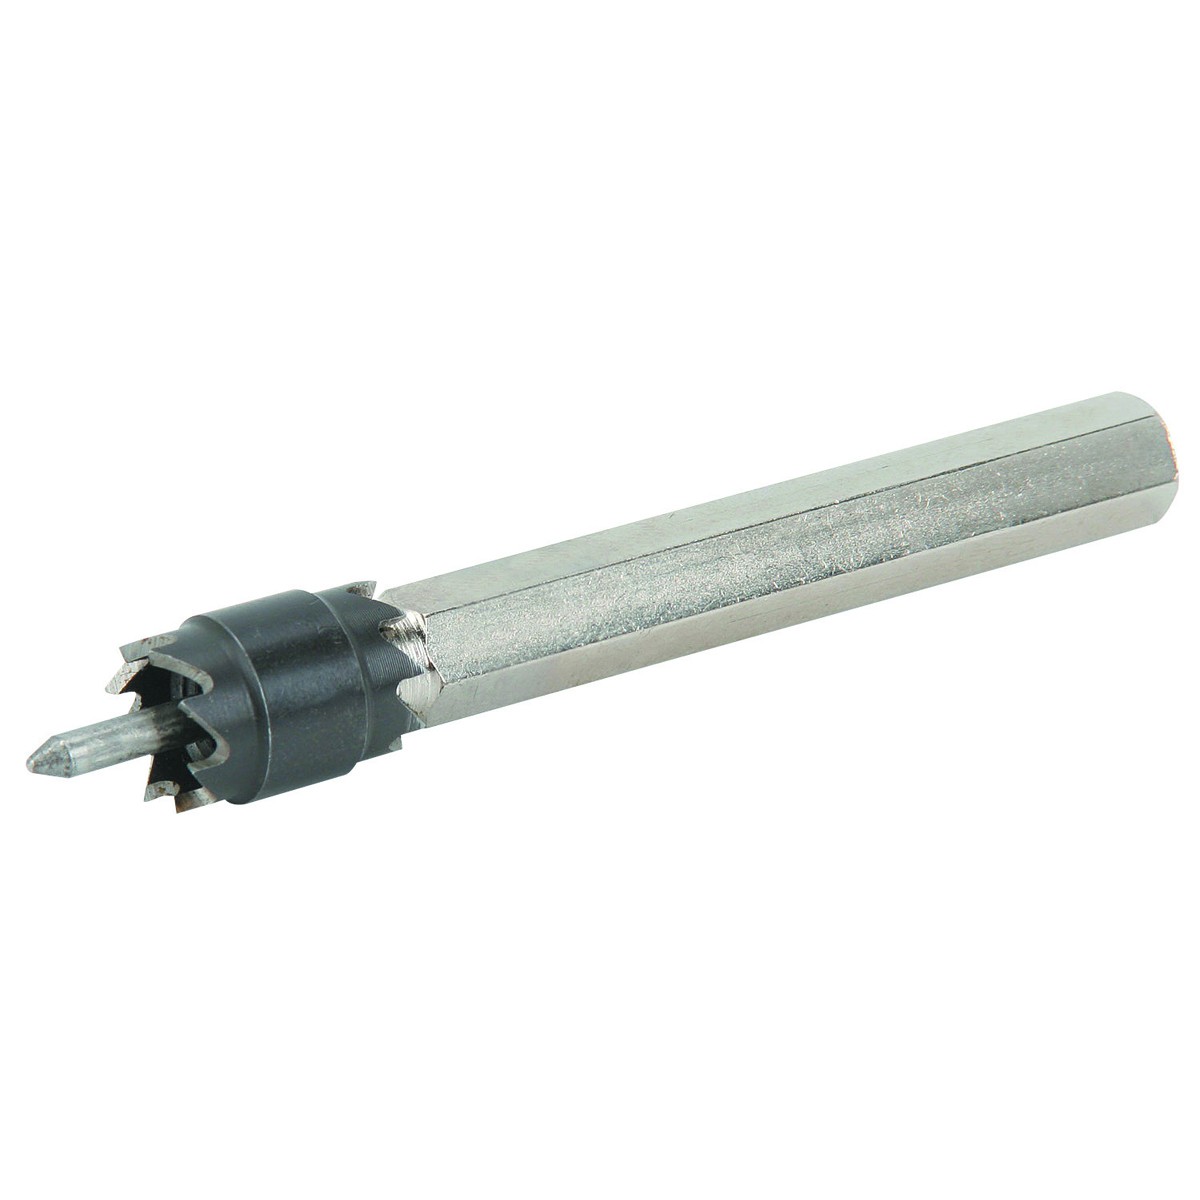
Get yourself a couple of high-quality spot weld cutters
The first step is removing the old metal. Study your new panel carefully—if you cut too far into the car’s structure, you’ll end up with gaps that are impossible to fill. The factory attached these panels with dozens of spot welds. Don’t use a standard drill bit unless you want “Swiss cheese” on your underlying frame. Use a Spot Weld Cutter; it cuts a ring around the weld, freeing the outer skin while leaving the underlying metal intact.
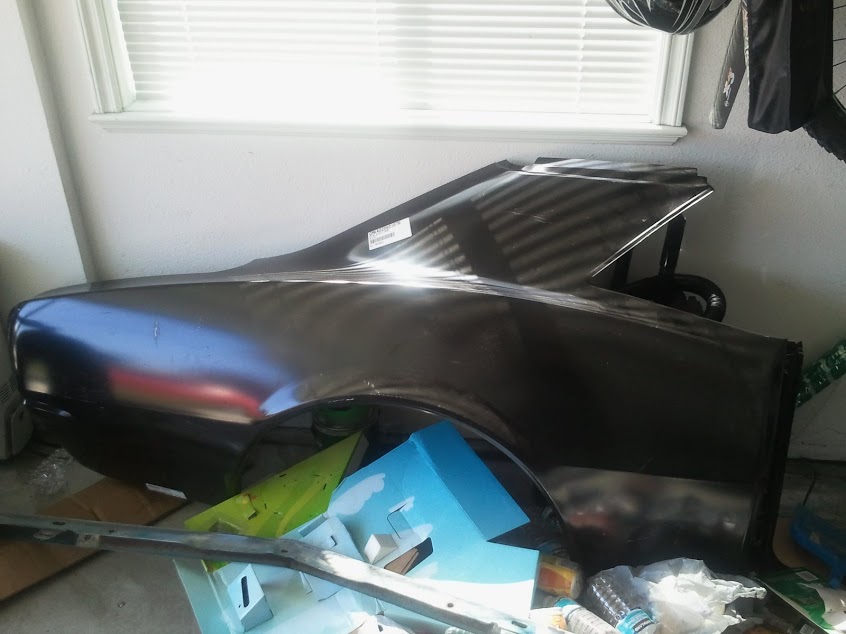
New passenger quarter panel waiting for install
.jpg)
Old panel “cut away” before final spot weld removal
The sail panel (where the roof meets the quarter) was originally joined with a lead seam. You’ll need a blowtorch to melt the lead out. Warning: Lead fumes are toxic. Wear a proper respirator and gloves, or you are literally gambling with your health.
Once the old metal is gone, coat the inner structures with a weld-through primer or rust-preventative paint. When lining up the new panel, prioritize the door jam body line first. If that line is off, the car will look crooked forever. Use ratcheting tie-down straps wrapped around the car to hold the panel tight while you check the alignment at the trunk and bumper.
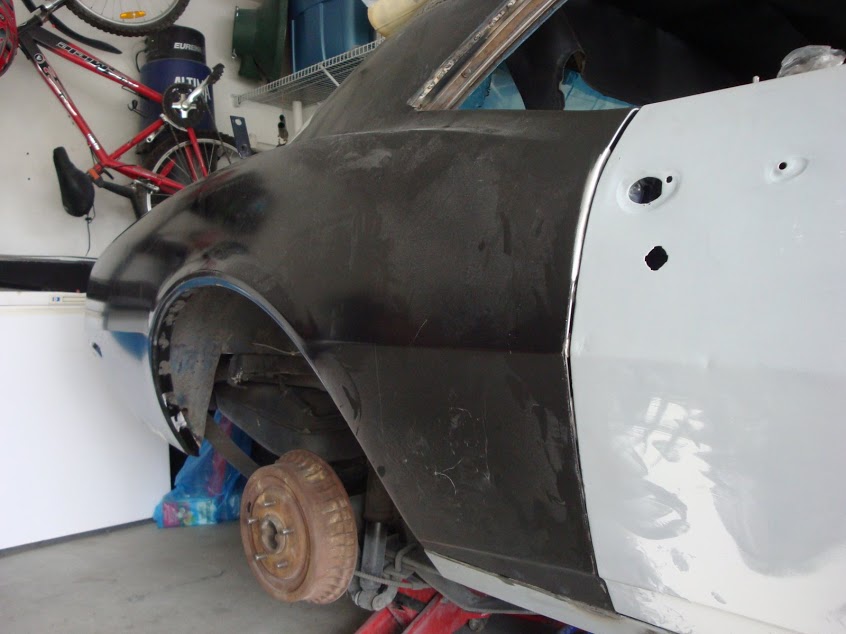
New panel lined up perfectly with the door body line
Once you’re satisfied, “tack” the panel in a few spots, re-check your door gaps, and then finish the spot welds. Instead of factory lead, we chose to weld the sail panel seam solid and grind it smooth. Immediately scuff and prime the area—bare welds will rust overnight.
Patience is the only tool that matters here. If you rush the fitment, it’s a very expensive mistake to fix. Do it slowly, do it ducimo.