Floor Shift Conversion
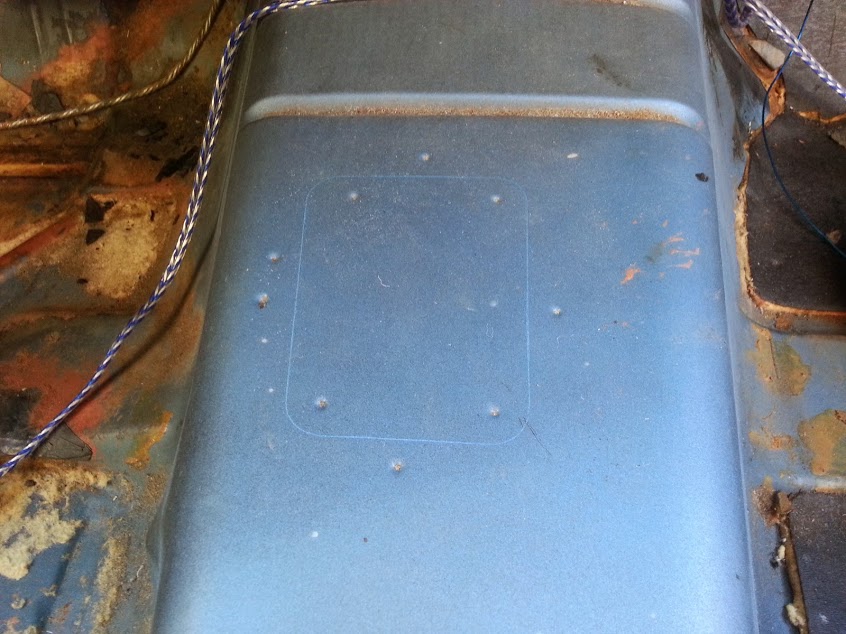
Marking the hole location and rivet points.
Approximately 40% of ‘67 Camaros were manufactured with a column shift. While rare to see today, they were standard for bench seat cars or anyone who didn’t opt for the floor console. Turbo Camaro was originally a column-shift car, and still has the slot in the column to prove it. Deciding to convert to a floor shift was the desired route for this performance build.
To make the conversion look stock, you need a complete console, mounting brackets, shifter, and linkage. Ensure your shifter includes the reinforcement bezel and a rubber boot to keep heat and noise out of the cabin.
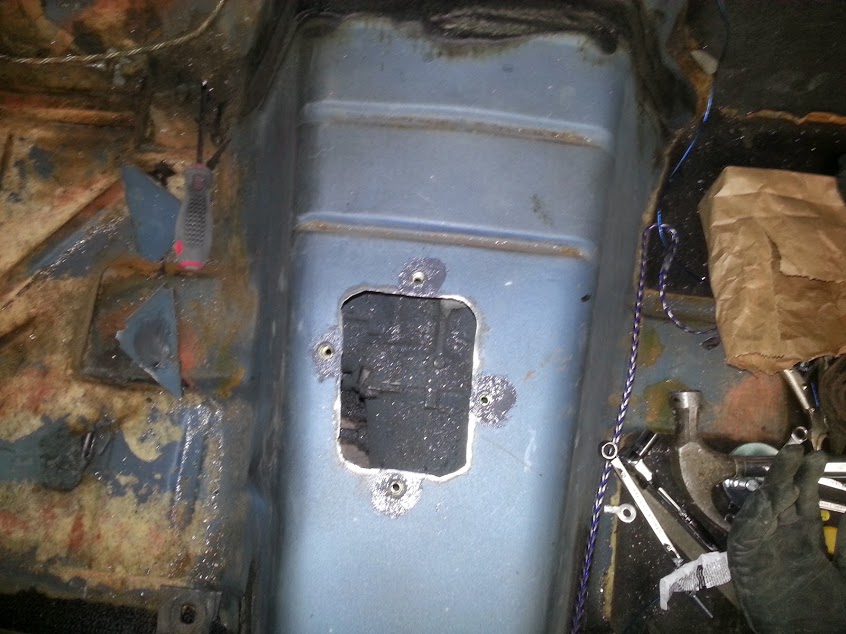
Cut the hole and drill out the holes according to rivet size.
The hardest part is the hole. There is no adjustment on the shifter for alignment; if the hole is too far in any direction, your console won’t sit correctly. We used measurements from Camaro forums and an original floor-shift car to triangulate the factory location.
Mark and cut the hole with a rotary tool or jigsaw, being careful not to gouge the transmission or cut hidden wires. Once the hole is cut, mark and drill your mounting holes. While welding the brackets is ideal, using nut-rivets is a great alternative. Be sure to use Loctite on the bolts to prevent them from vibrating loose.
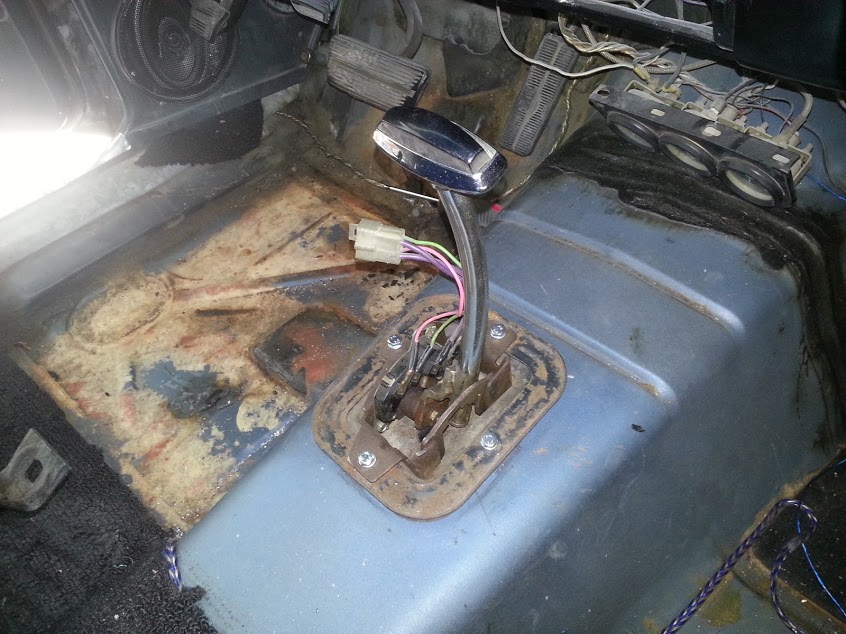
Mount the shifter with lock washers and Loctite.
After the shifter and console are in place, you’ll have to decide what to do with the column shift slot. You can swap the entire steering column for a floor-shift version (consider a tilt column if you’re upgrading), or use a cover plate.
Currently, Turbo Camaro still has the column slot. We are considering a modern-retro upgrade to clean up the interior—stay tuned for those details.