Custom Fiberglass Fan Shroud
The Flex-a-lite fan I installed a few years ago helped, but I still struggled with high heat because I could never find a suitable fan shroud for this specific setup. Without a shroud, a fan is only about 50% effective. After seeing some DIY success stories online, I decided to tackle the project myself using fiberglass.
Safety Note: Always wear a proper respirator, goggles, and gloves when working with fiberglass. The dust and resins are highly irritant and toxic.
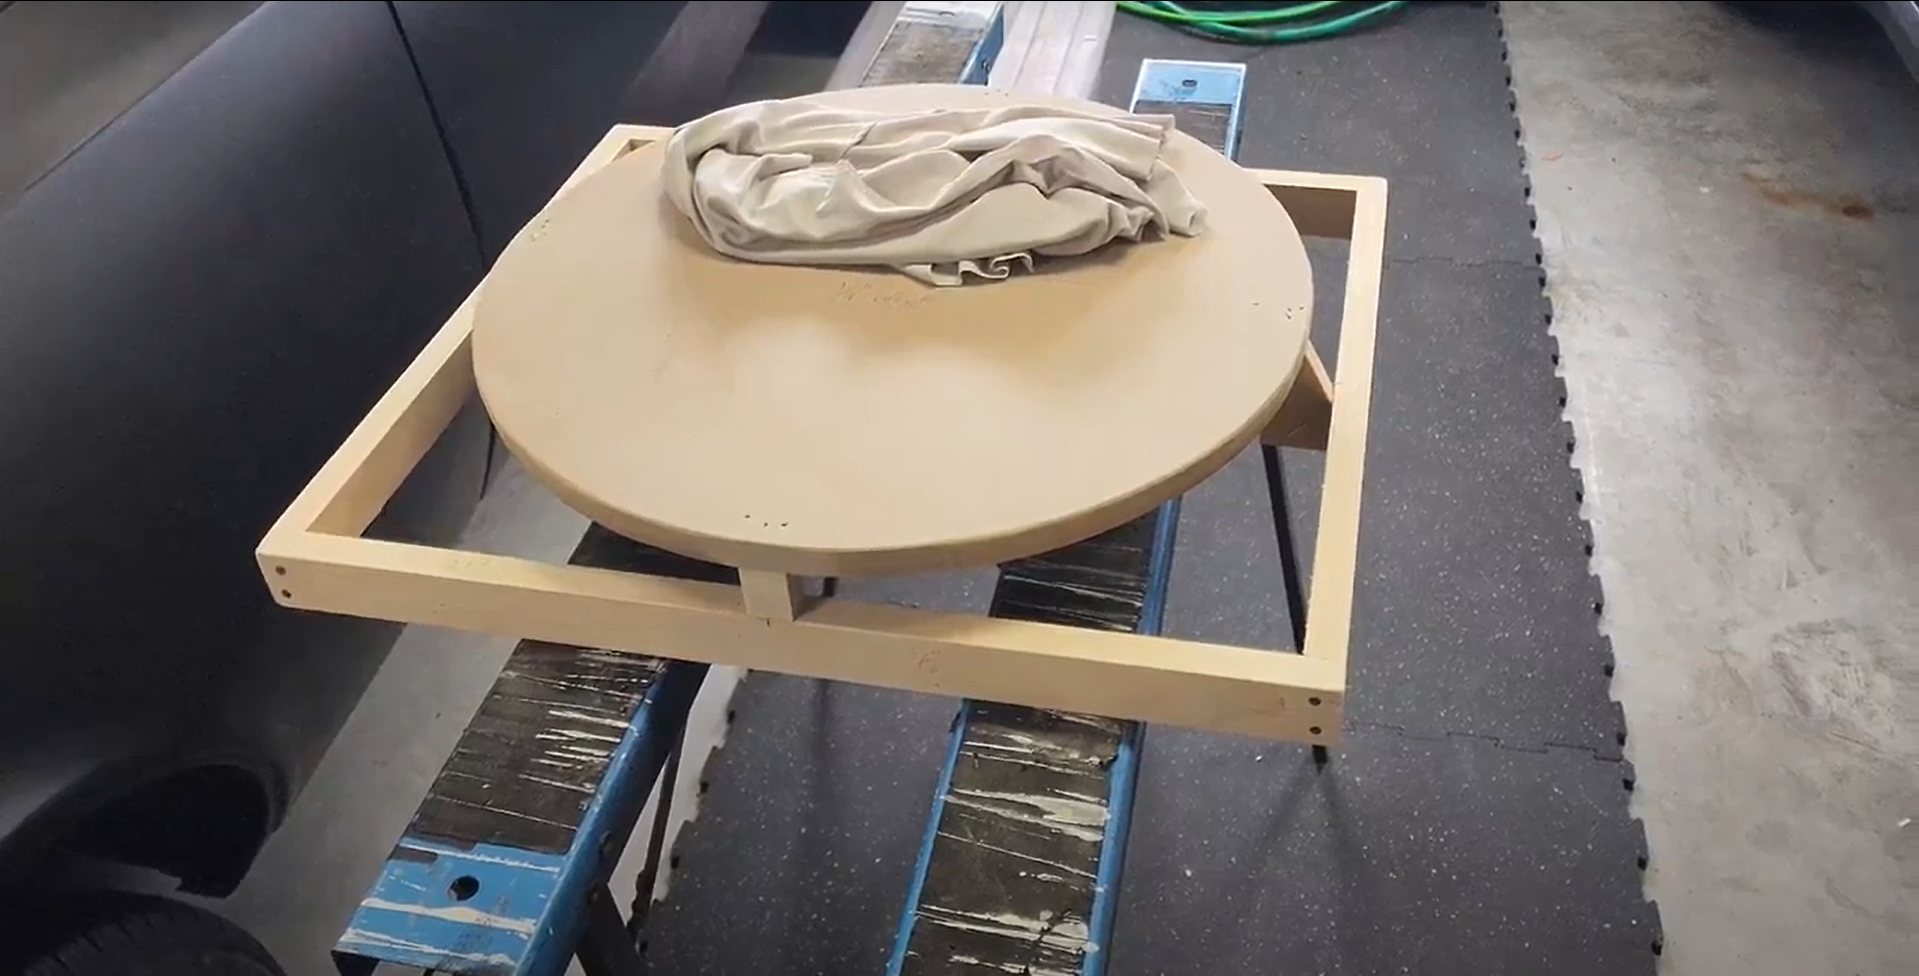
Step 1: Building the internal wood structure to define the shape and depth.
The Build Process
1. Verify Fan Placement: Confirm your existing fan placement is final and centered as desired.
2. Build the Internal Mold: Measure and build an “inside” mold using scrap wood or MDF. Use small framing or pin nails for assembly so you can easily dismantle it from inside the finished shroud later.
3. Stretch the Base Cloth: Wrap a smooth, firm cloth over the wood mold. Staple or nail it into place. Ensure the cloth is extremely tight and smooth; any bumps or folds in the fabric will be permanently reflected in the fiberglass.
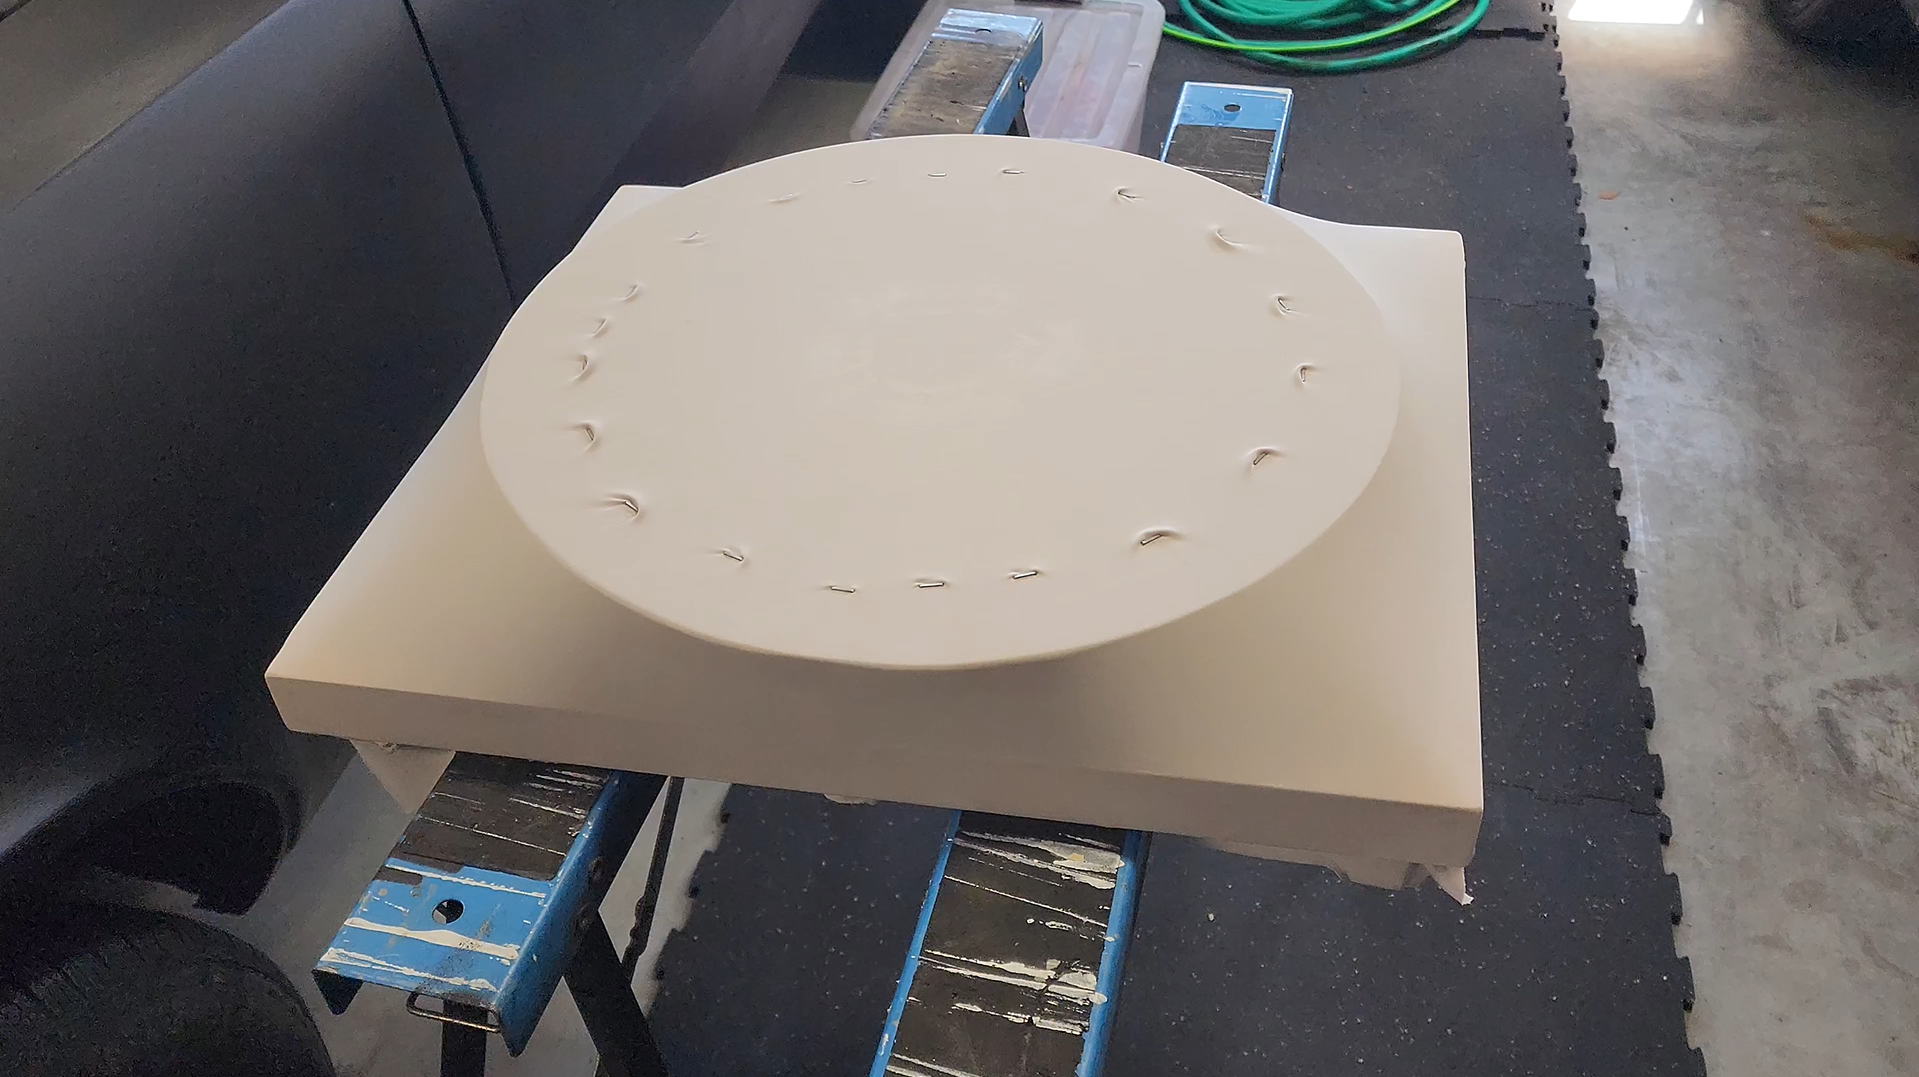
The base fabric stretched tight. Unfortunately, the fabric used here was a bit thin and caused some waves in the final product.
4. Apply a Release Layer: Wrap the cloth in plastic to prevent the resin from bonding to the wood.
- Pro-Tip: I used duct tape, but the heat from the fiberglass resin caused the tape glue to fail and wrinkle. Use a light poly plastic or a dedicated mold release agent for a smoother internal finish.
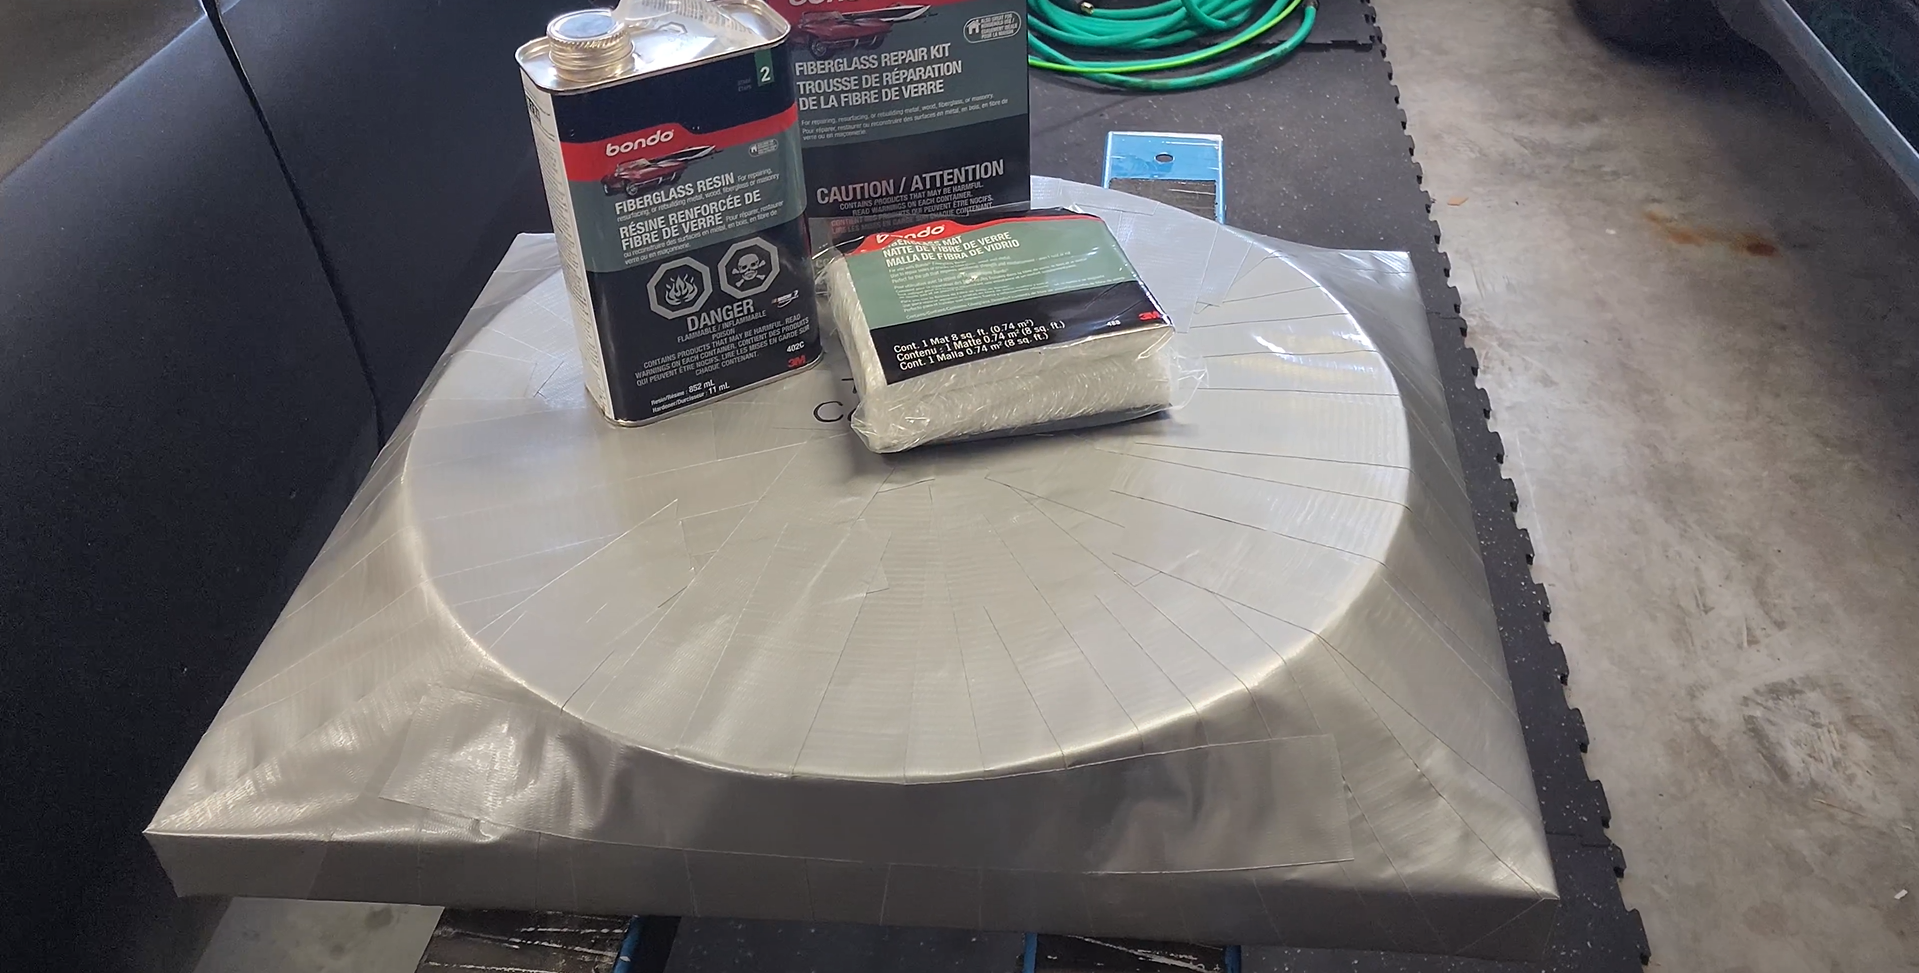
Duct tape was used here, which inevitably failed and caused wrinkling under the fiberglass. Tape is not recommended. Note the Bondo kits on display as well.
5. Lay the Fiberglass: Apply the fiberglass resin and cloth. I used almost two full Bondo Fiberglass Repair Kits to achieve a strong 4-5 layer thickness.
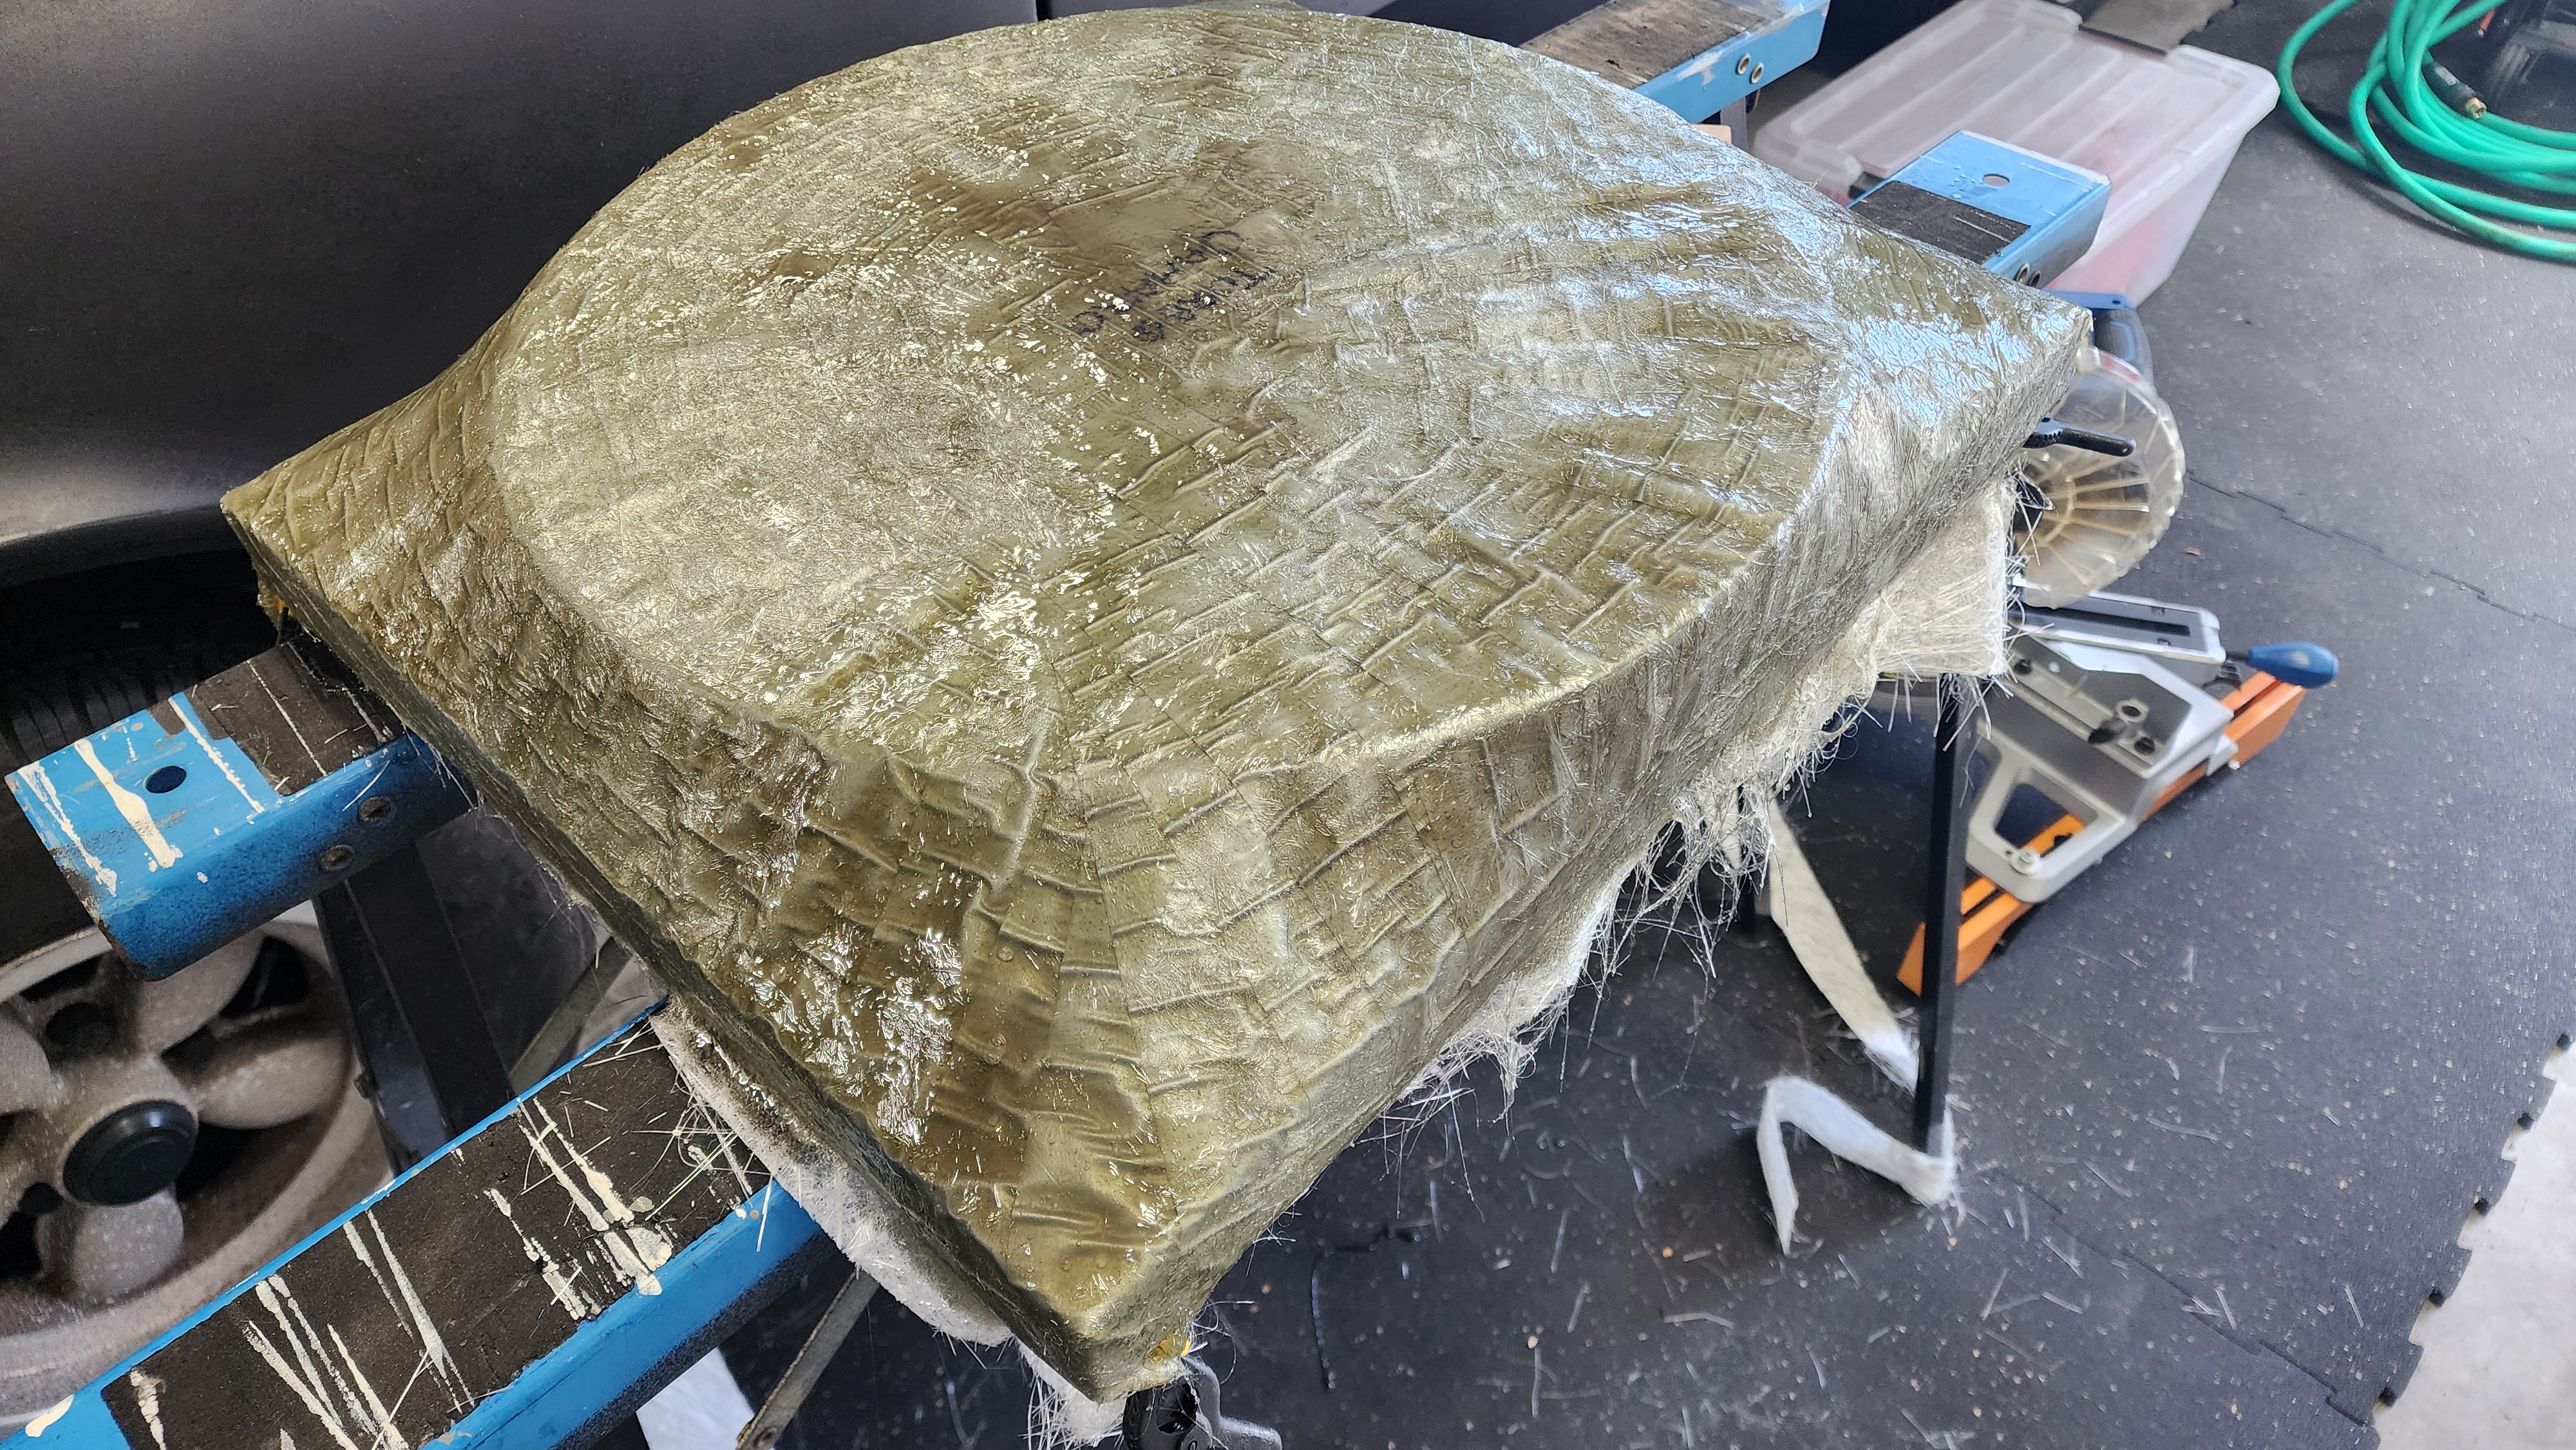
Applying the layers. The resin generates significant heat as it cures.
6. Dismantle the Mold: Once the resin is fully cured, carefully remove the wood framing. You may need to cut or pry the wood segments apart to get them out of the center opening.
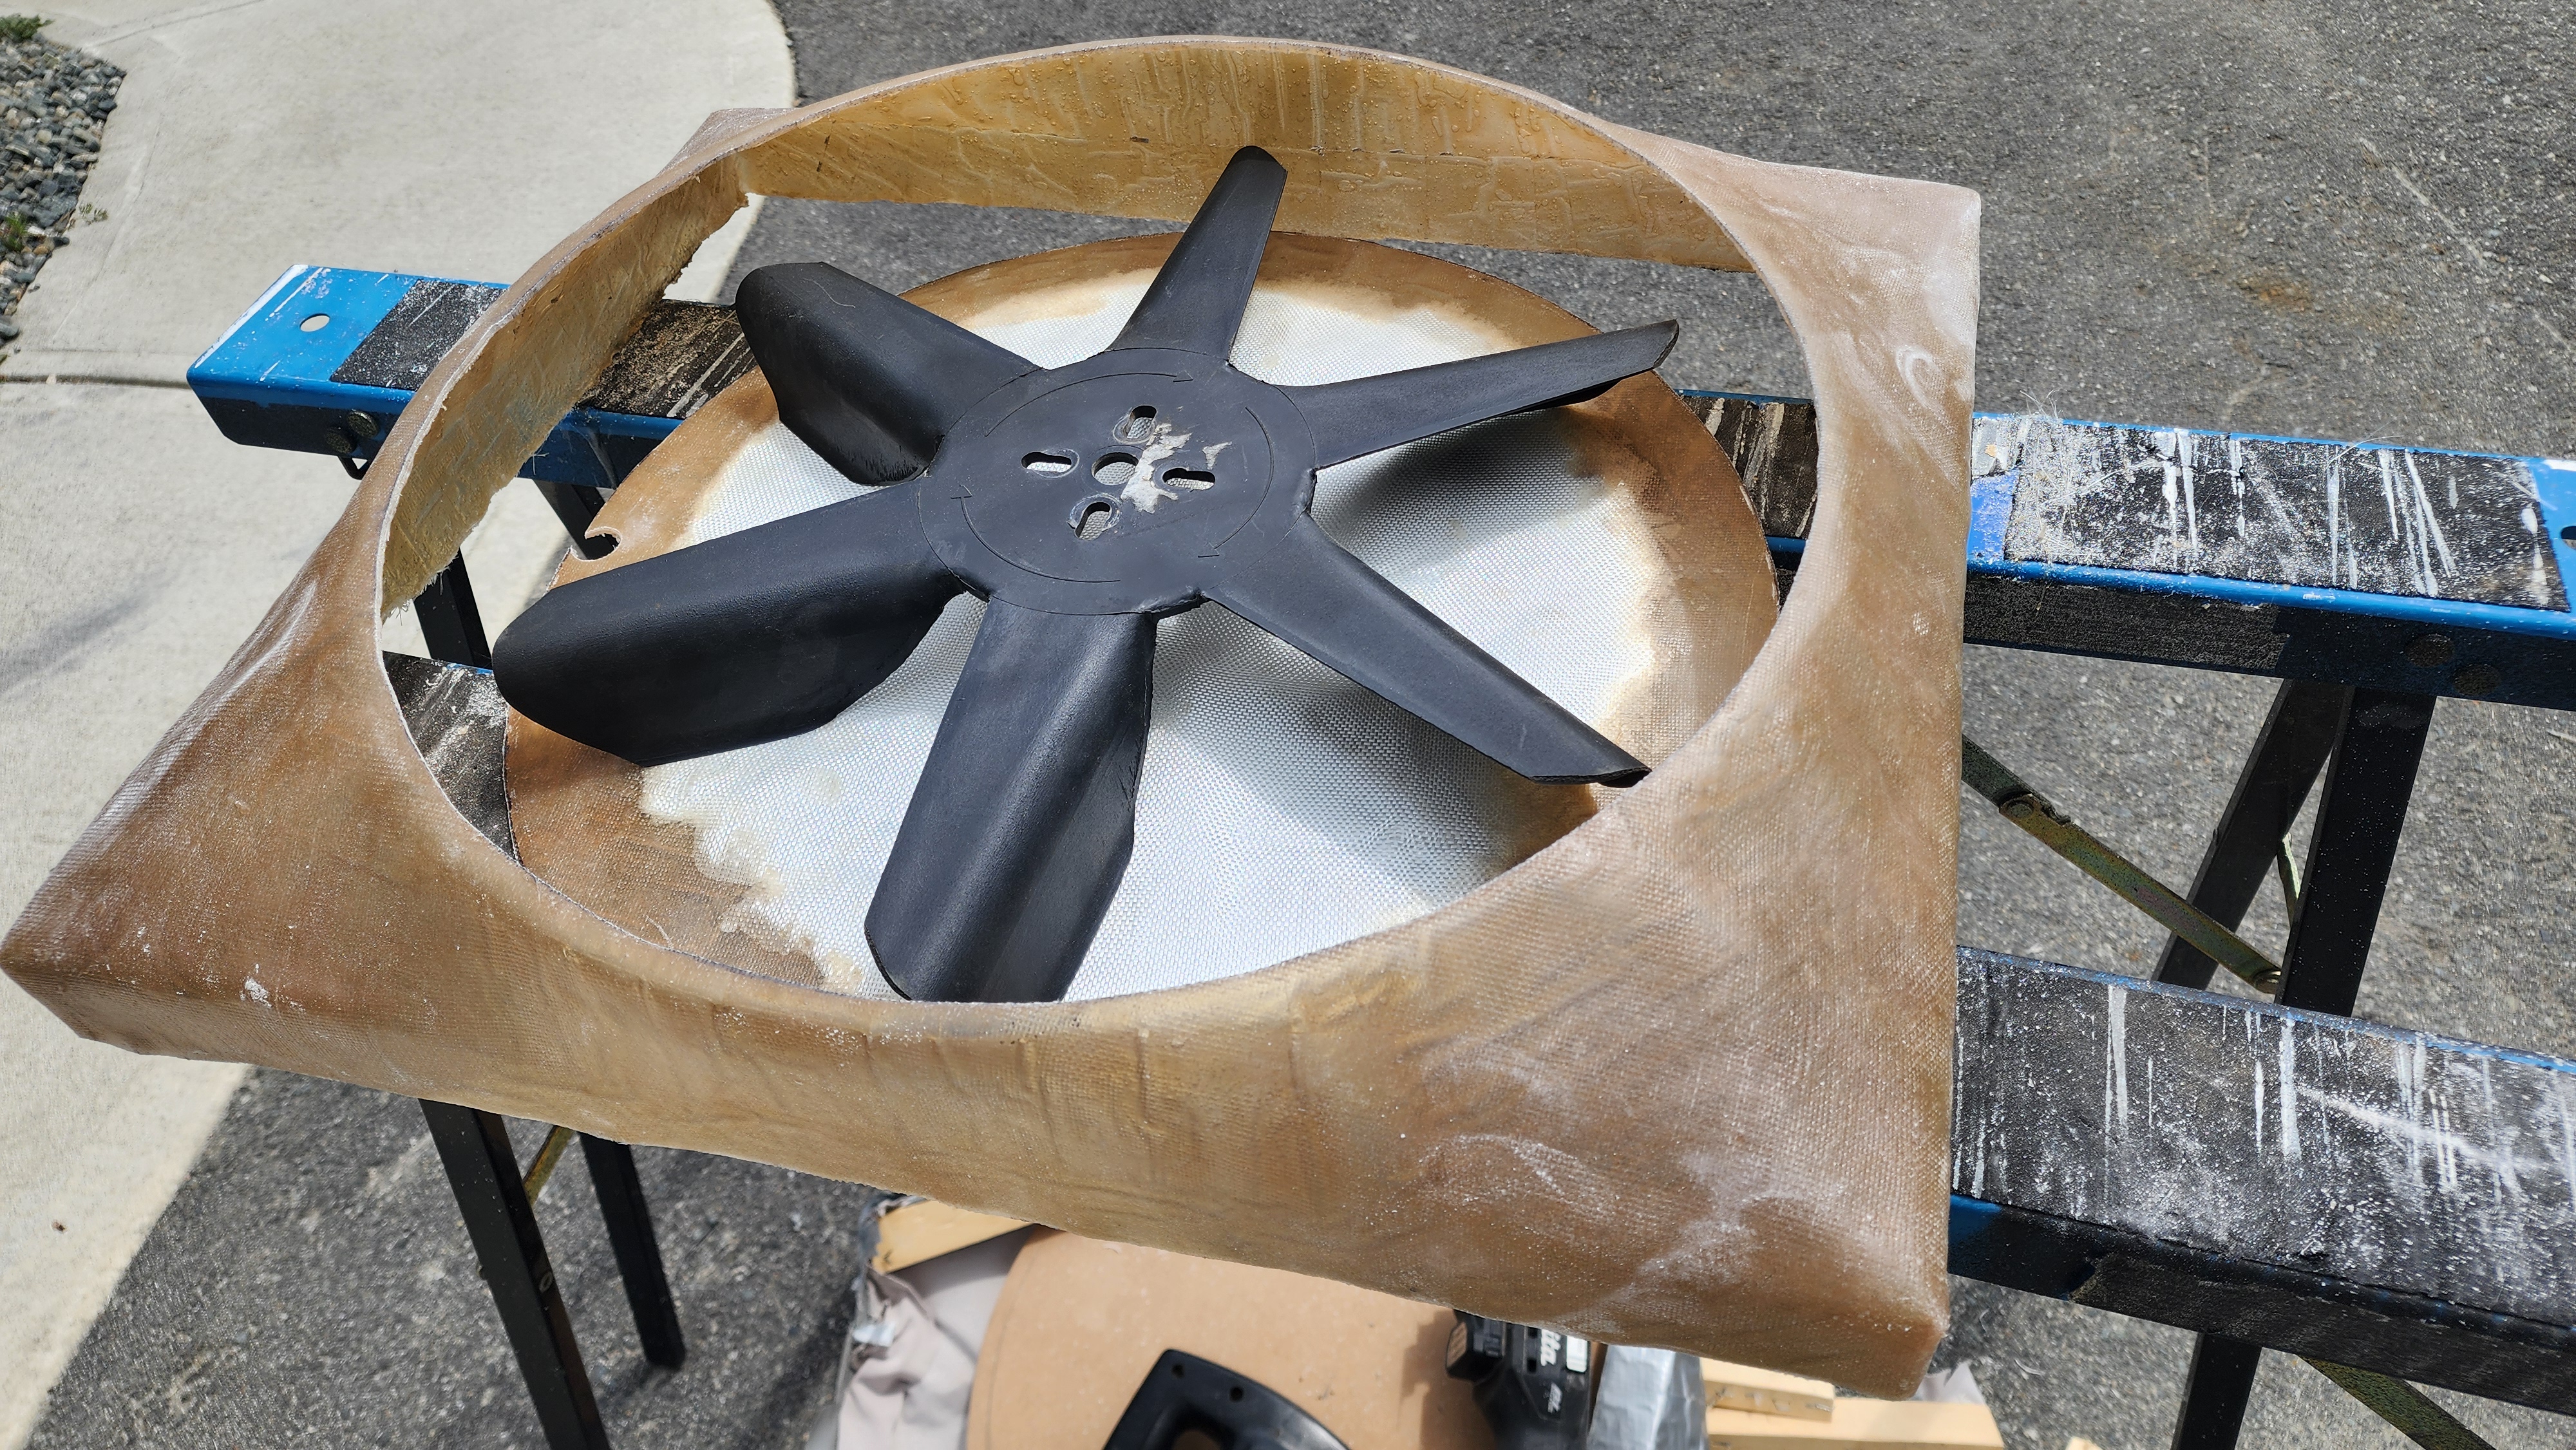
The raw shell after pulling the internal wood structure. Notice the fitment of the fan in the cutout.
7. Trim to Fit: Re-measure your fitment and cut away excess fiberglass strands. Cut the fan opening to allow roughly 1/2” to 5/8” of clearance around the blades.
- Ideal Placement: Aim for the shroud to sit with the fan blades sitting exactly halfway in and halfway out of the shroud opening for maximum draw.
8. Sand the Surface: Sand the finished product just like you would wood, starting with a coarse grit and moving to finer grits to remove imperfections.
9. Paint for Finish: While not strictly required for function, painting the shroud adds a custom, professional look to the engine bay.
10. Final Installation: Mount the shroud securely and verify all clearances before starting the engine.

The completed shroud, trimmed and painted black. Note the edges appear wavy due to the thin fabric base; fortunately, this isn’t visible once installed.
Results
The difference in cooling at idle was significant. Before the shroud, the temps would climb dangerously high in traffic; now, they hold steady between 175-185 degrees.
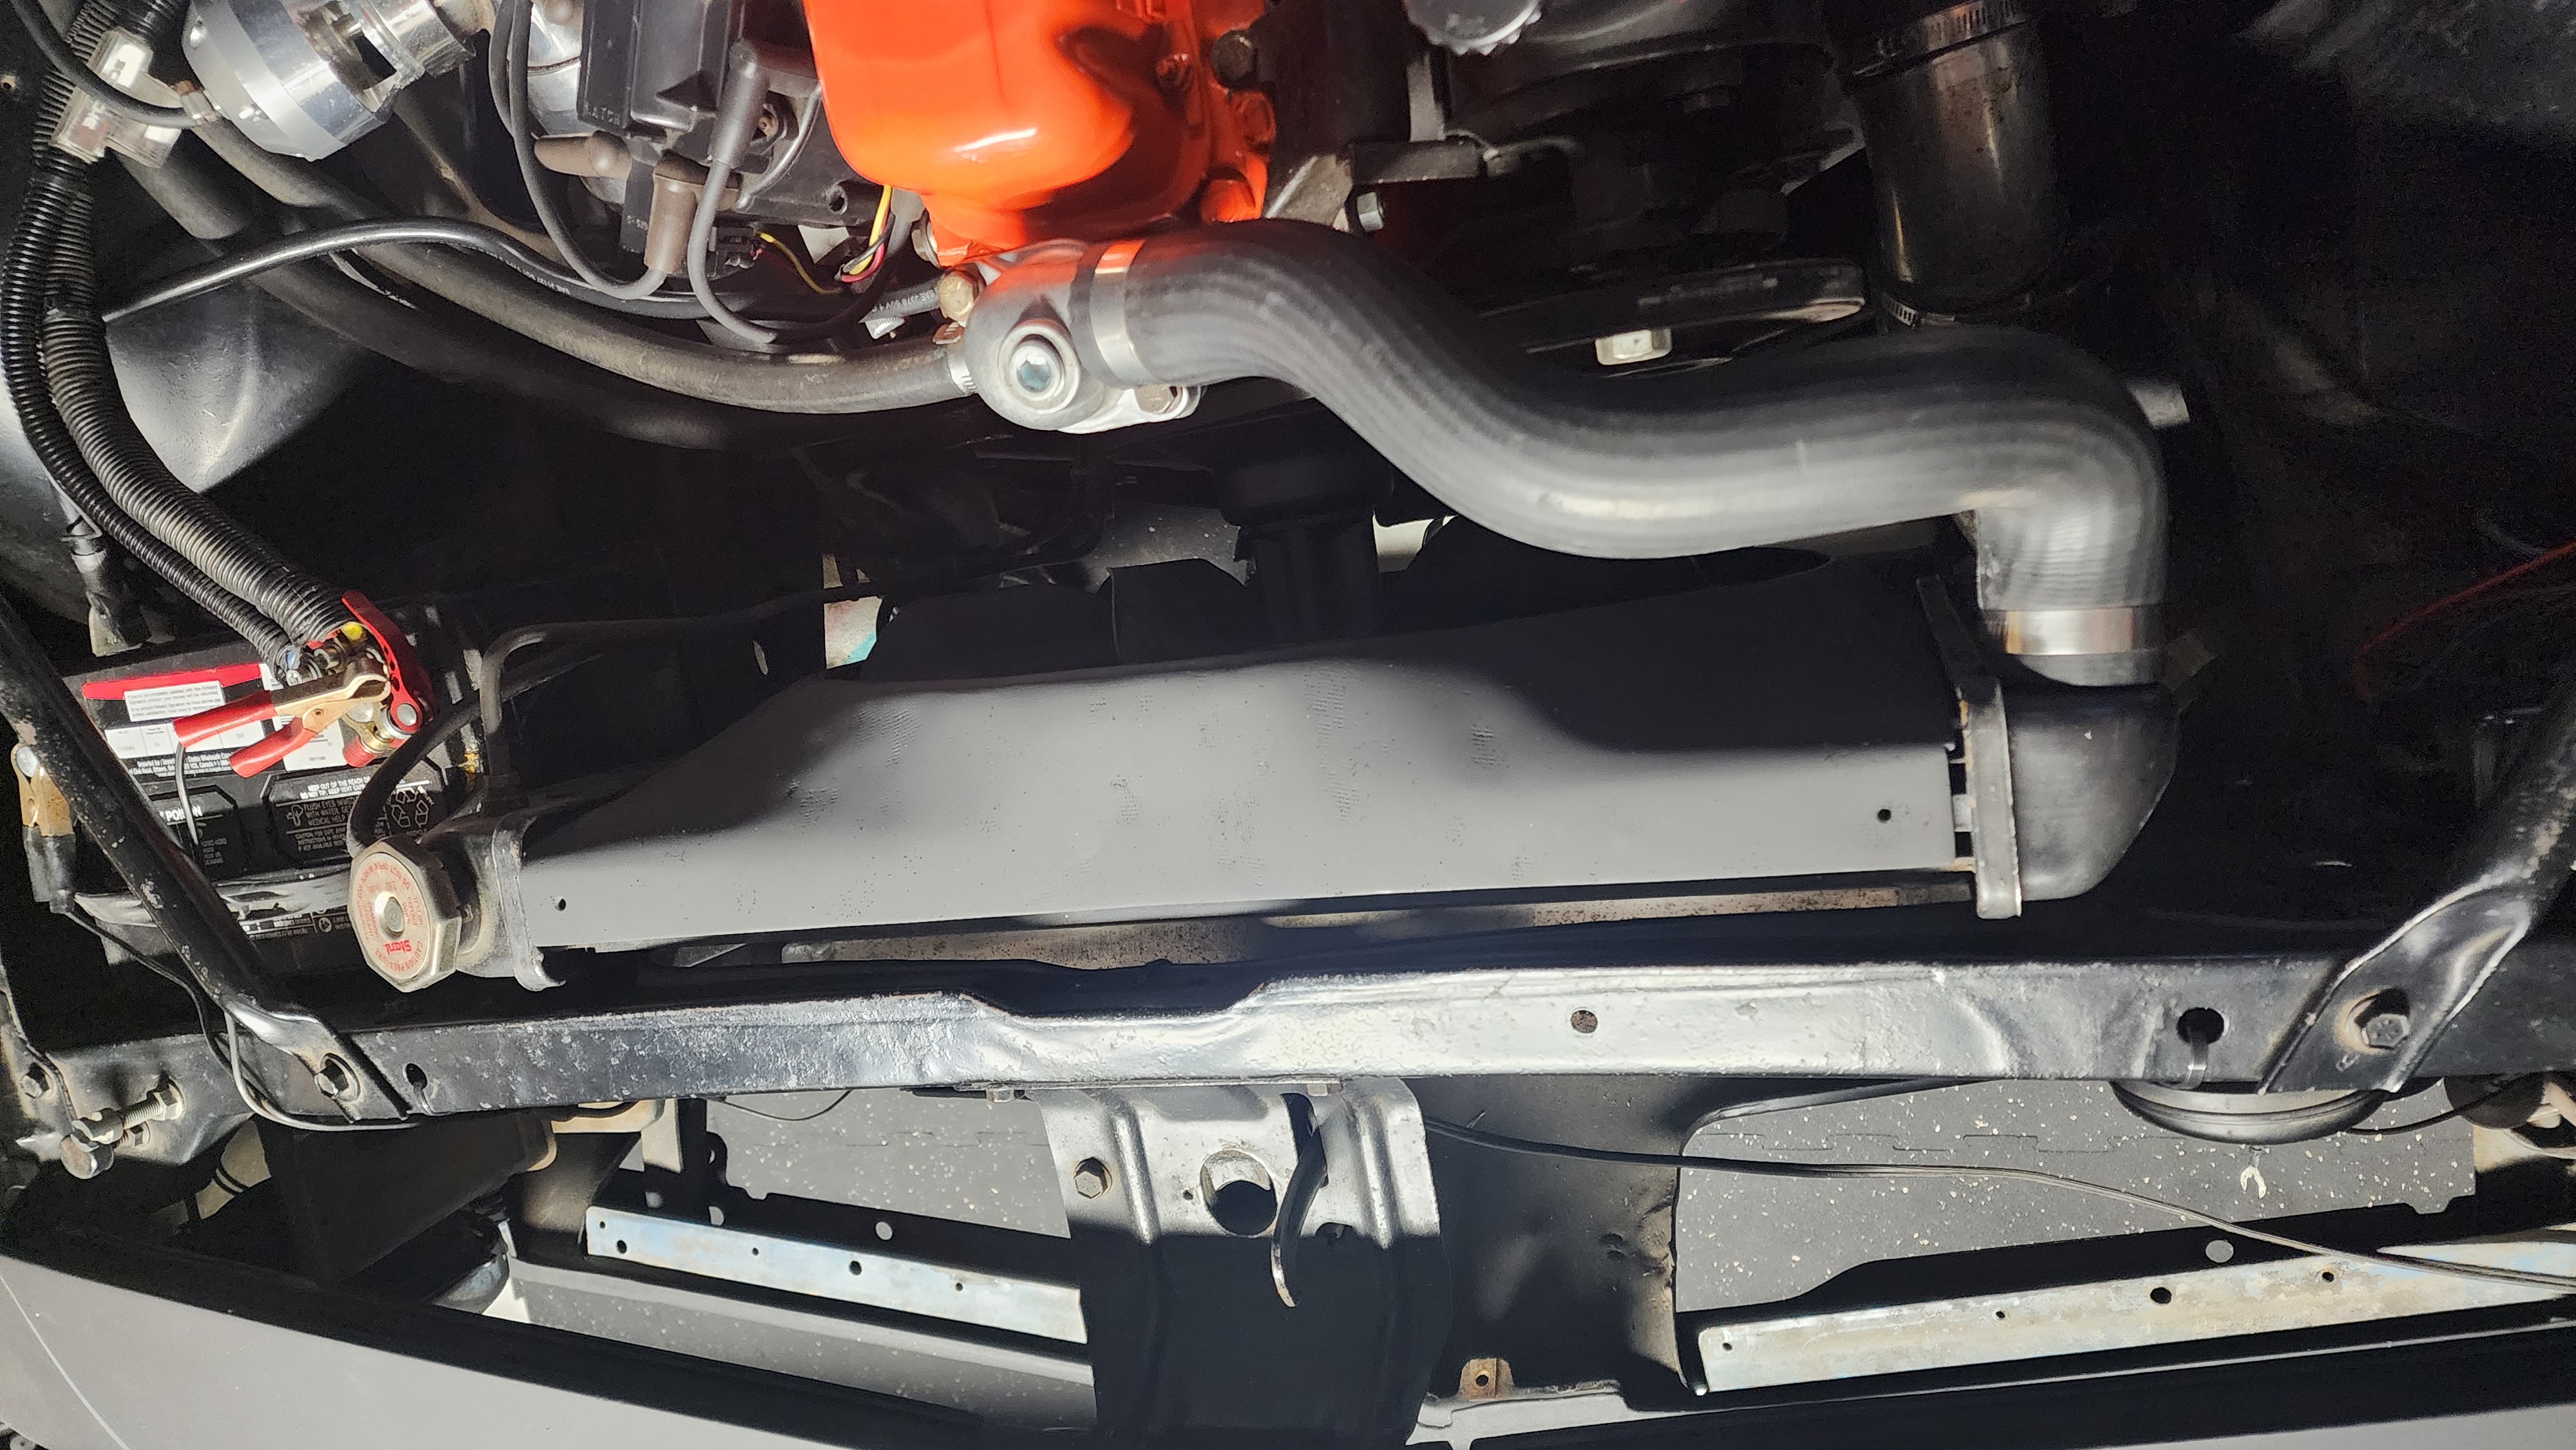
Installed and functional. No more sweating at stoplights.
We may want to upgrade the radiator in the future, as some weeping has been detected on the driver side edge. It’ll do for