3-Inch Exhaust Upgrade
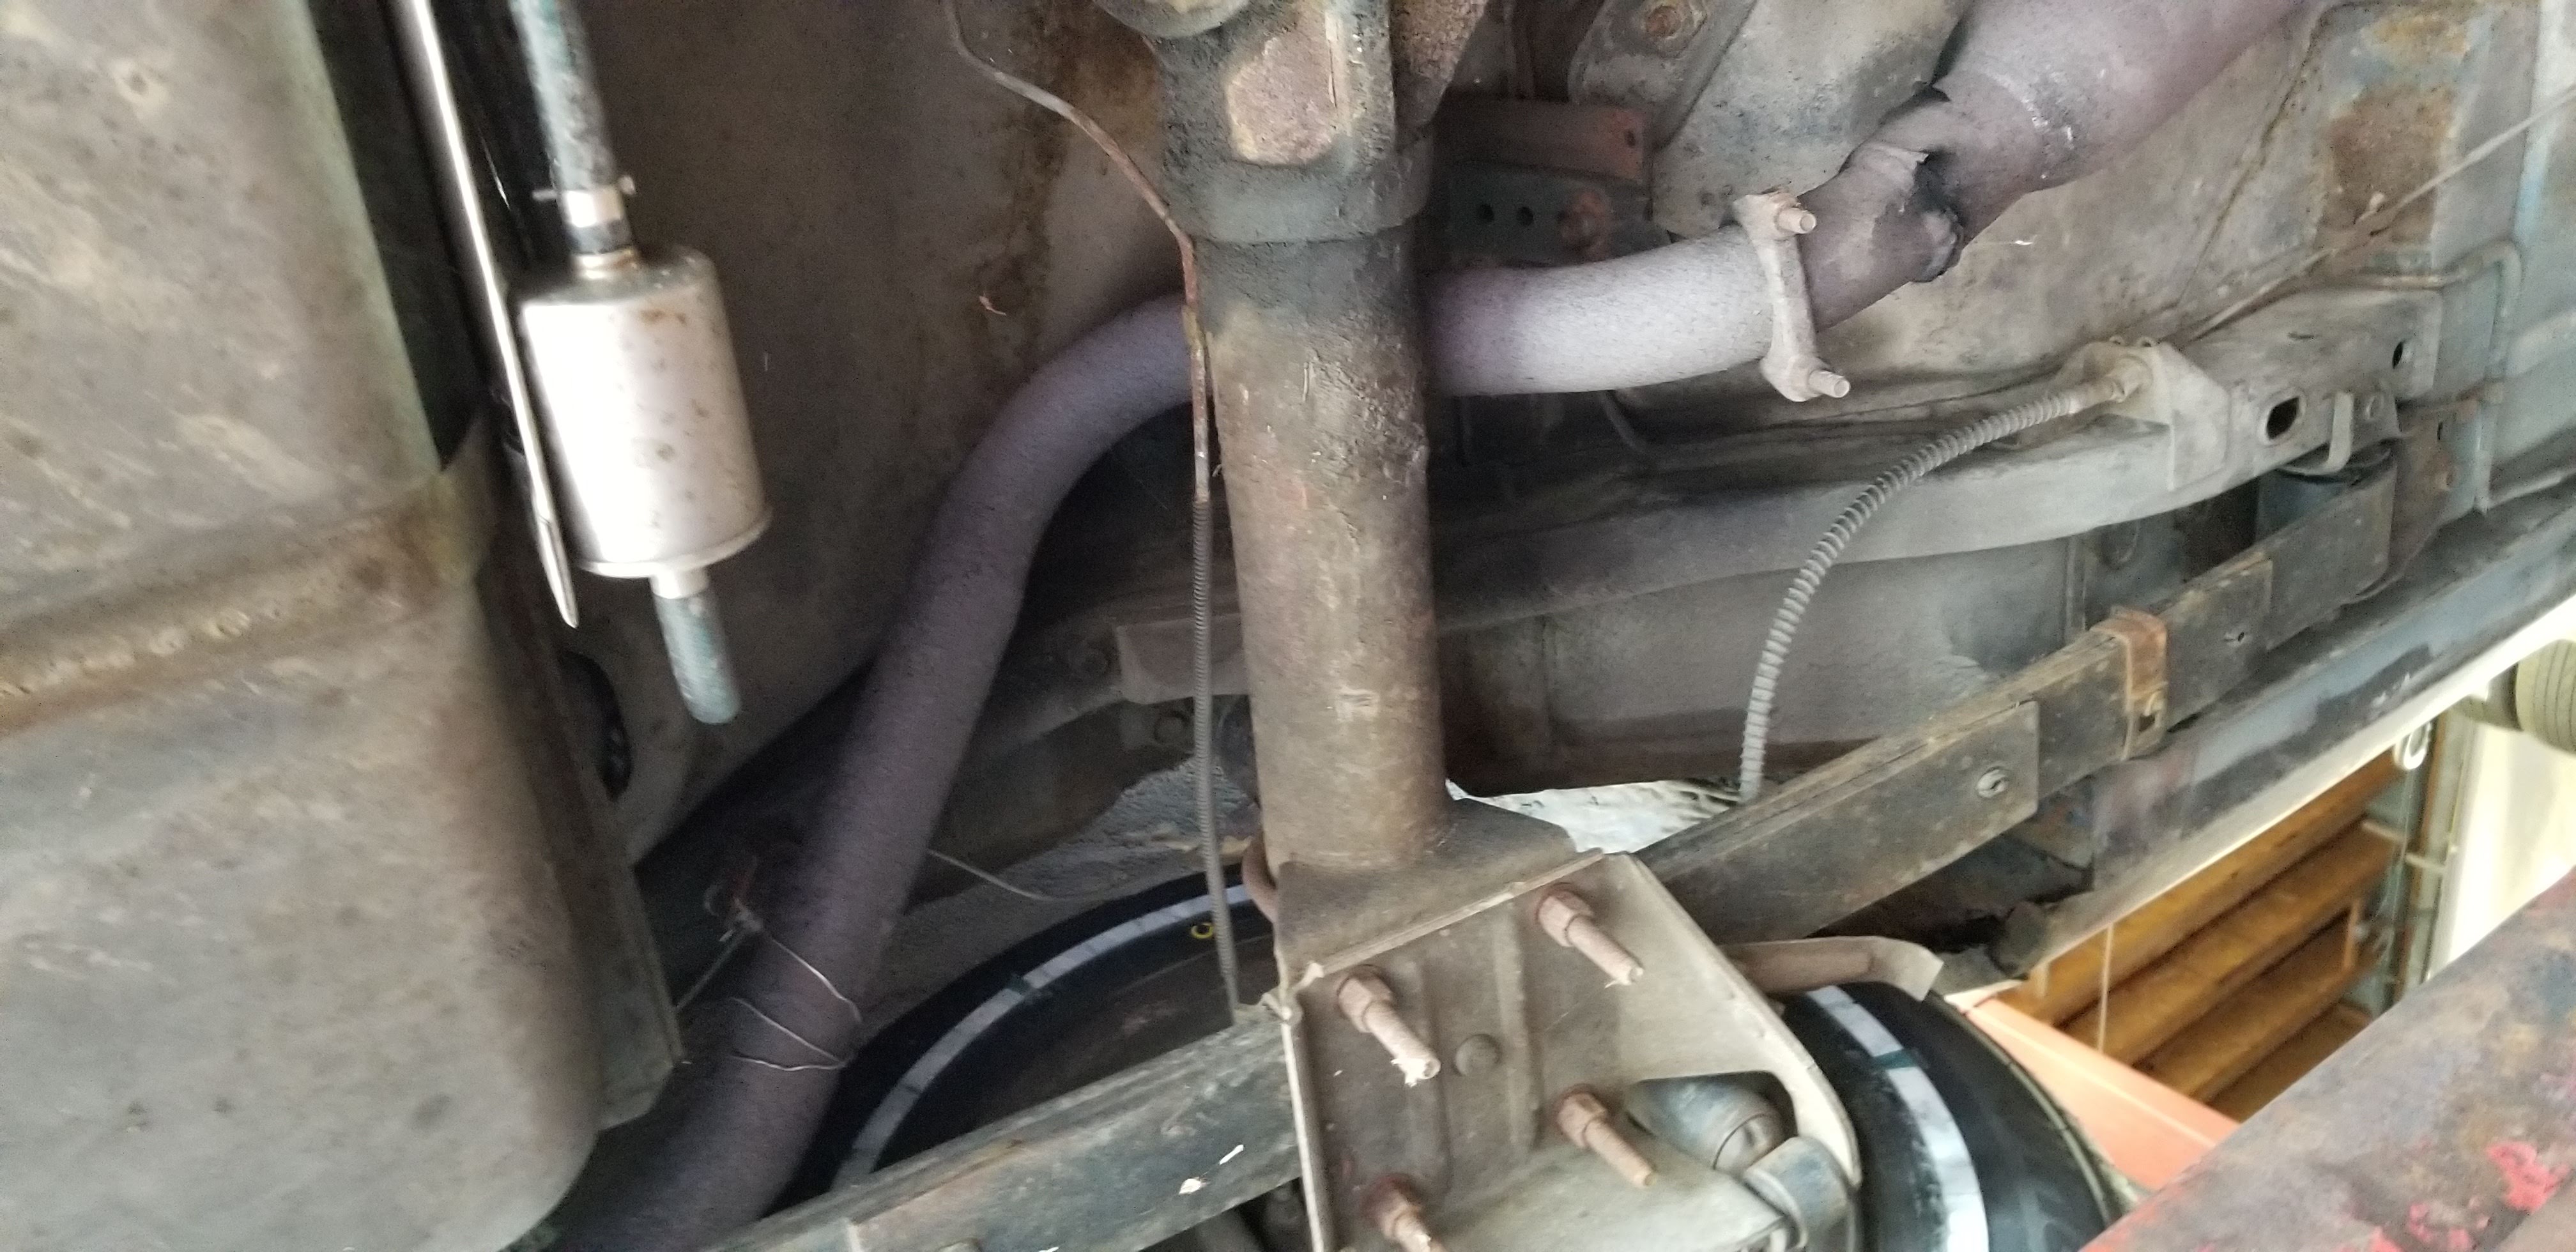
The original 2” exhaust - restrictive and in rough shape.
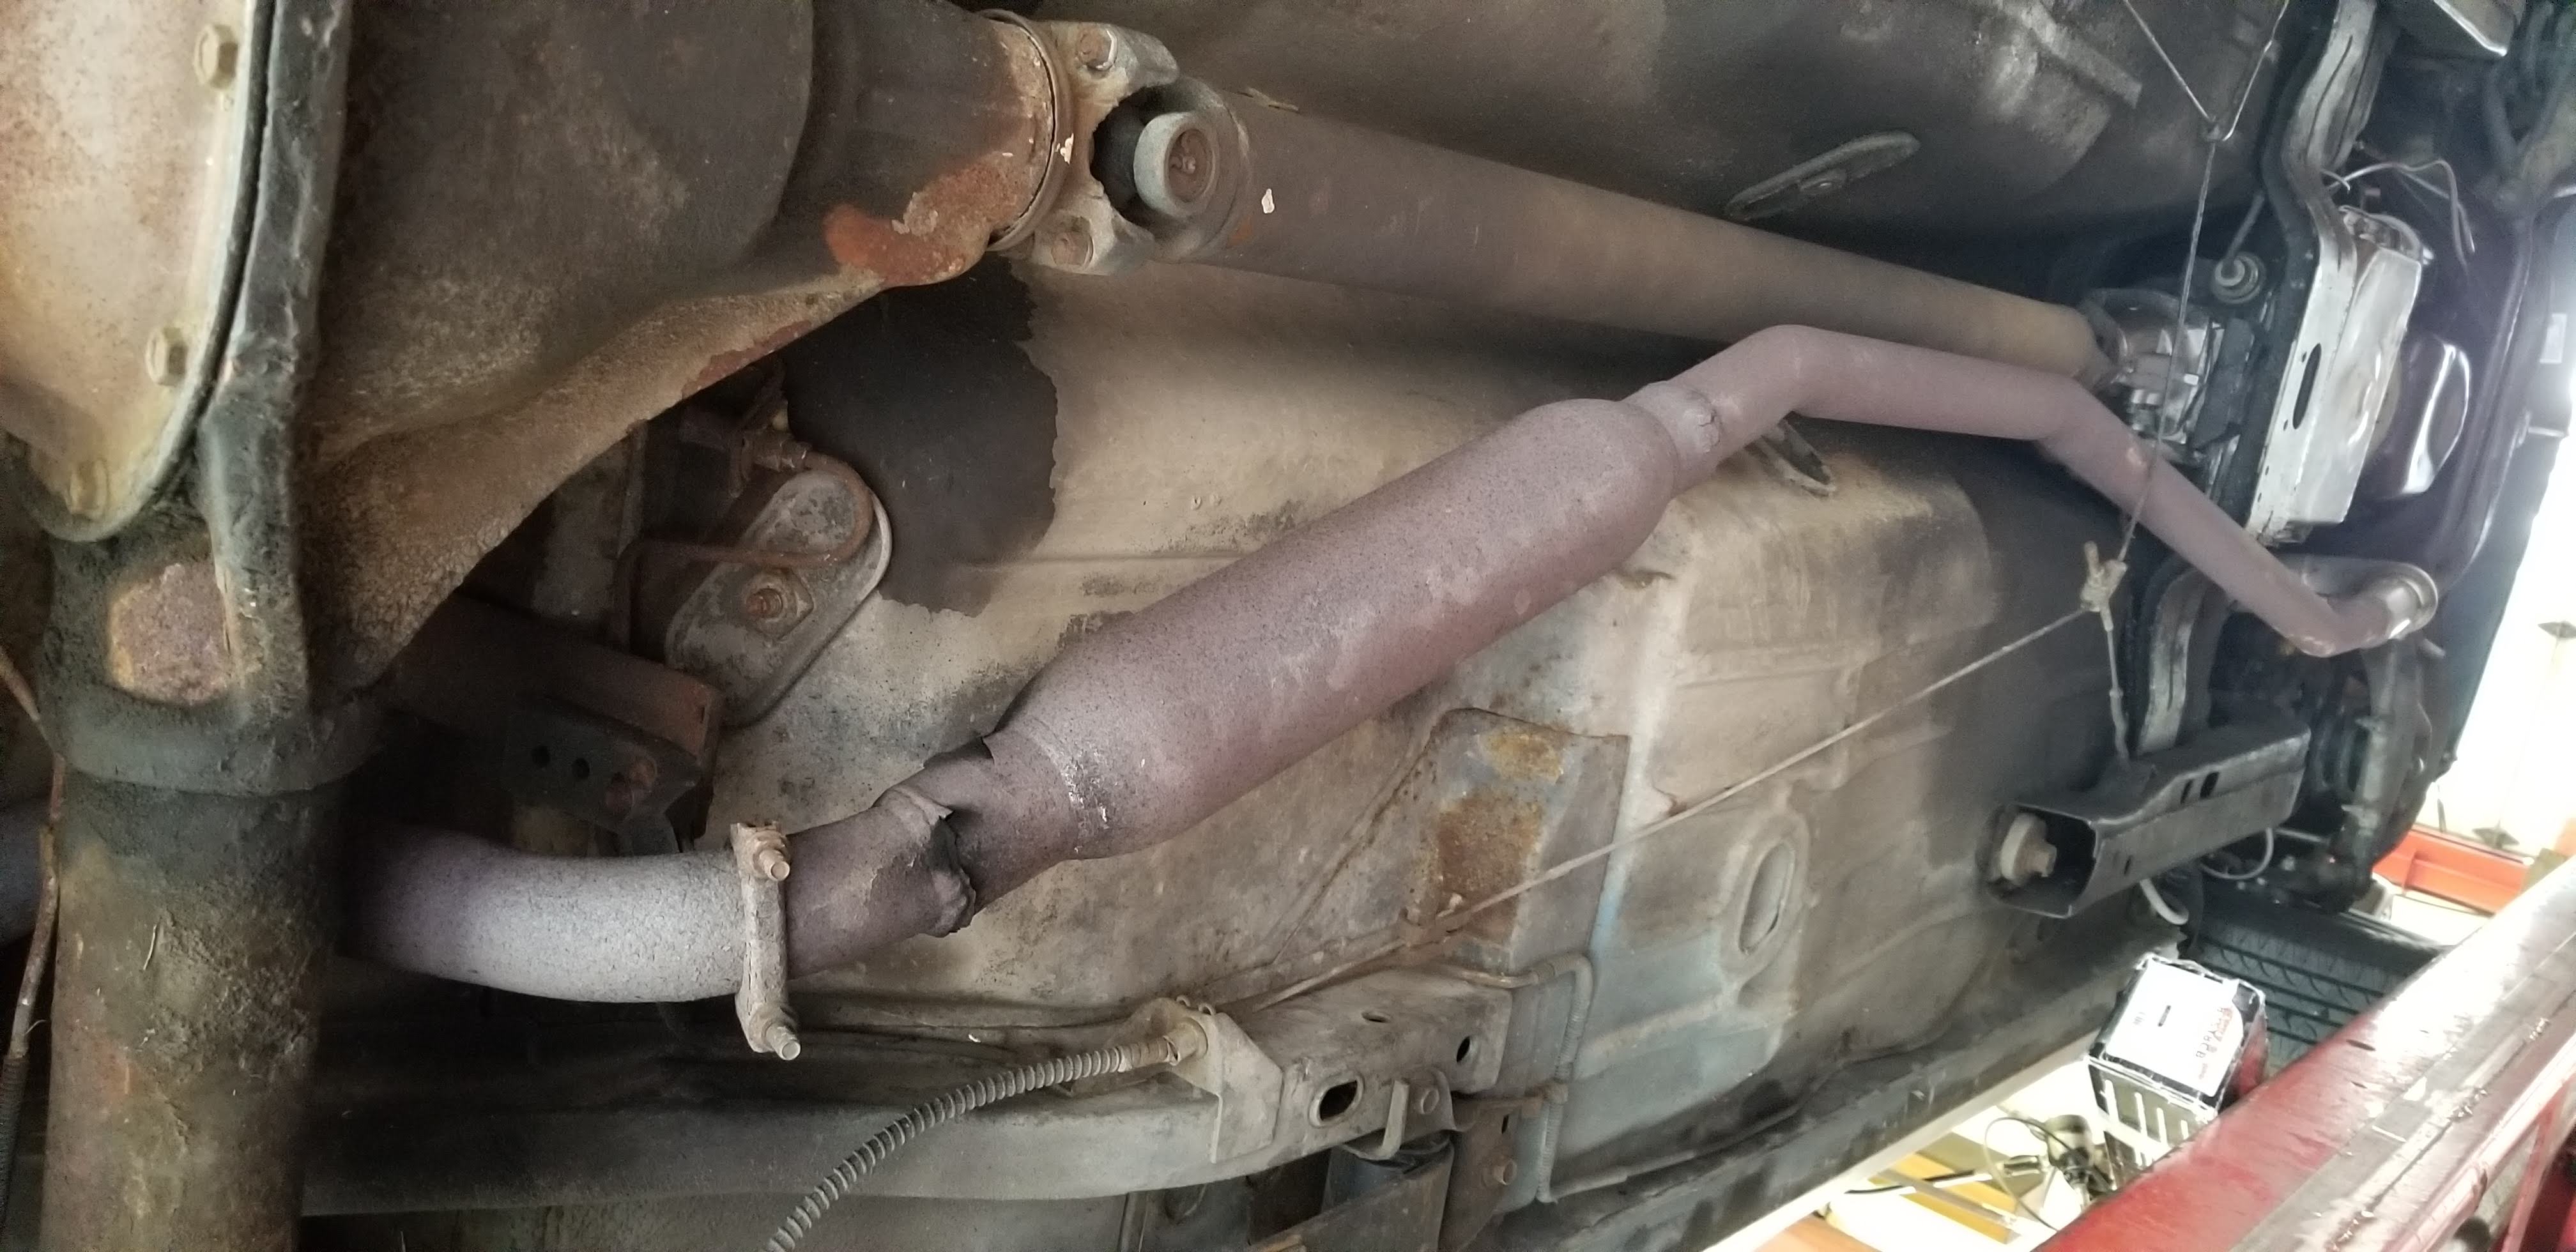
Exhaust work is one of the few things (beside drywall mudding) that I refuse to DIY. It is a massive headache without a lift, and you need specialized tools to manage 3” pipe bends properly. We took the Camaro to a local shop to have the stock 2” piping replaced with a full 3” system from the turbo all the way to the tailpipe.
There is a major performance benefit here. Our turbo has a 3” outlet, so running anything smaller downstream creates immediate backpressure. By moving to a 3” pipe, we keep the flow profile consistent throughout the entire system. I understand that the less work the engine has to do to push exhaust out, the faster the turbo can spool up.
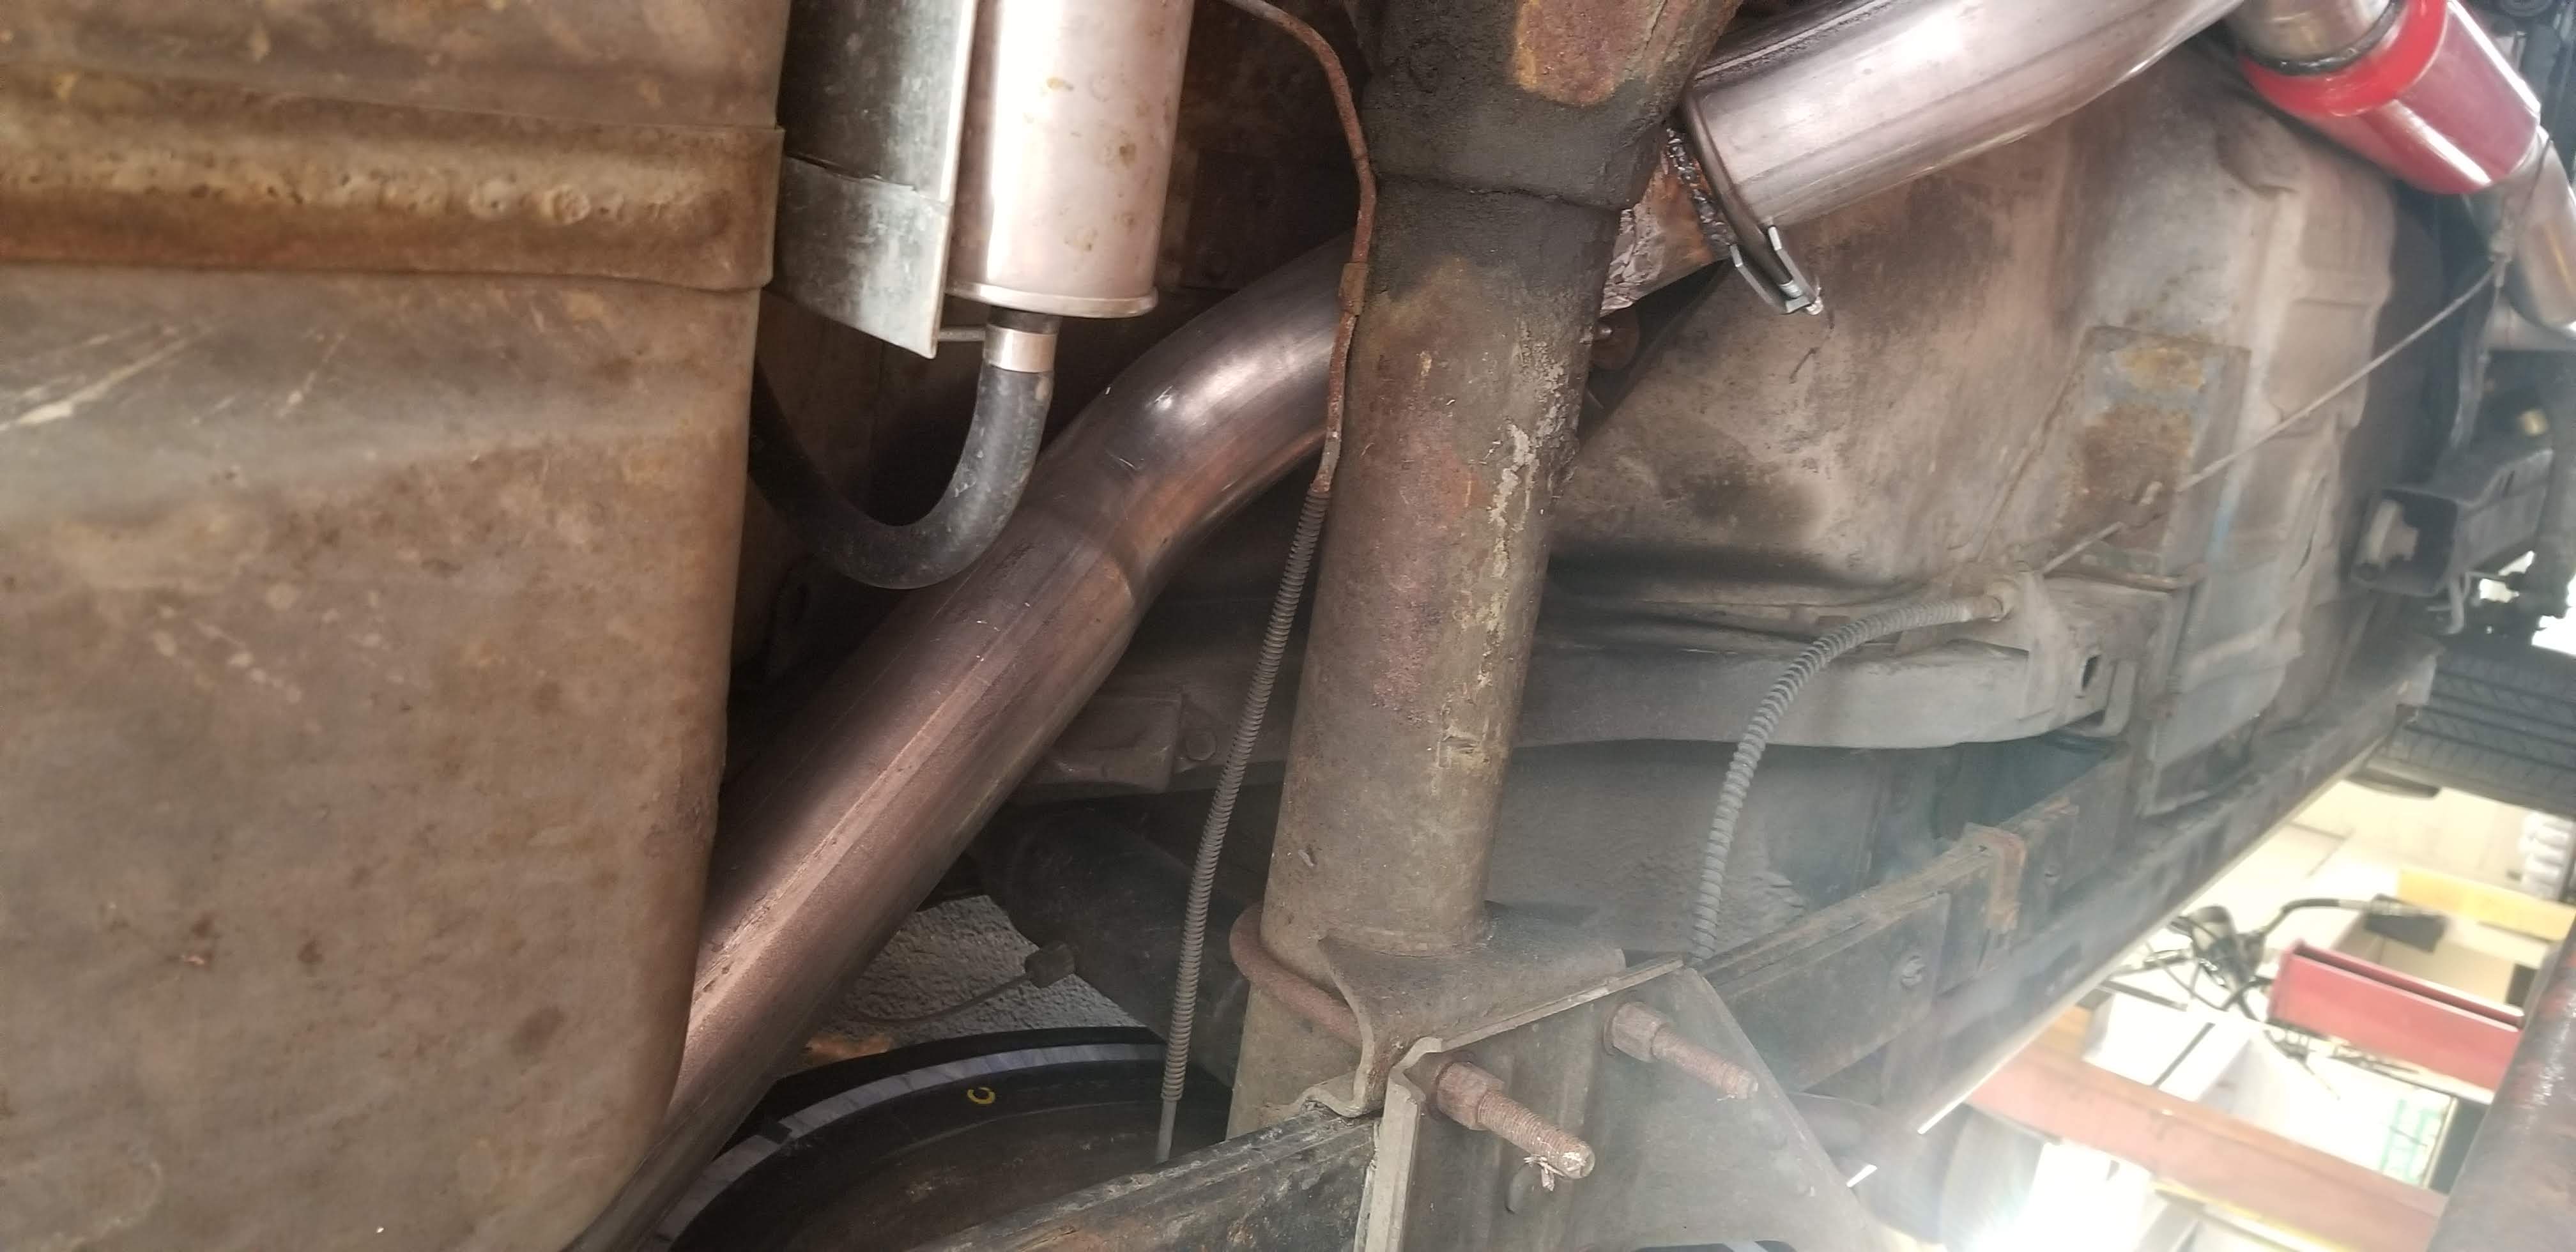
The shop followed the original routing but scaled everything up to handle the larger diameter. To help with flow while adding some character to the Inline 6, we swapped in a red Cherry Bomb 87518 glasspack.
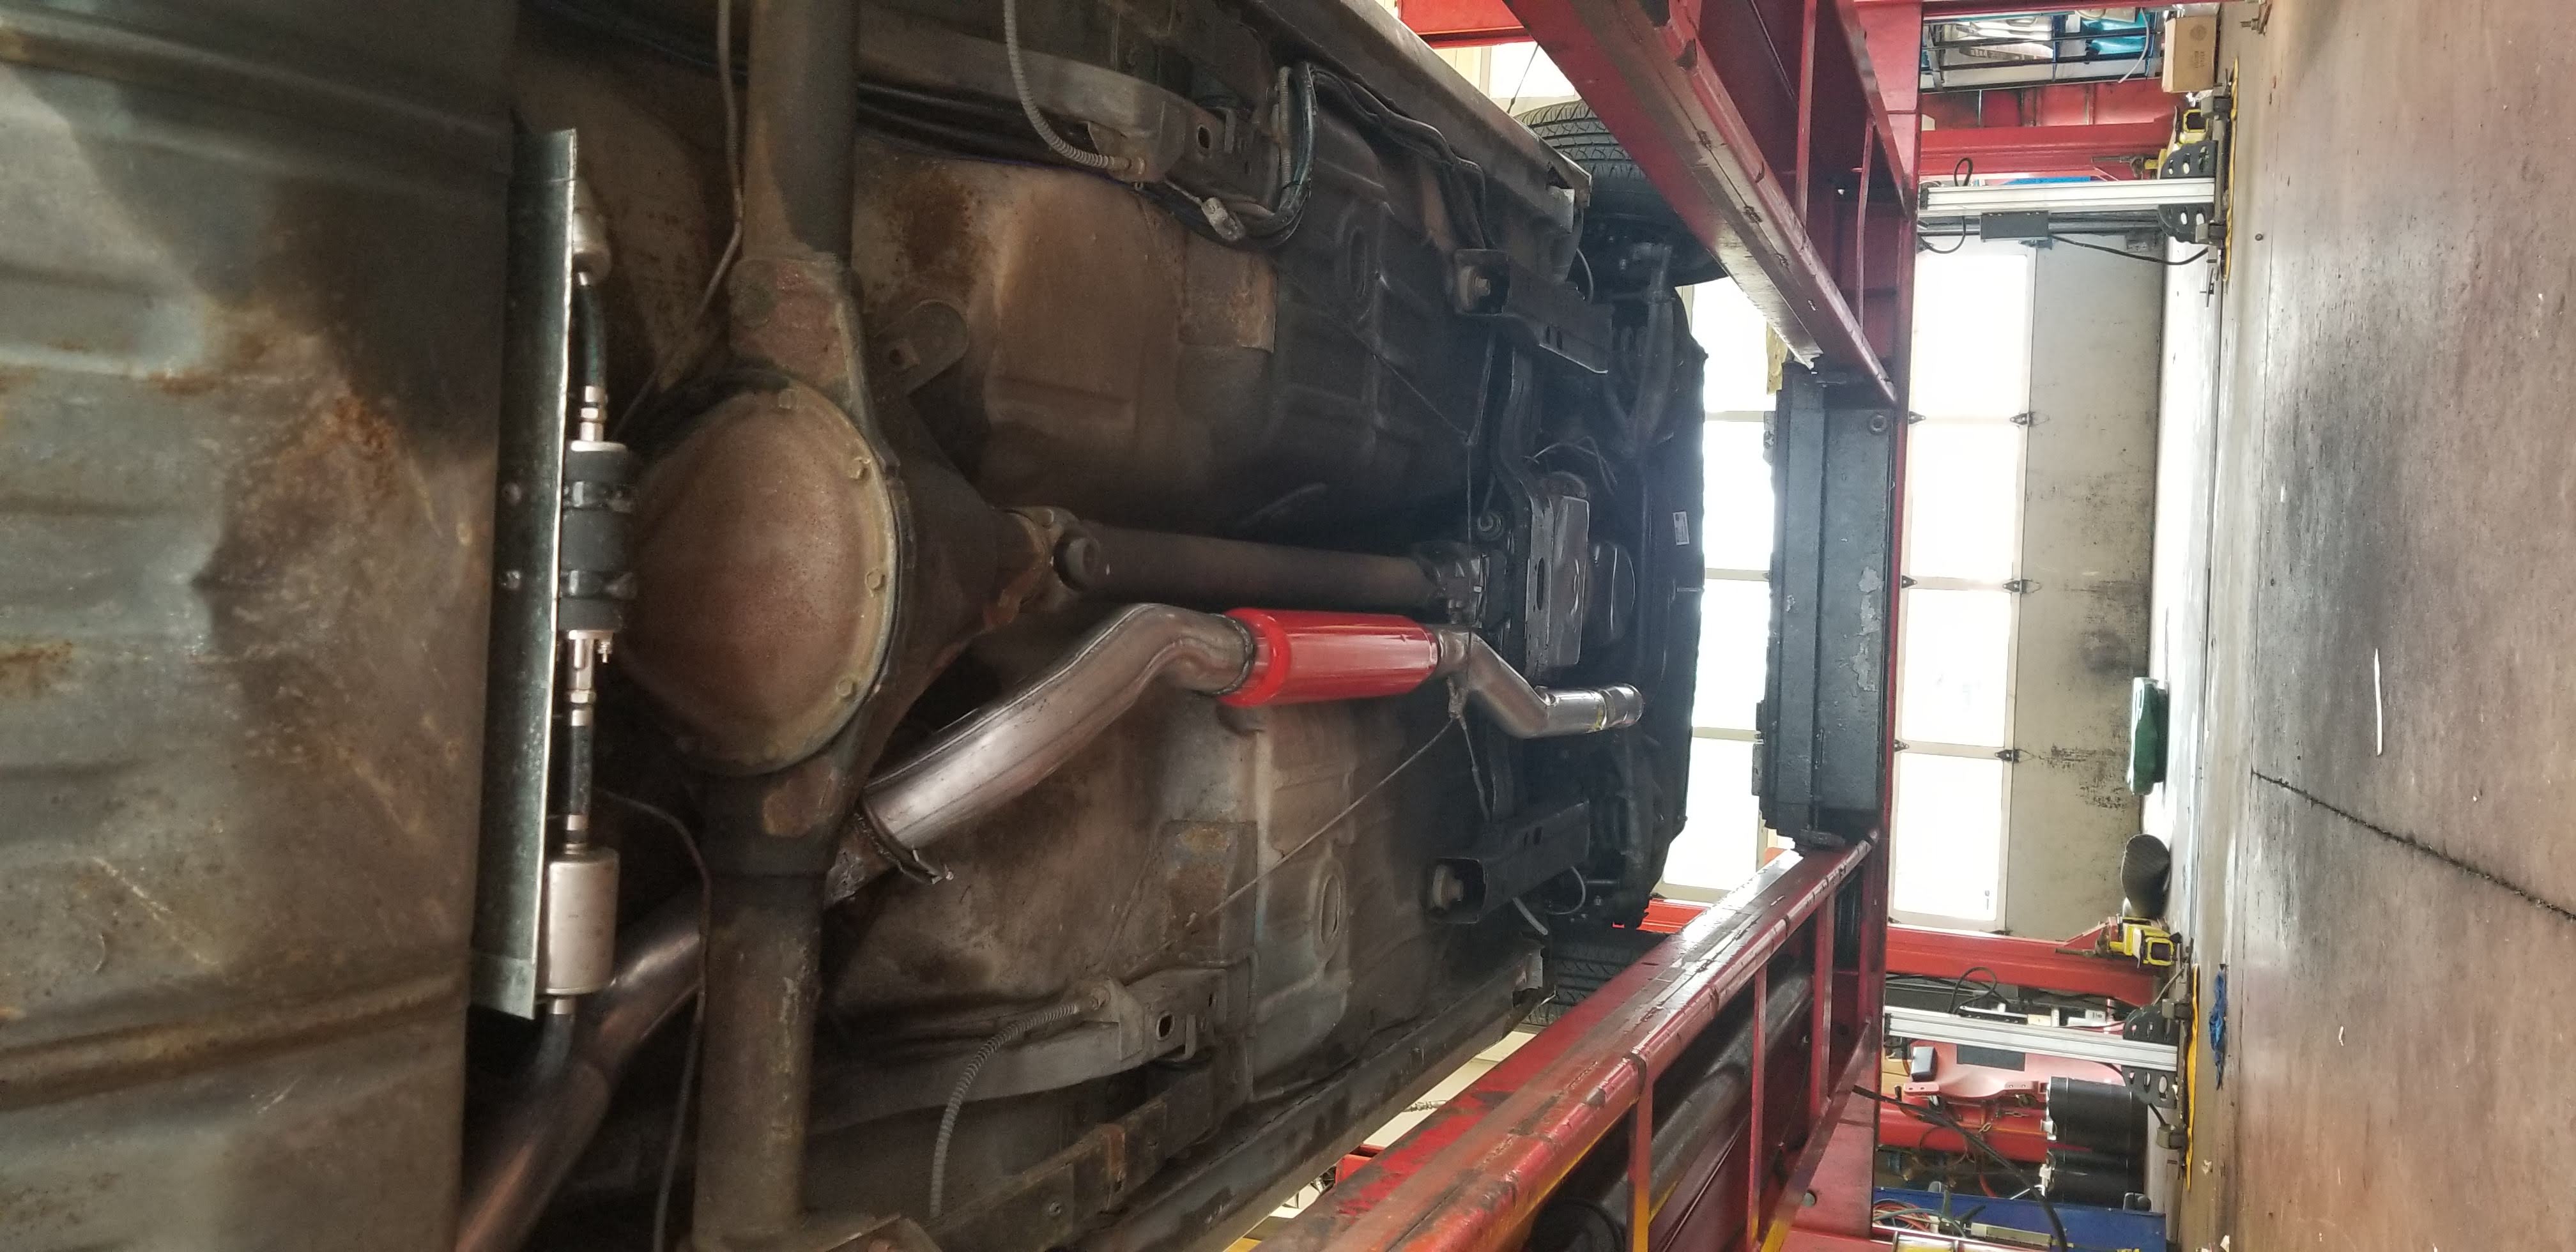
New 3” tailpipe exit. Flow is finally matched to the turbo’s output.
The red Cherry Bomb glasspack installed. It offers great flow and a classic sound.
The end result was quite a bit louder, but the sound profile of the Inline 6 through a 3” pipe is unique. While the flow was a huge improvement, the volume eventually became a bit much for a daily driver; this muffler was ultimately replaced in February 2026 in favor of a quieter unit.