Prepping & Painting Parts
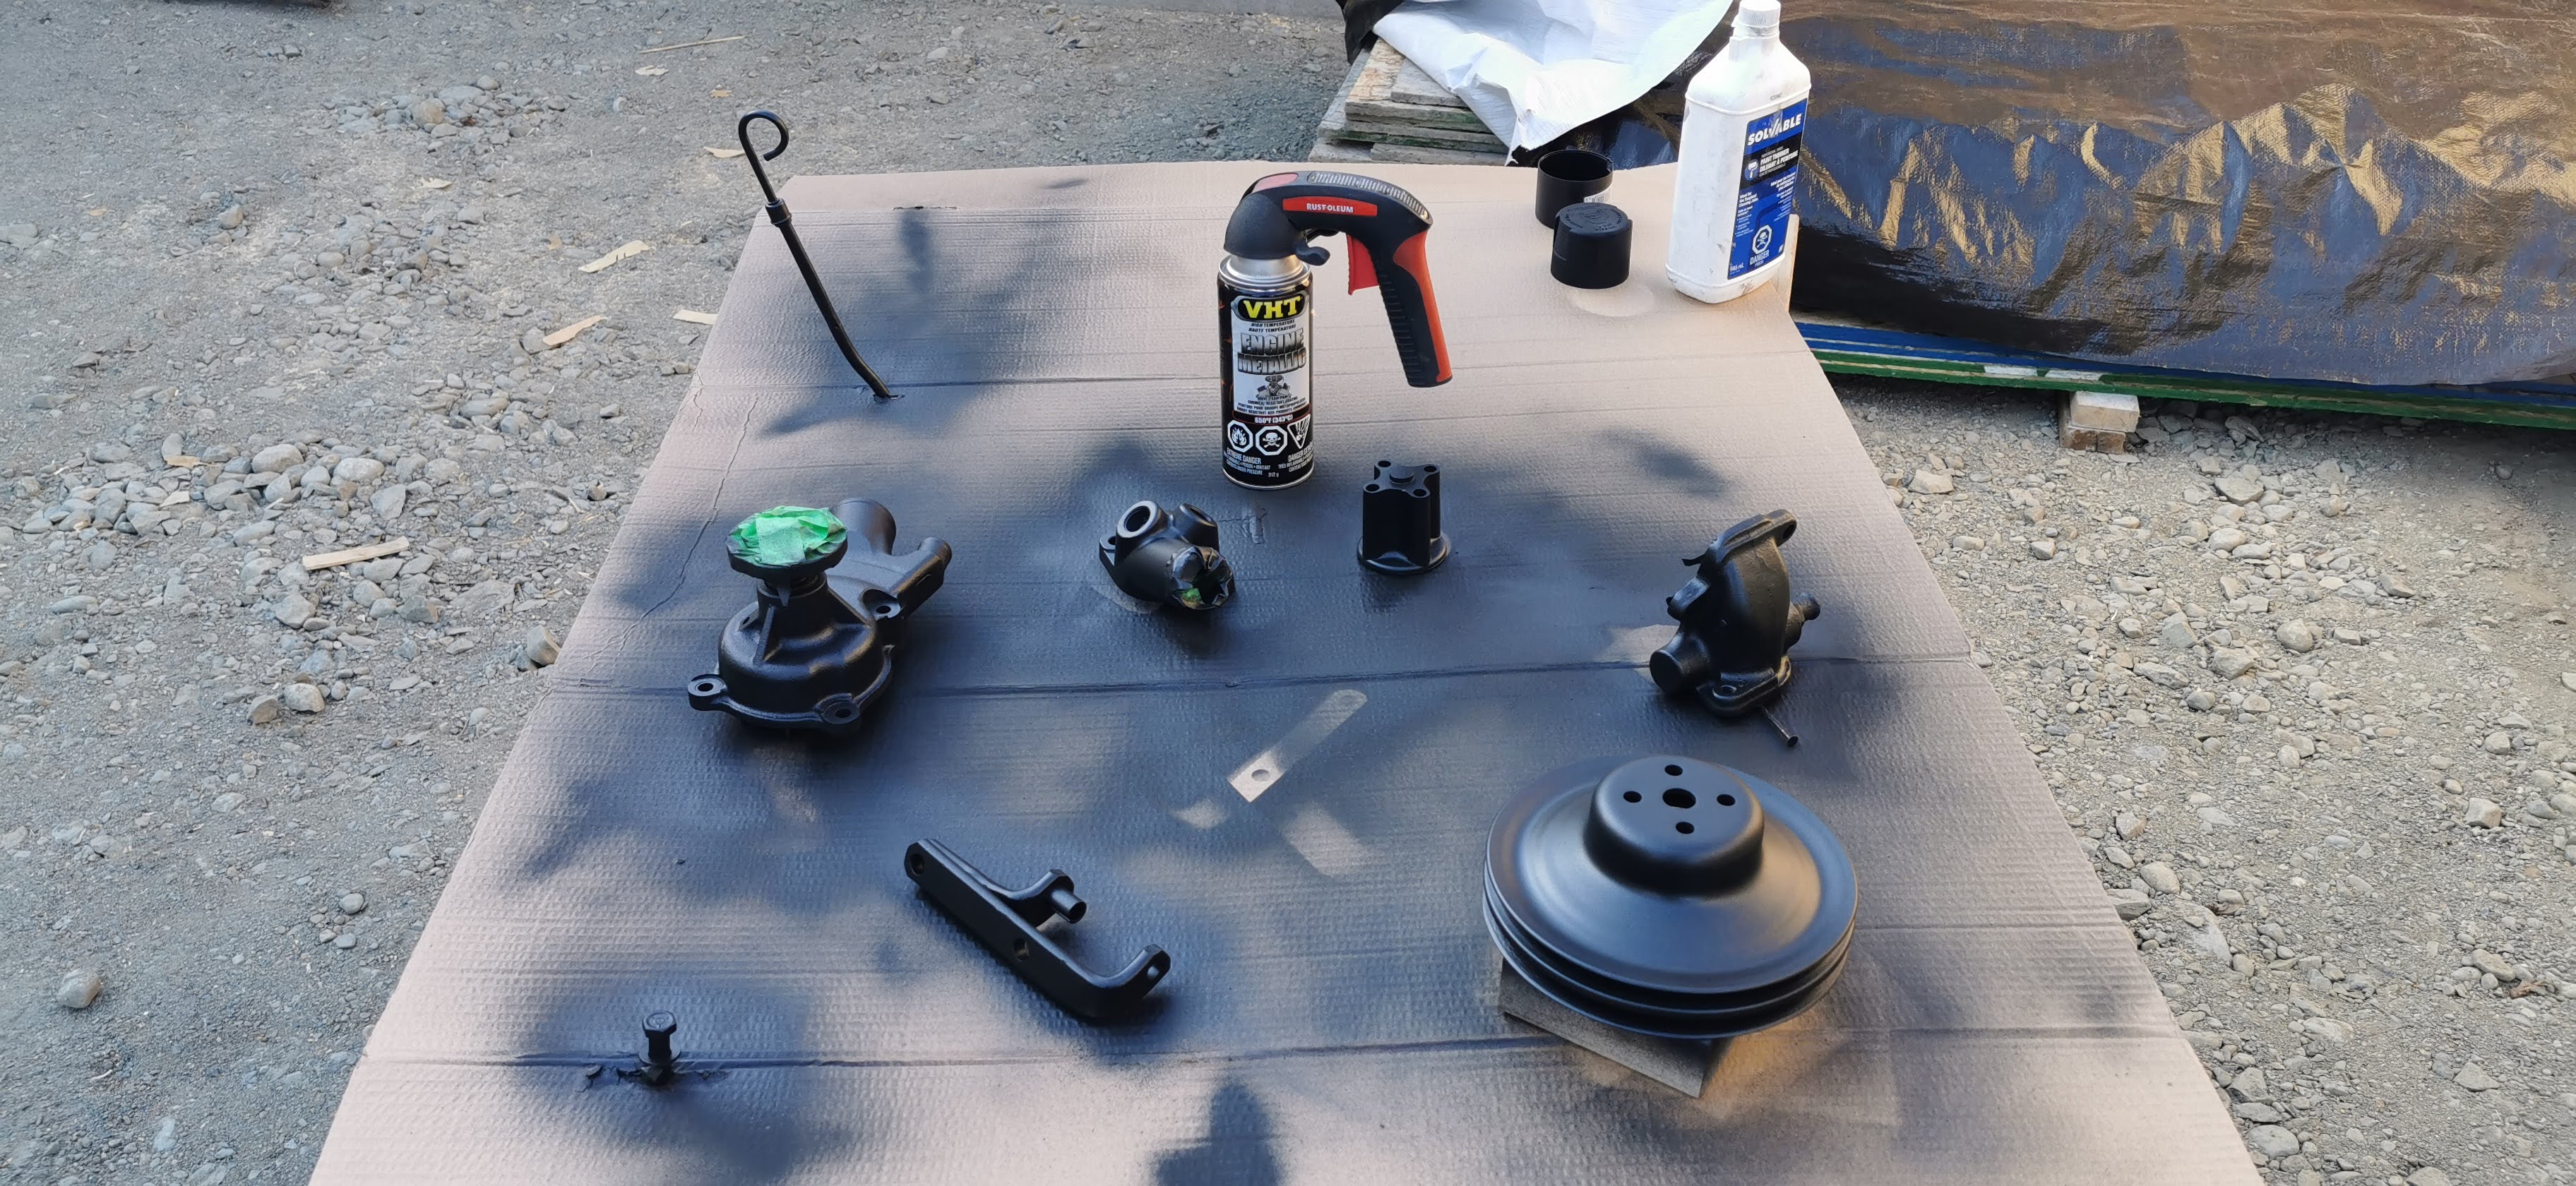
A collection of brackets and pulleys laid out for a fresh coat of VHT Engine Metallic.
Once the engine was reinstalled, I decided against simply bolting the old accessories back on. Every bracket, pulley, and cover went through a process of cleaning, sanding, and painting. This is the same level of effort that went into the original engine build because the small details often define the quality of the final project.
For the painted components, I used VHT Engine Metallic. VHT is a staple in the industry for a reason. Their coatings are known for long lasting durability and excellent heat resistance, which is mandatory for parts living in a turbocharged engine bay.
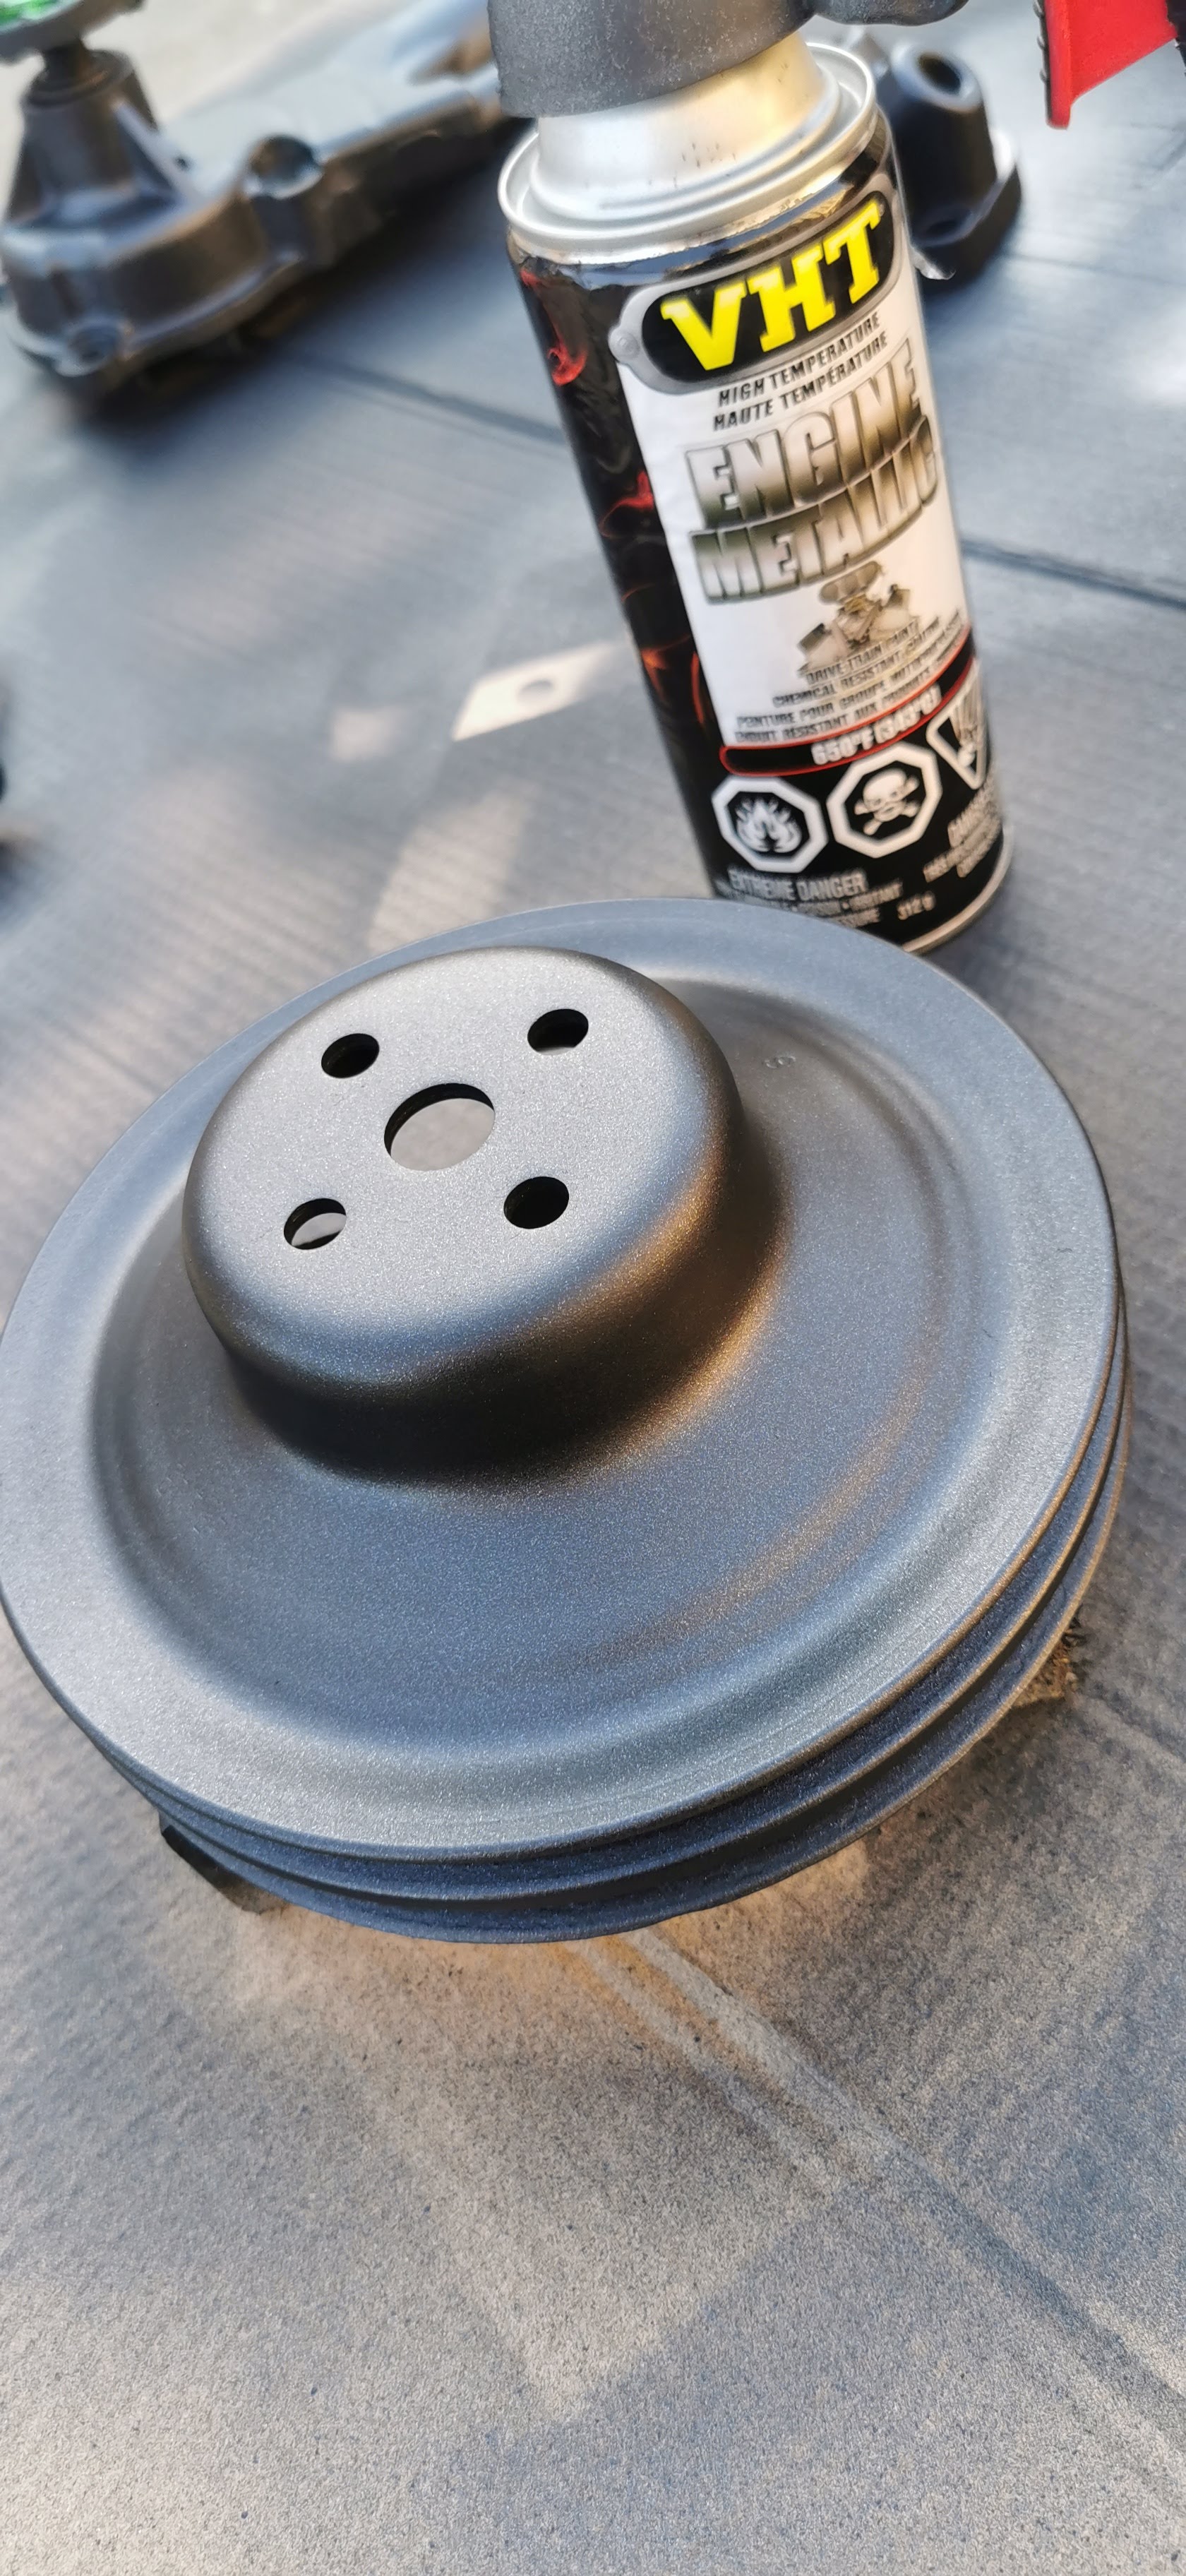
A water pump pulley after being prepped and sprayed with VHT.
Painting Best Practices
Achieving a professional finish with rattle cans comes down to preparation.
- Degrease everything: Even a fingerprint can cause fish-eyes in your paint. Use a dedicated wax and grease remover.
- Sanding: Give the paint something to bite into. I typically use 320 to 400 grit for brackets.
- Thin coats: Resist the urge to cover everything in one pass. Three light coats are always superior to one heavy, runny coat.
- Curing: If the paint requires heat to cure, follow the instructions on the can to ensure the chemical resistance is fully activated.
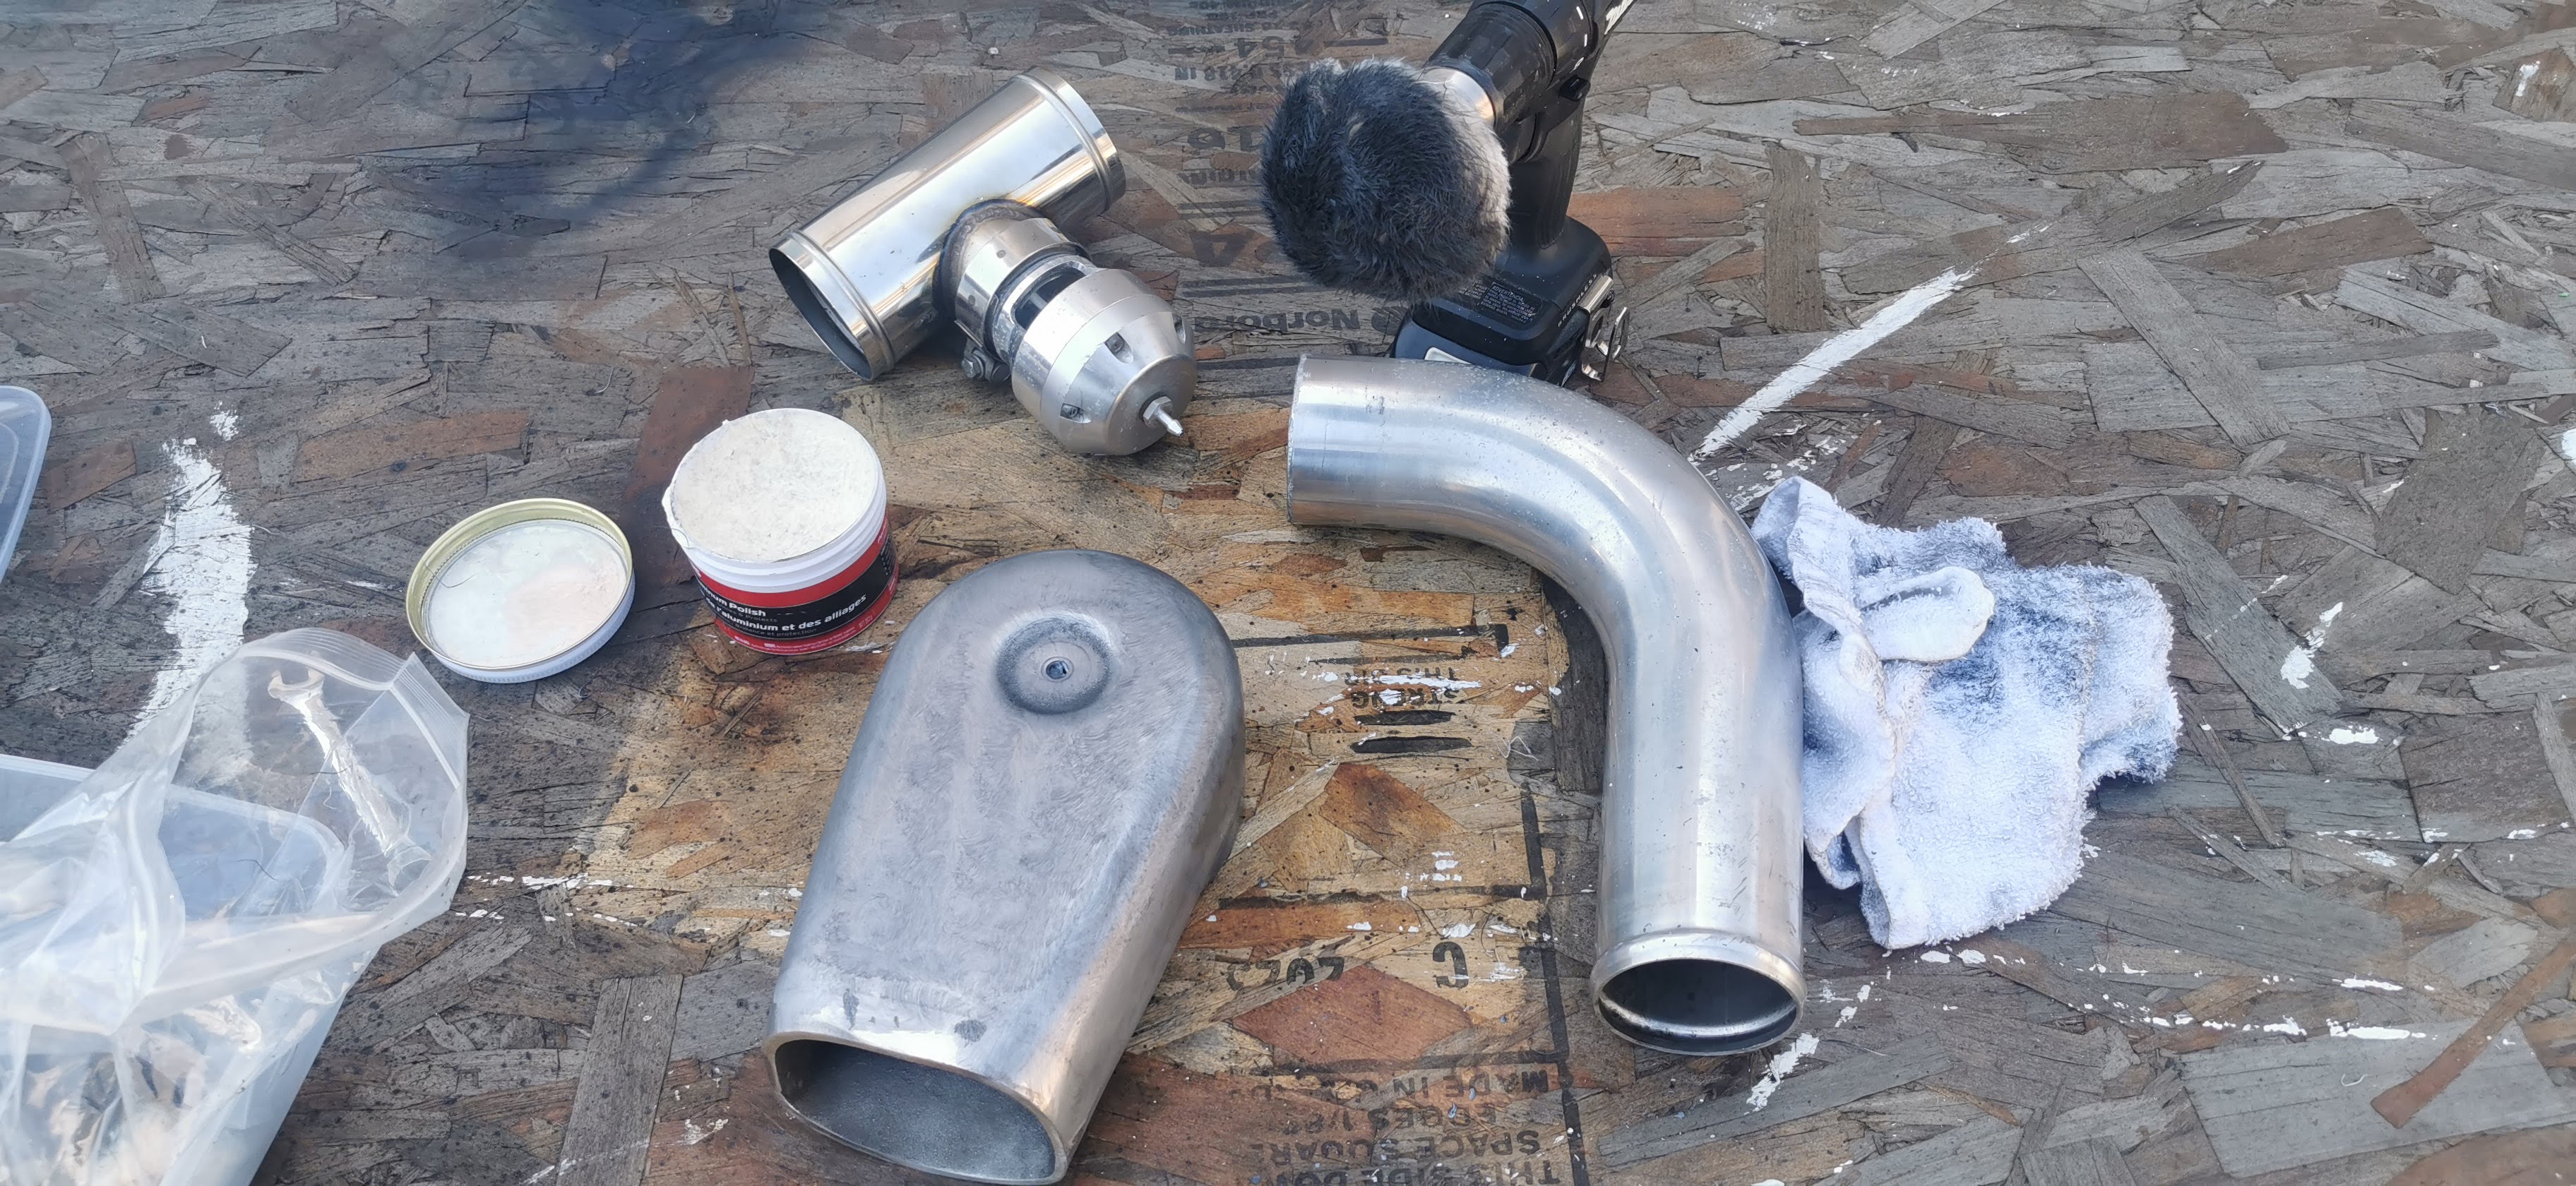
For the aluminum pieces, I moved away from paint in favor of a polished finish. I used drill polishing wheels and various buffing compounds to remove years of oxidation. When polishing aluminum, the goal is to work through the grits and compounds until the surface is smooth enough to reflect light without haze.
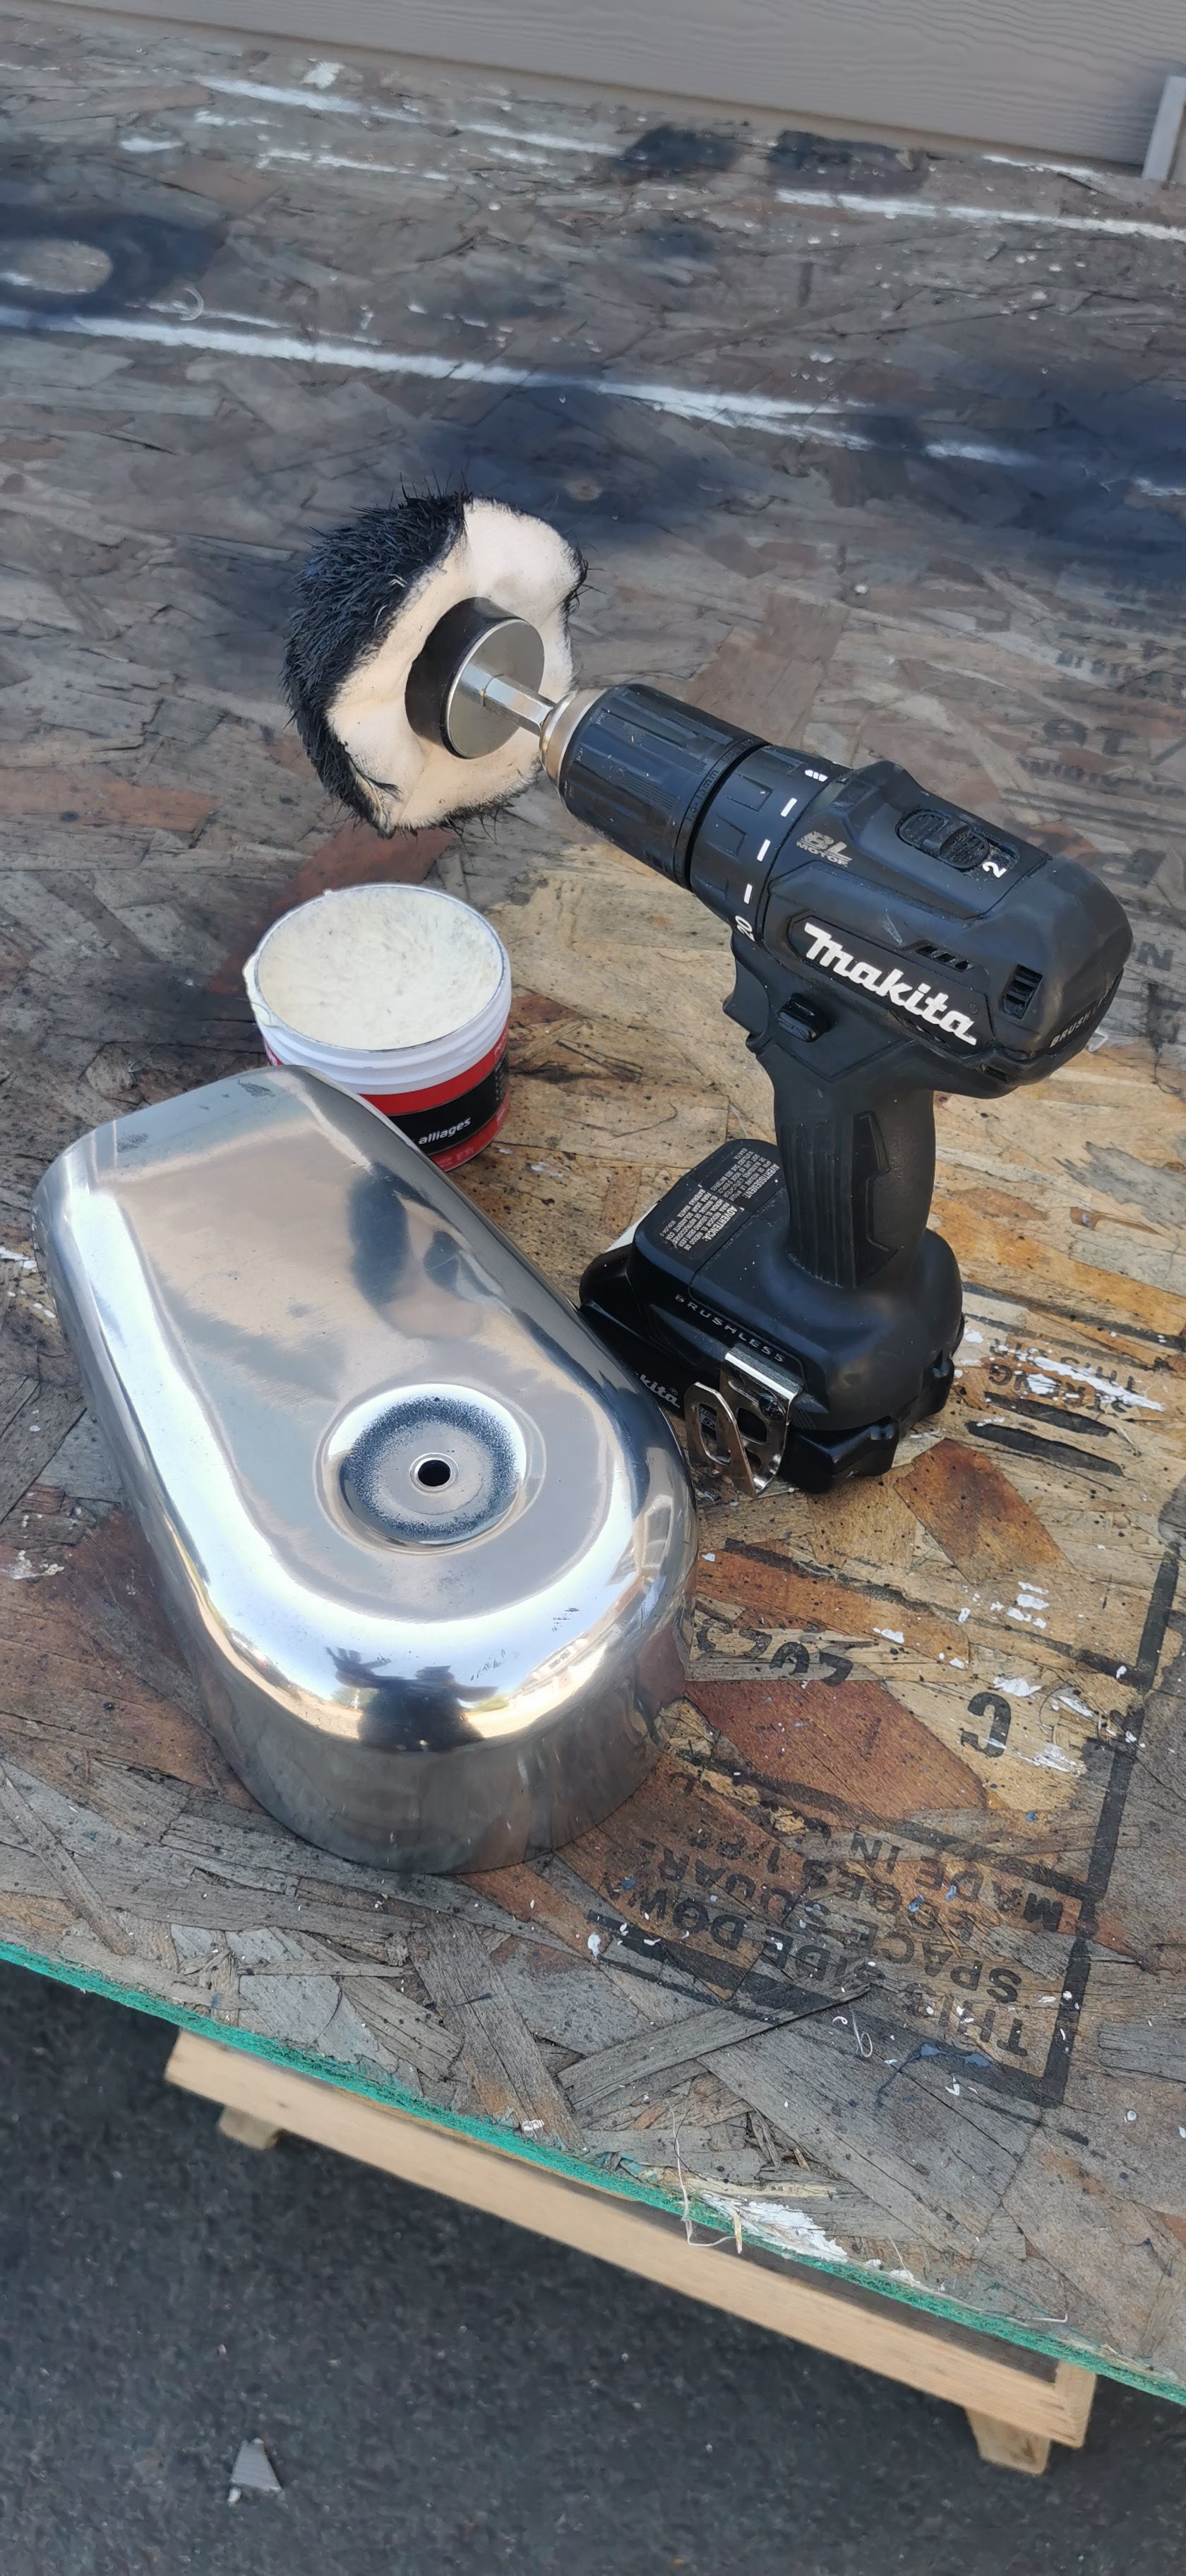
Bringing back the shine on the Spectre Turbo Hat using a drill-mounted polishing wheel.
It is a time consuming process, but the nostalgic and retro vibes of the polished metal against the Chevy Orange block are exactly what this build deserves.