Engine Rebuild #1: Good Intentions
Welcome to the comprehensive guide on the Turbo Camaro engine rebuild. Rather than a wall of text, this article uses over 30 images and videos to document the process from greasy teardown to high-performance startup.
The project began by pulling the “easy” components: radiator, alternator, distributor, and power steering pump. We opted to pull the engine before tackling the fuel pump or starter to make access easier. Using a rented lift, the engine was out in under 45 minutes and mounted to a stand for teardown.
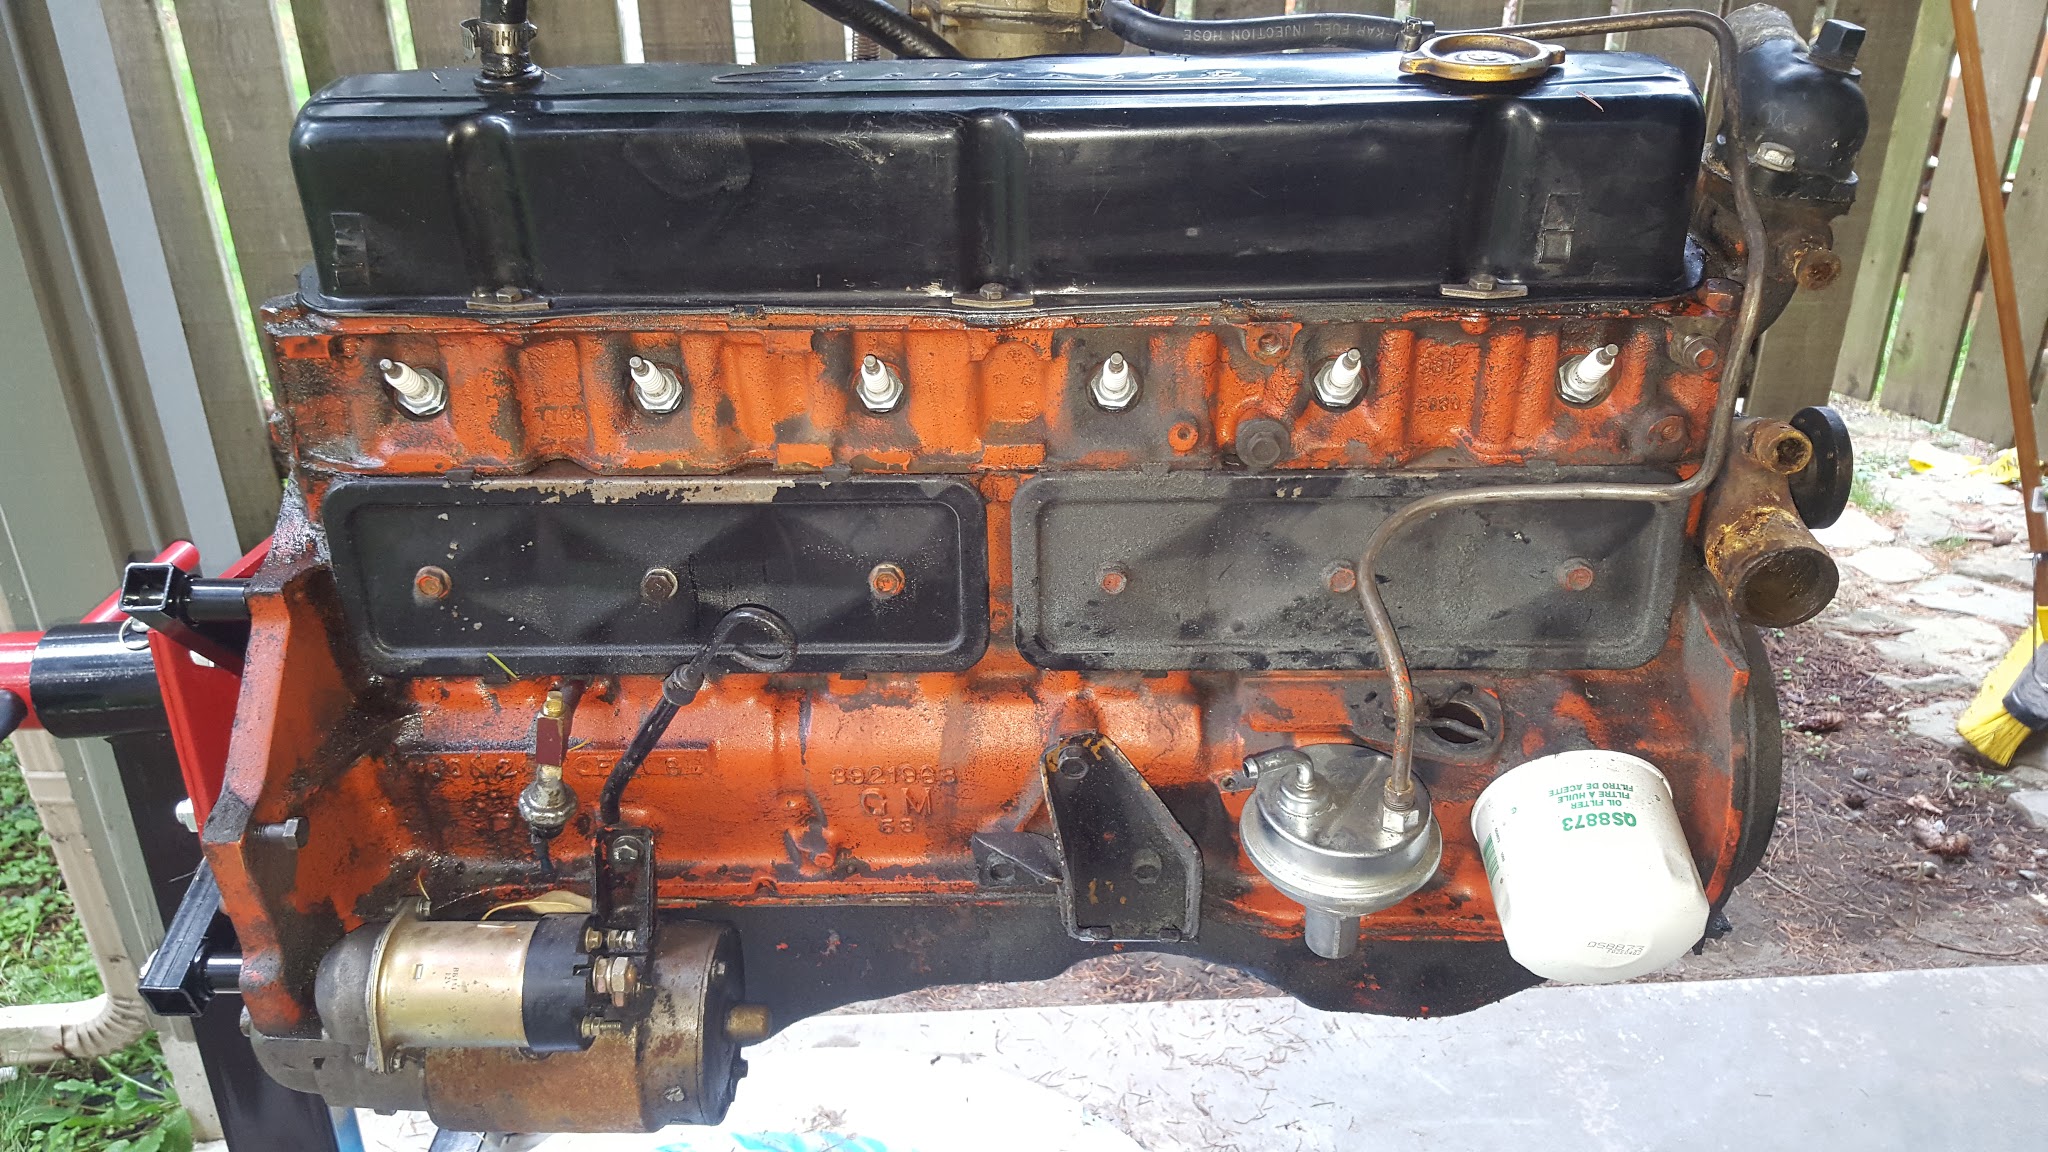
Dirty ol’ Chevy 250 Inline 6 - just put on the stand and ready for disassembly
Quite a build up of oily sludge, but not for long
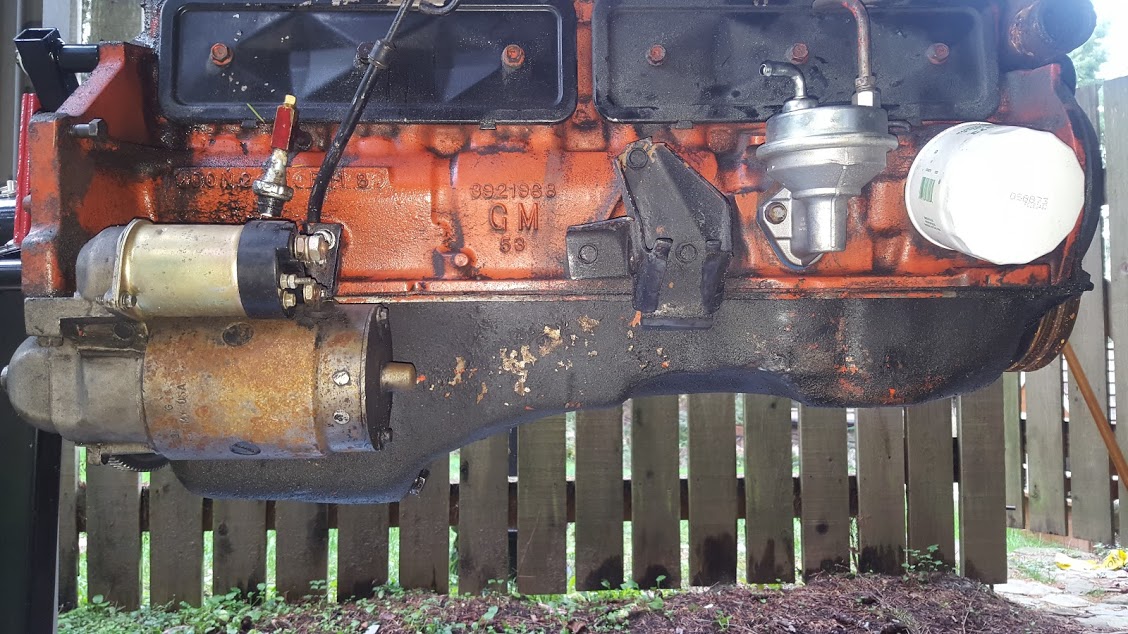
Goodbye stock intake and exhaust manifold. You are obsolete
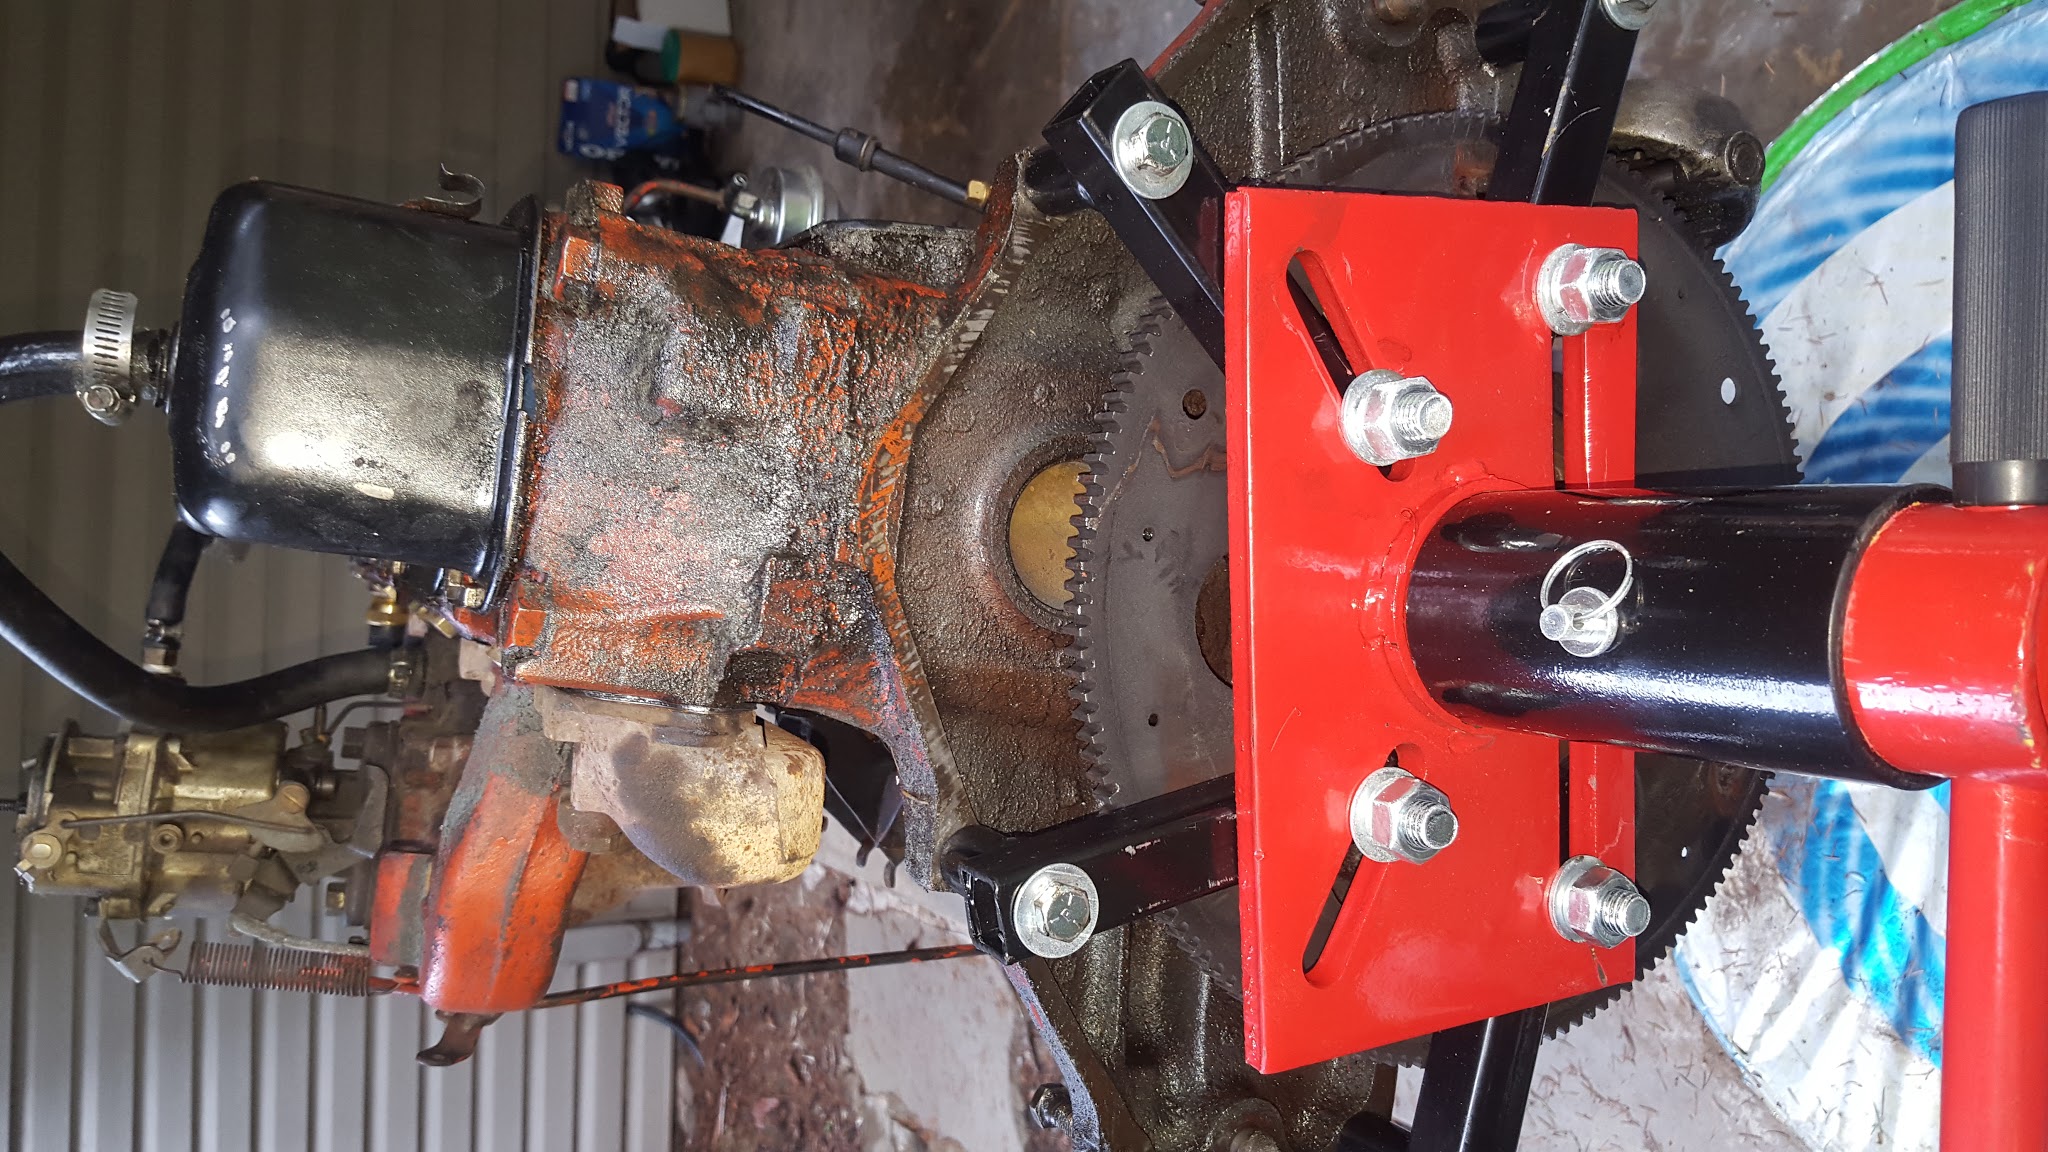
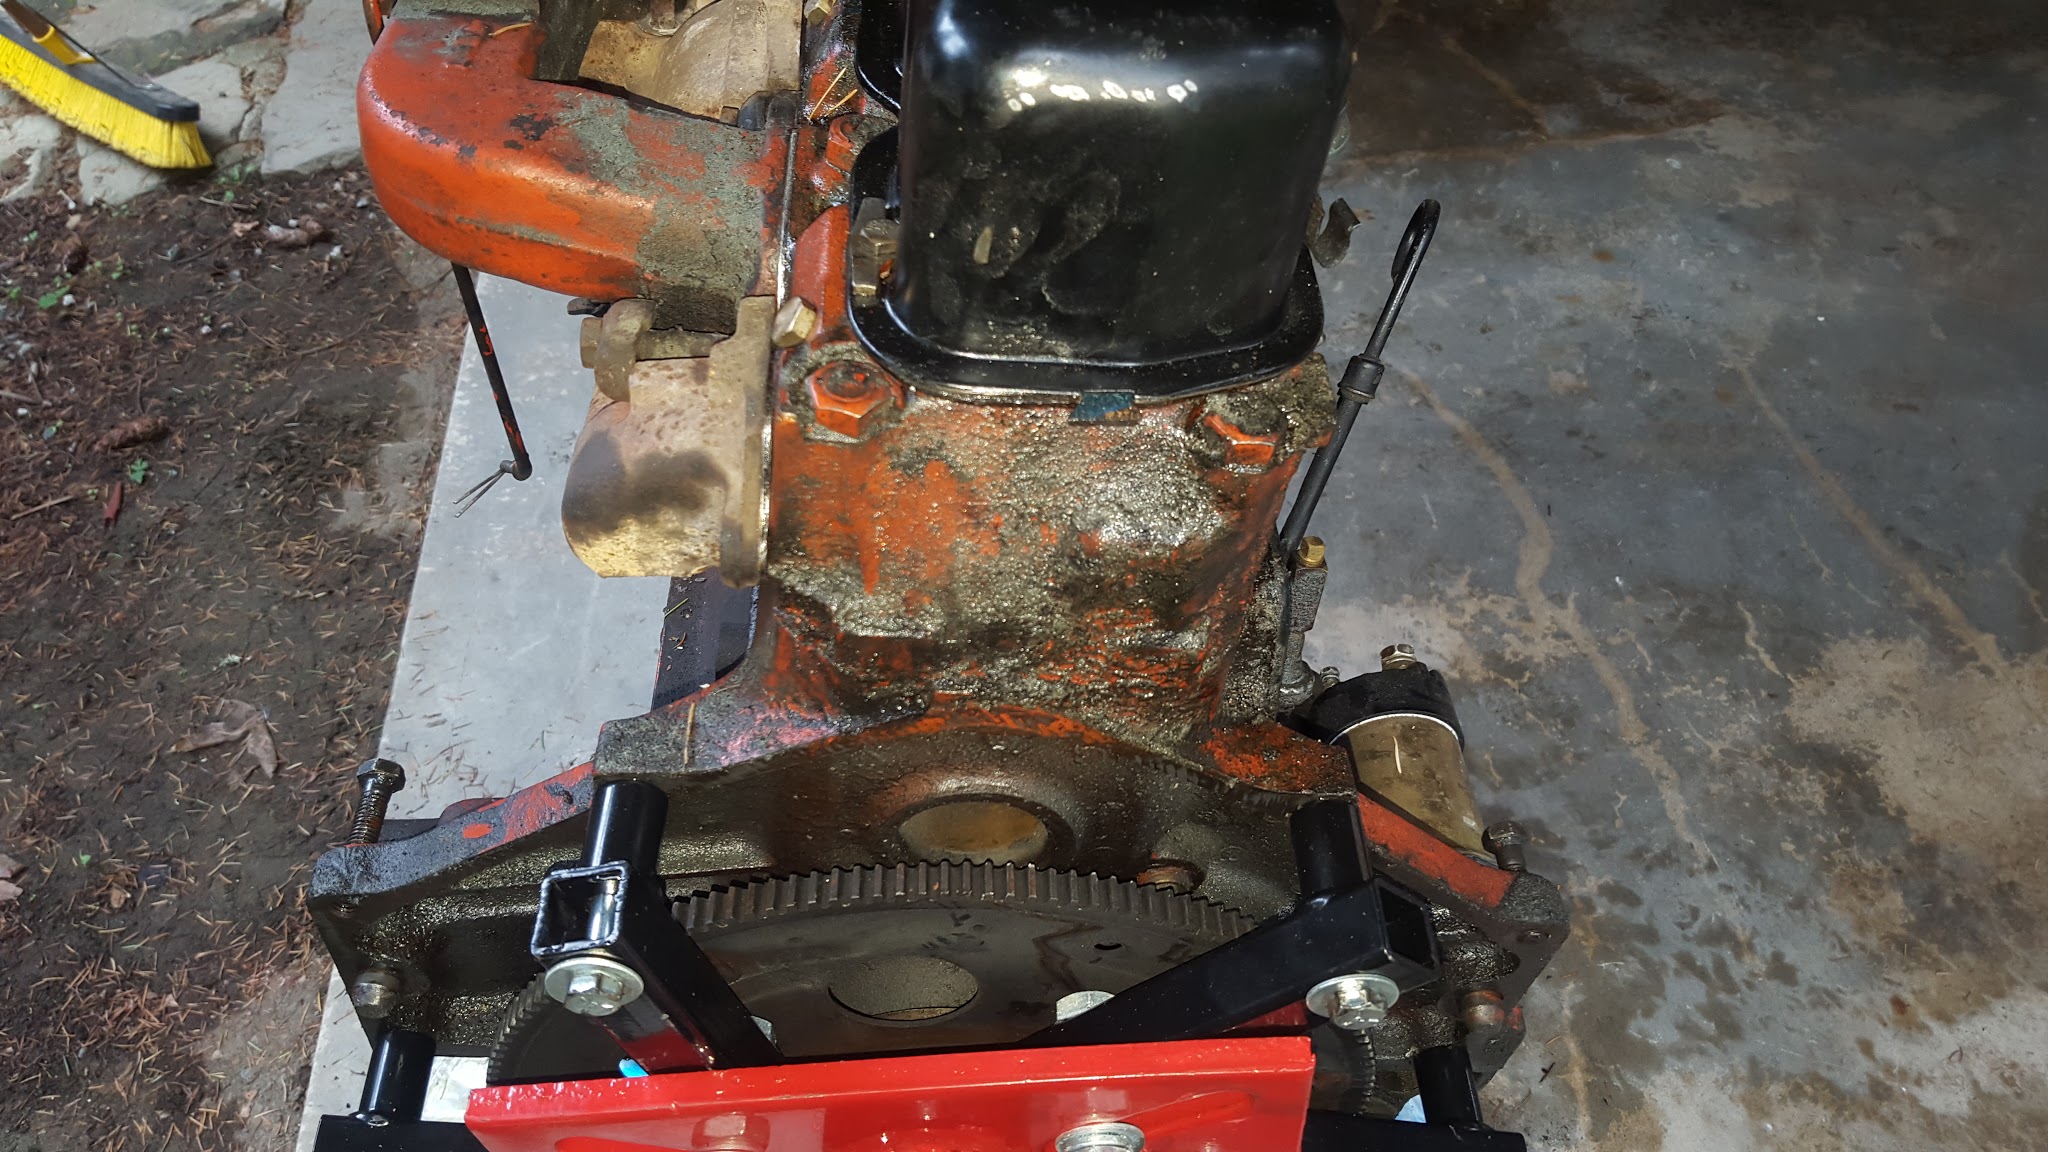
Pulled right off the transmission, flywheel and all
Fairly shallow oil pan but no obvious leaks
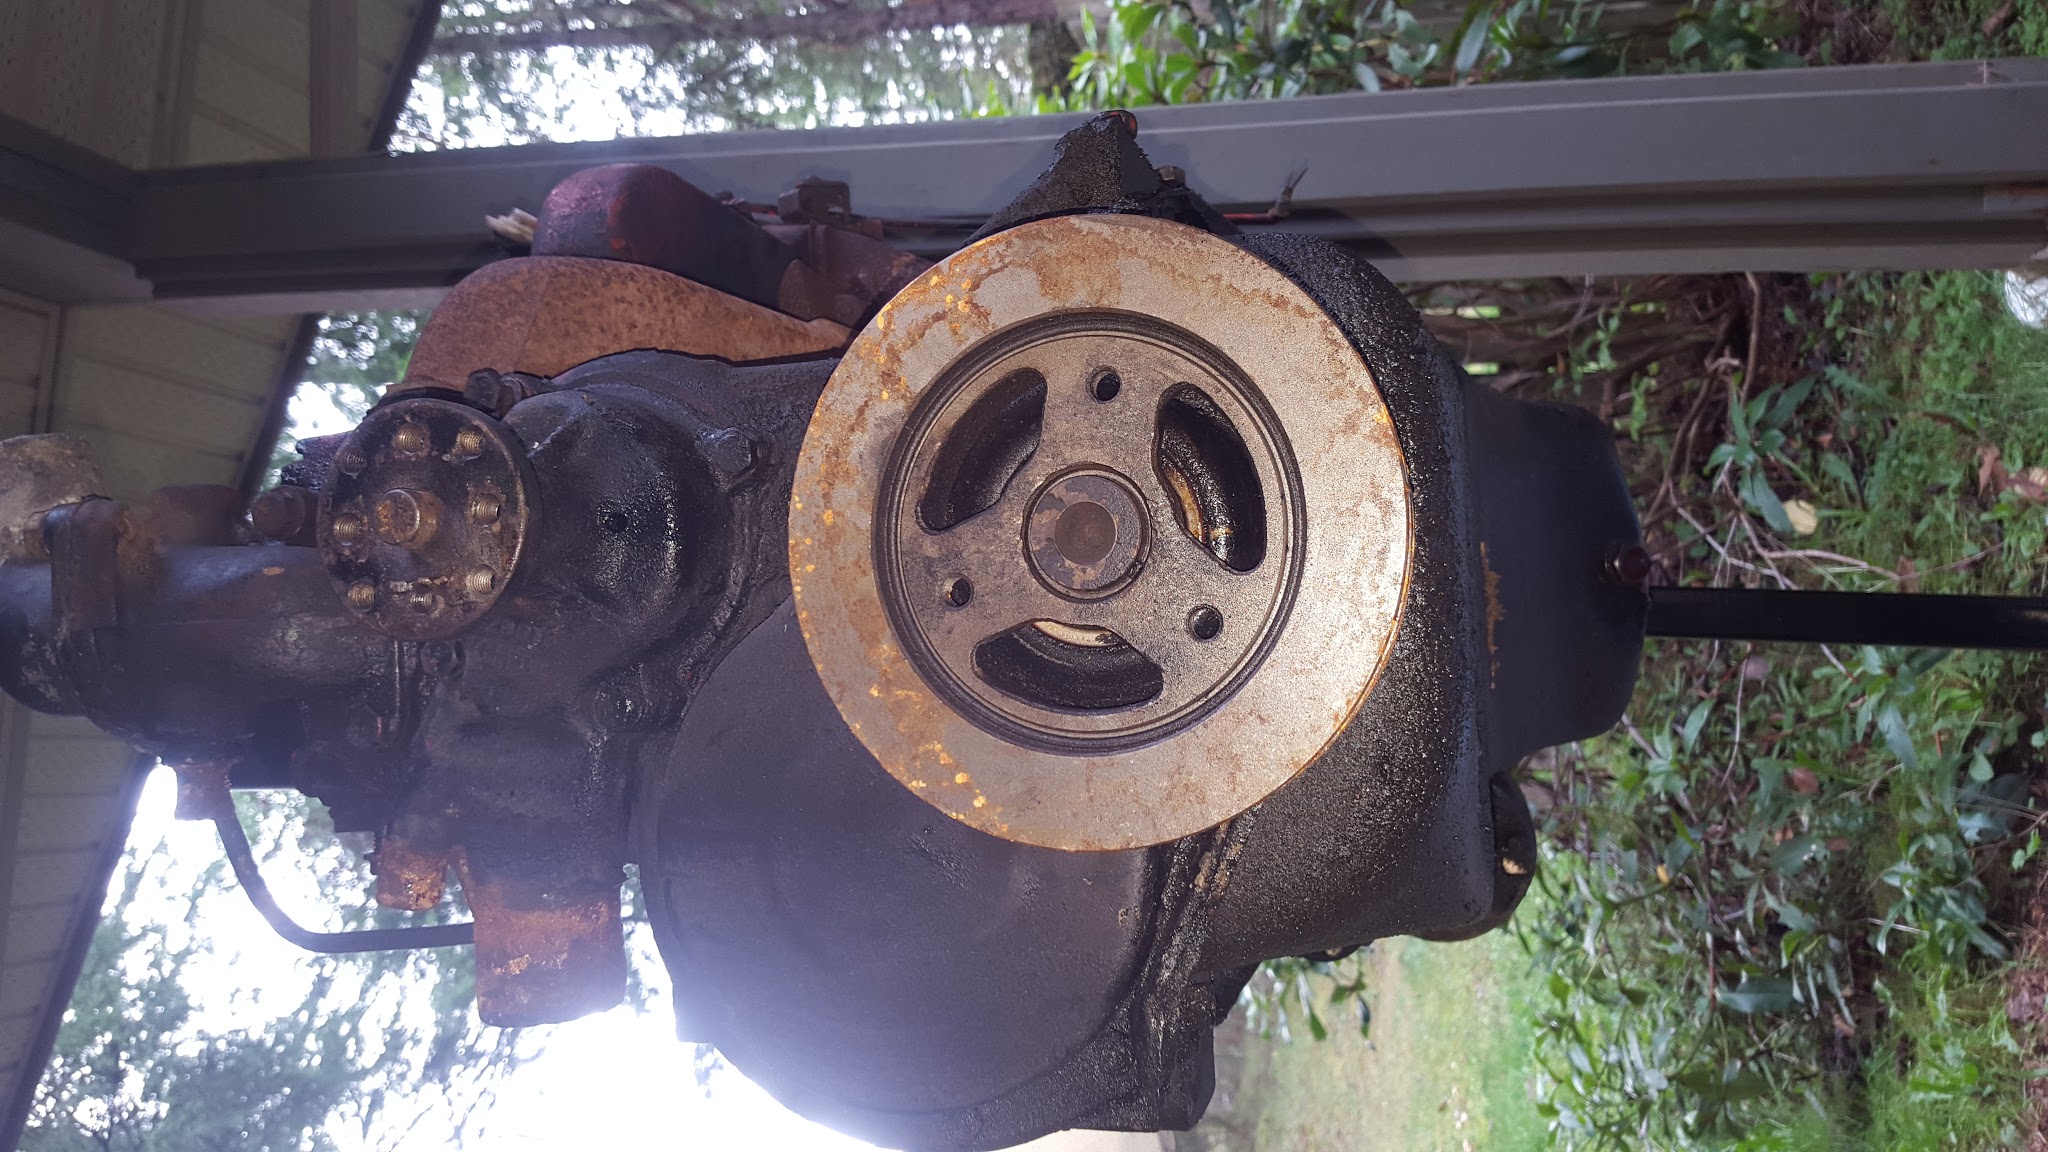
Replaced the damper a few months ago; should have painted it
Valve cover had a leak for a while, though the gasket was recently replaced
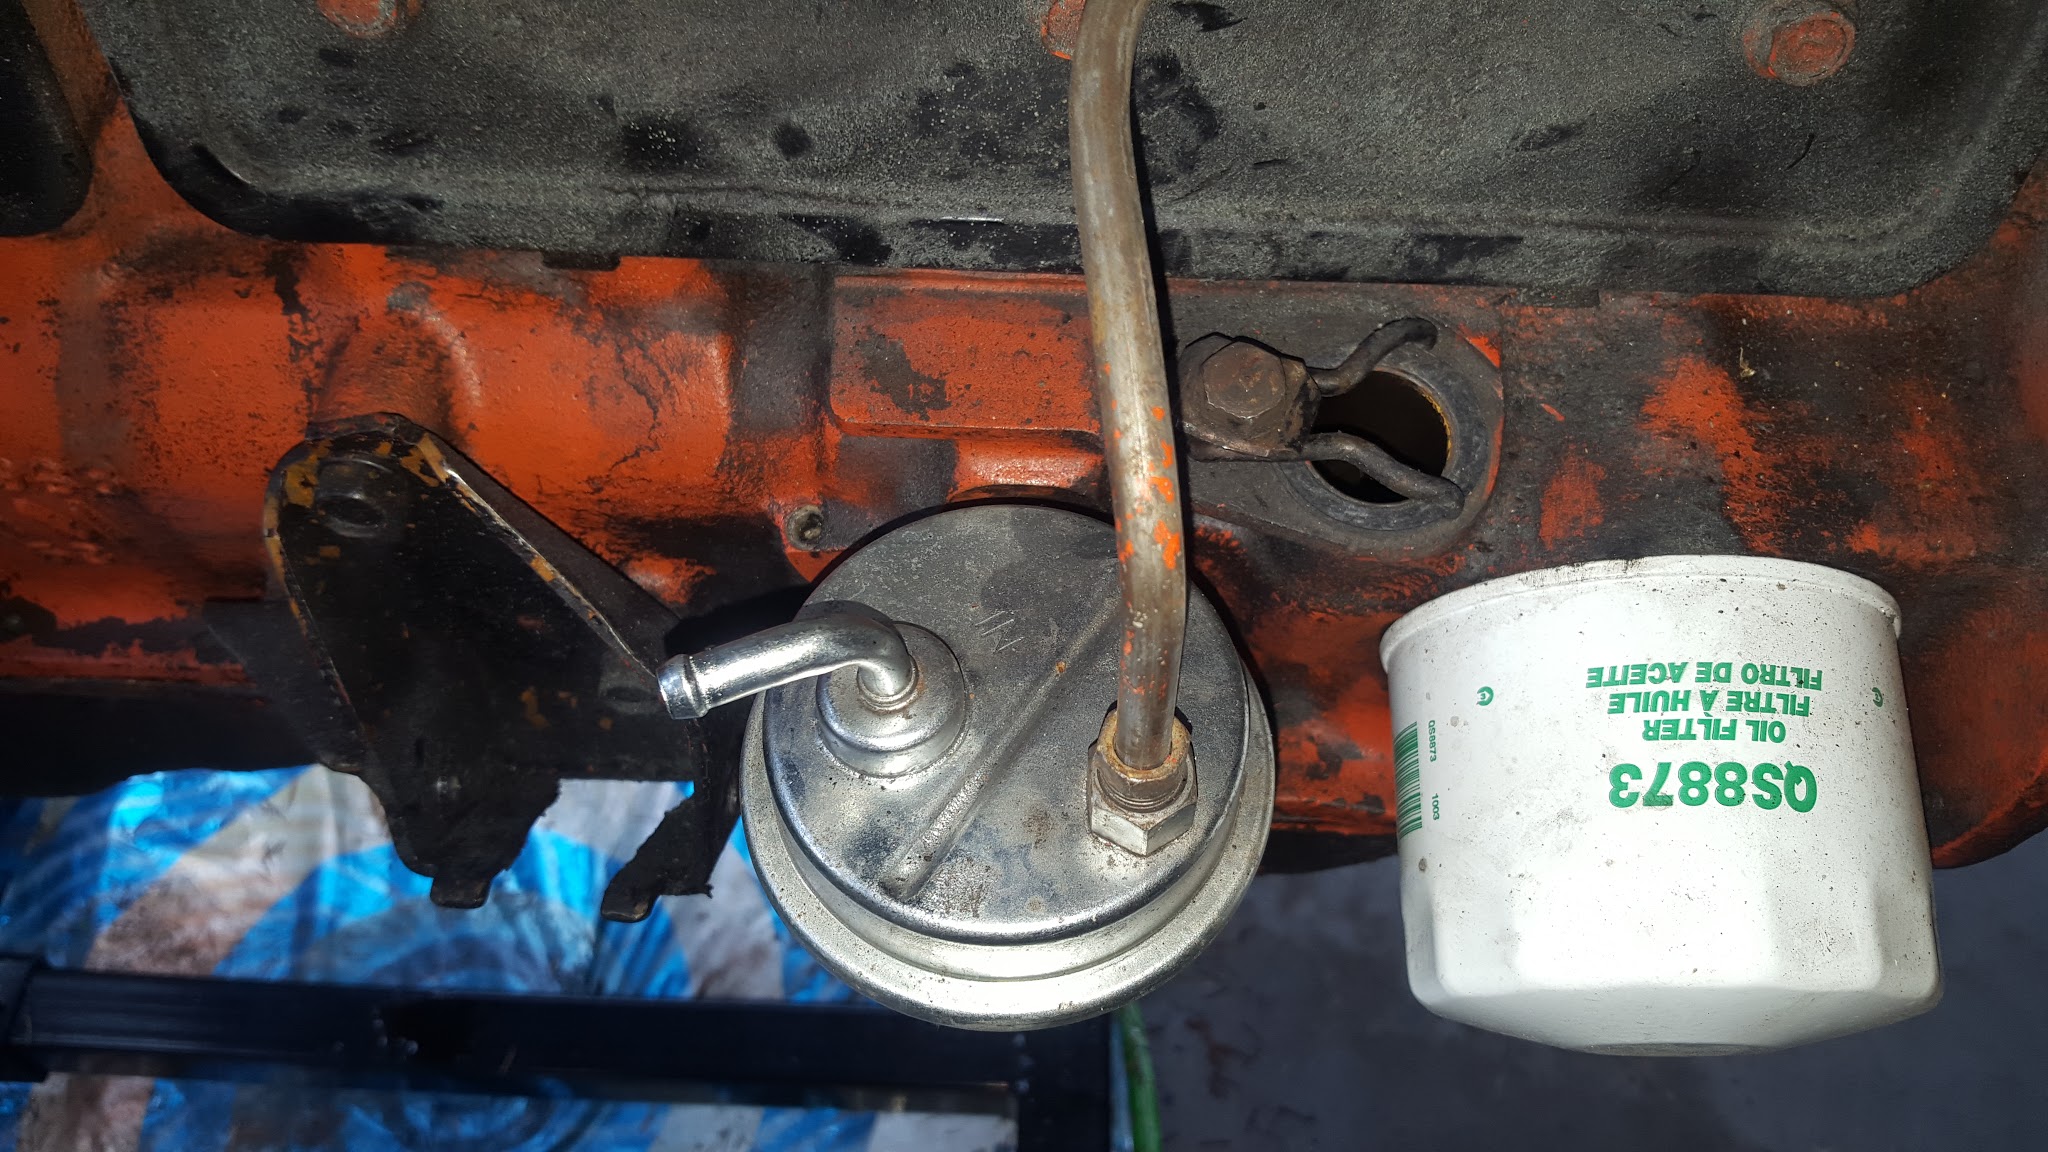
Installed a new Delphi MF0019 fuel pump in August 2015
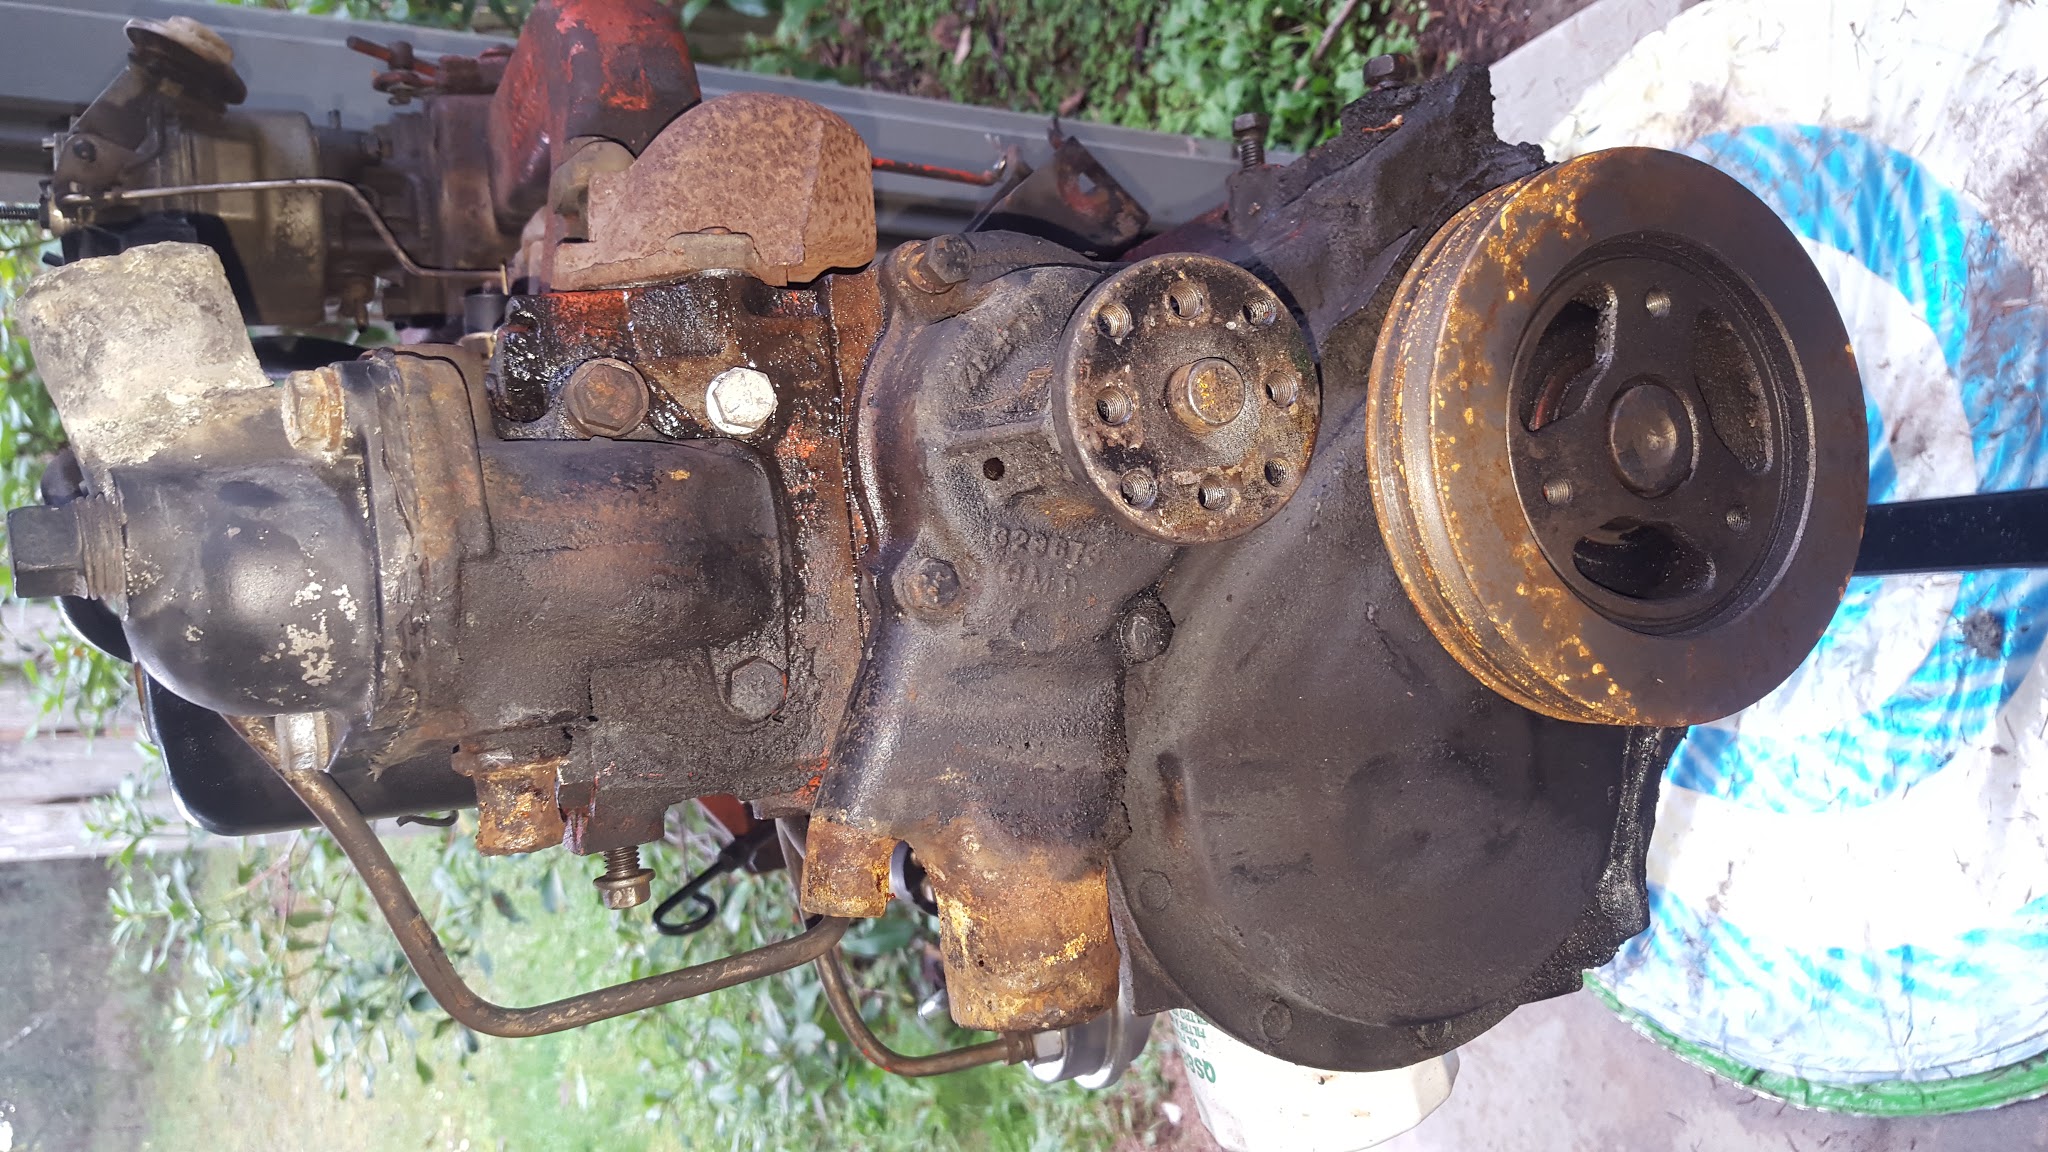
Thermostat and water pump work fine, but need a thorough cleaning
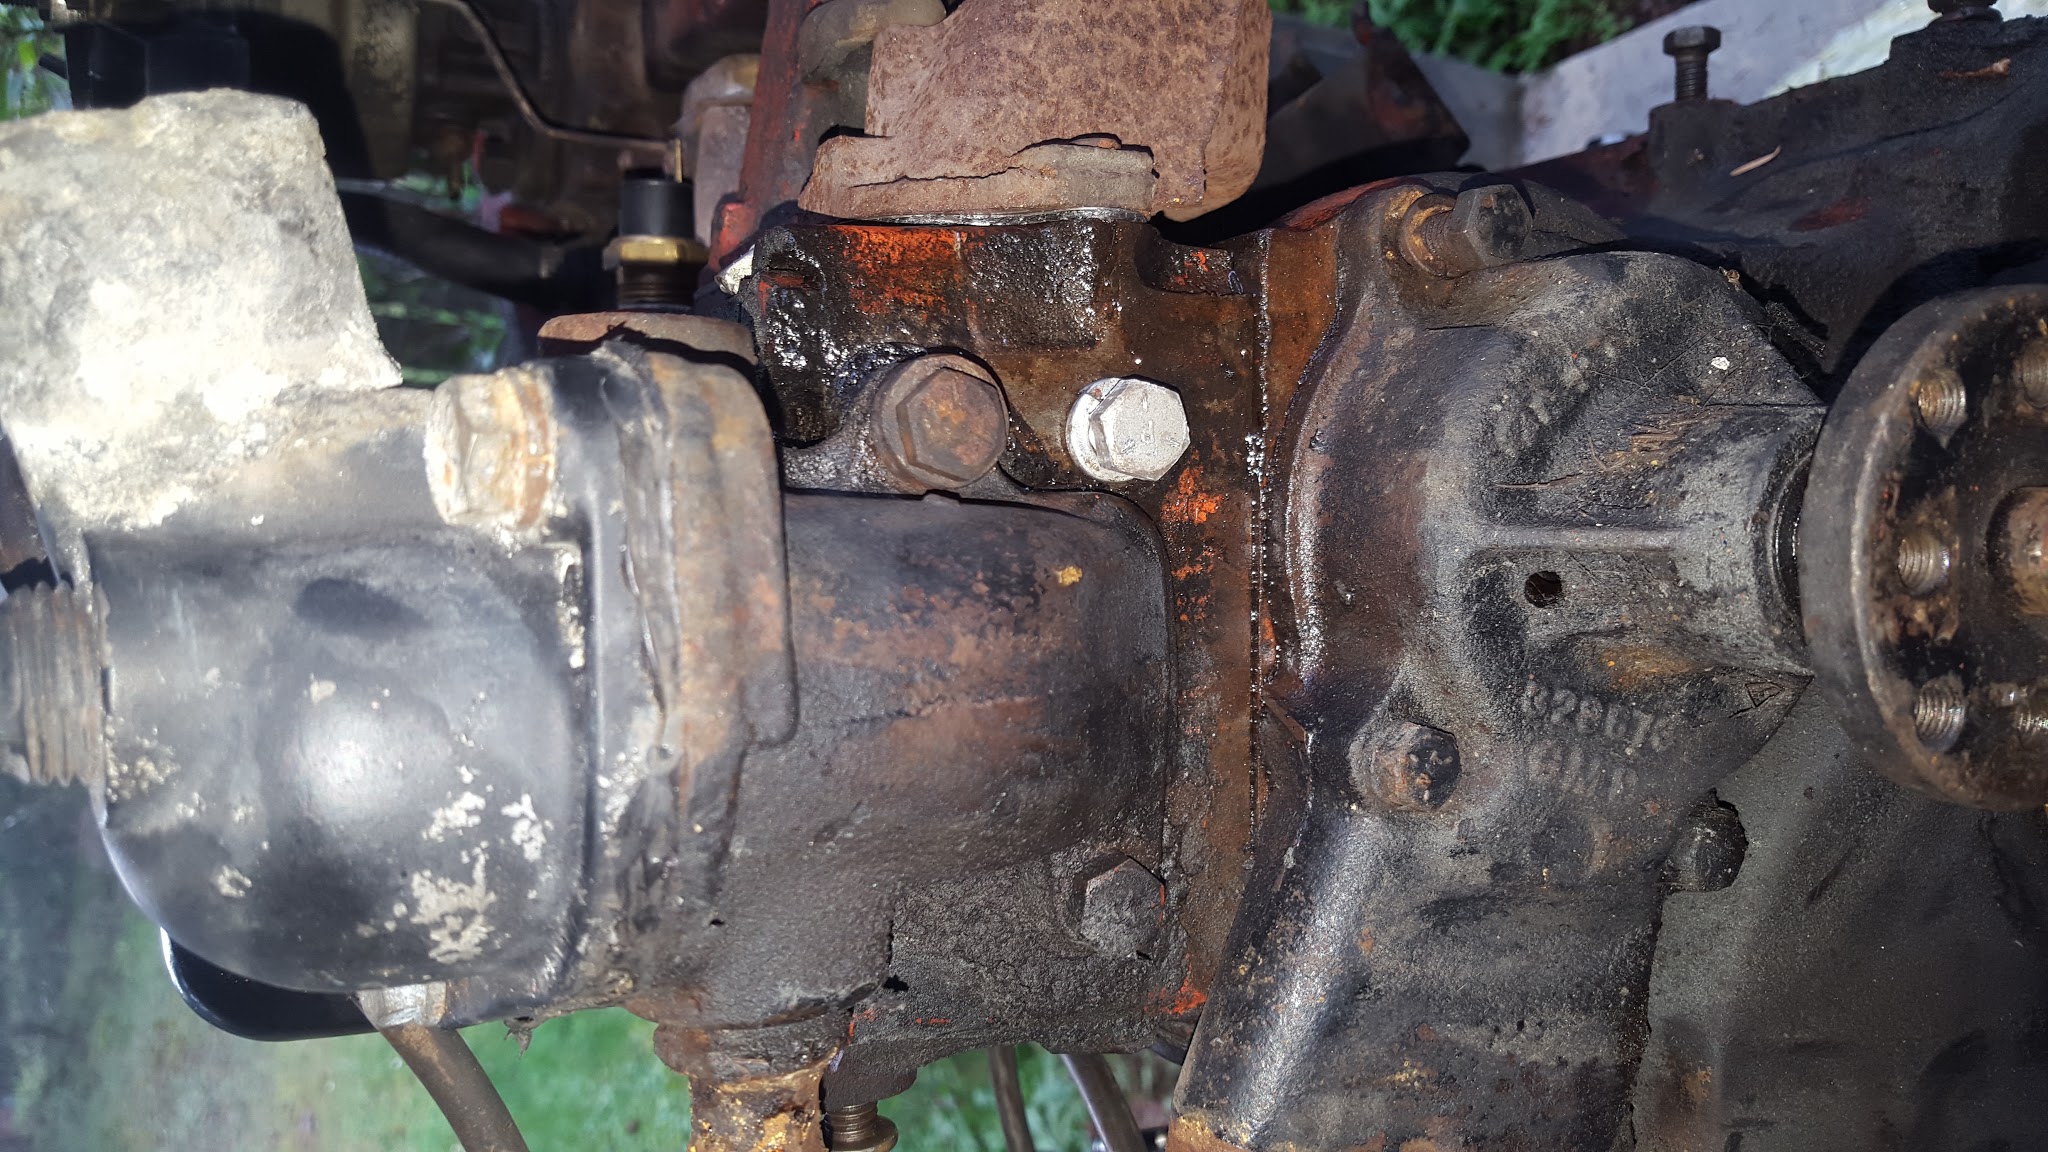
Head unbolted. Hard to do with the stand on wheels as those bolts are tight
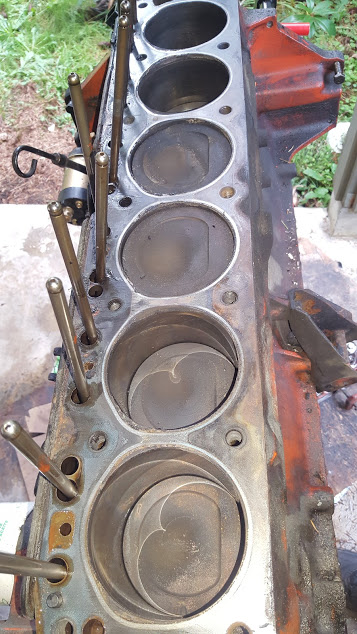
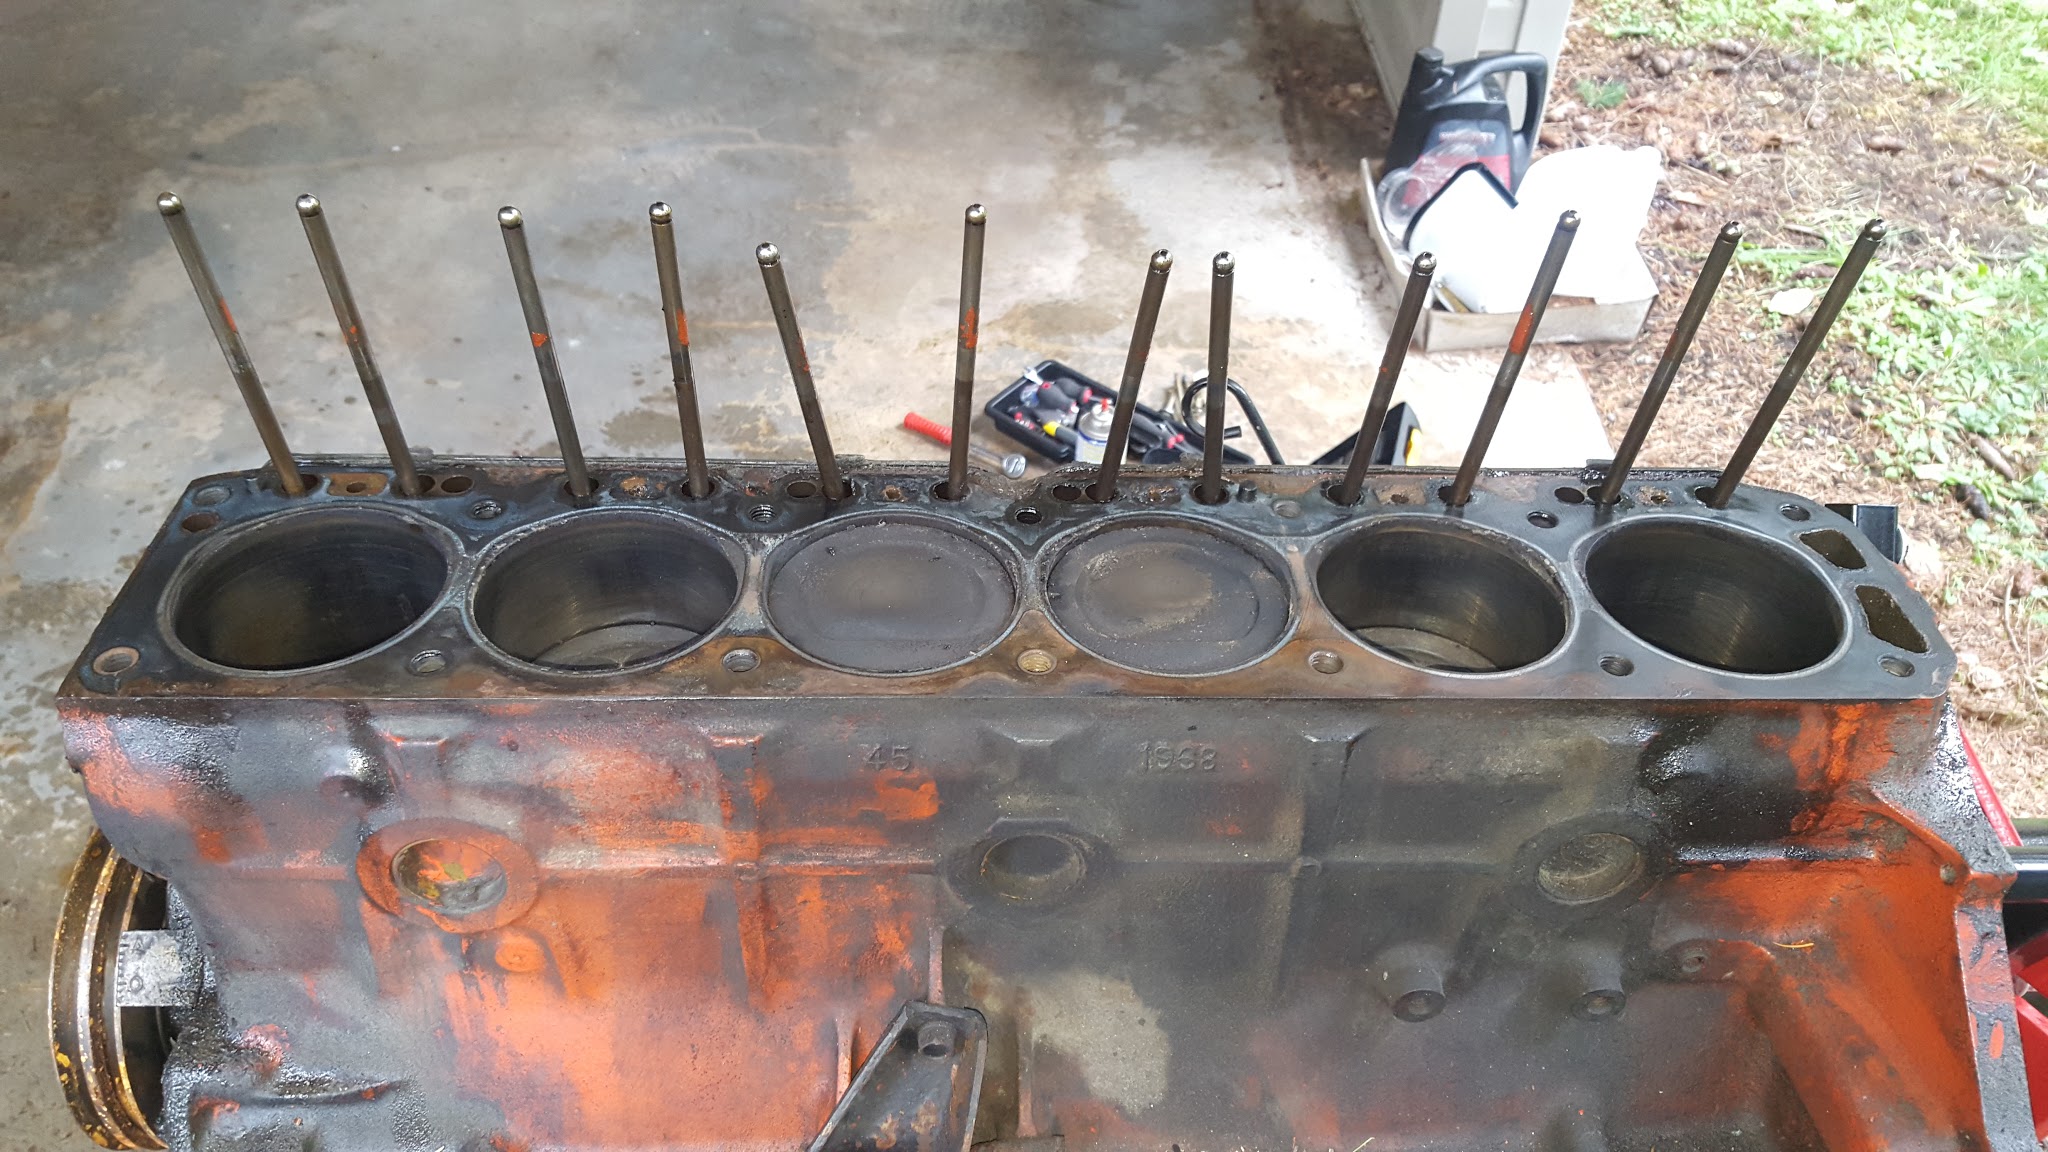
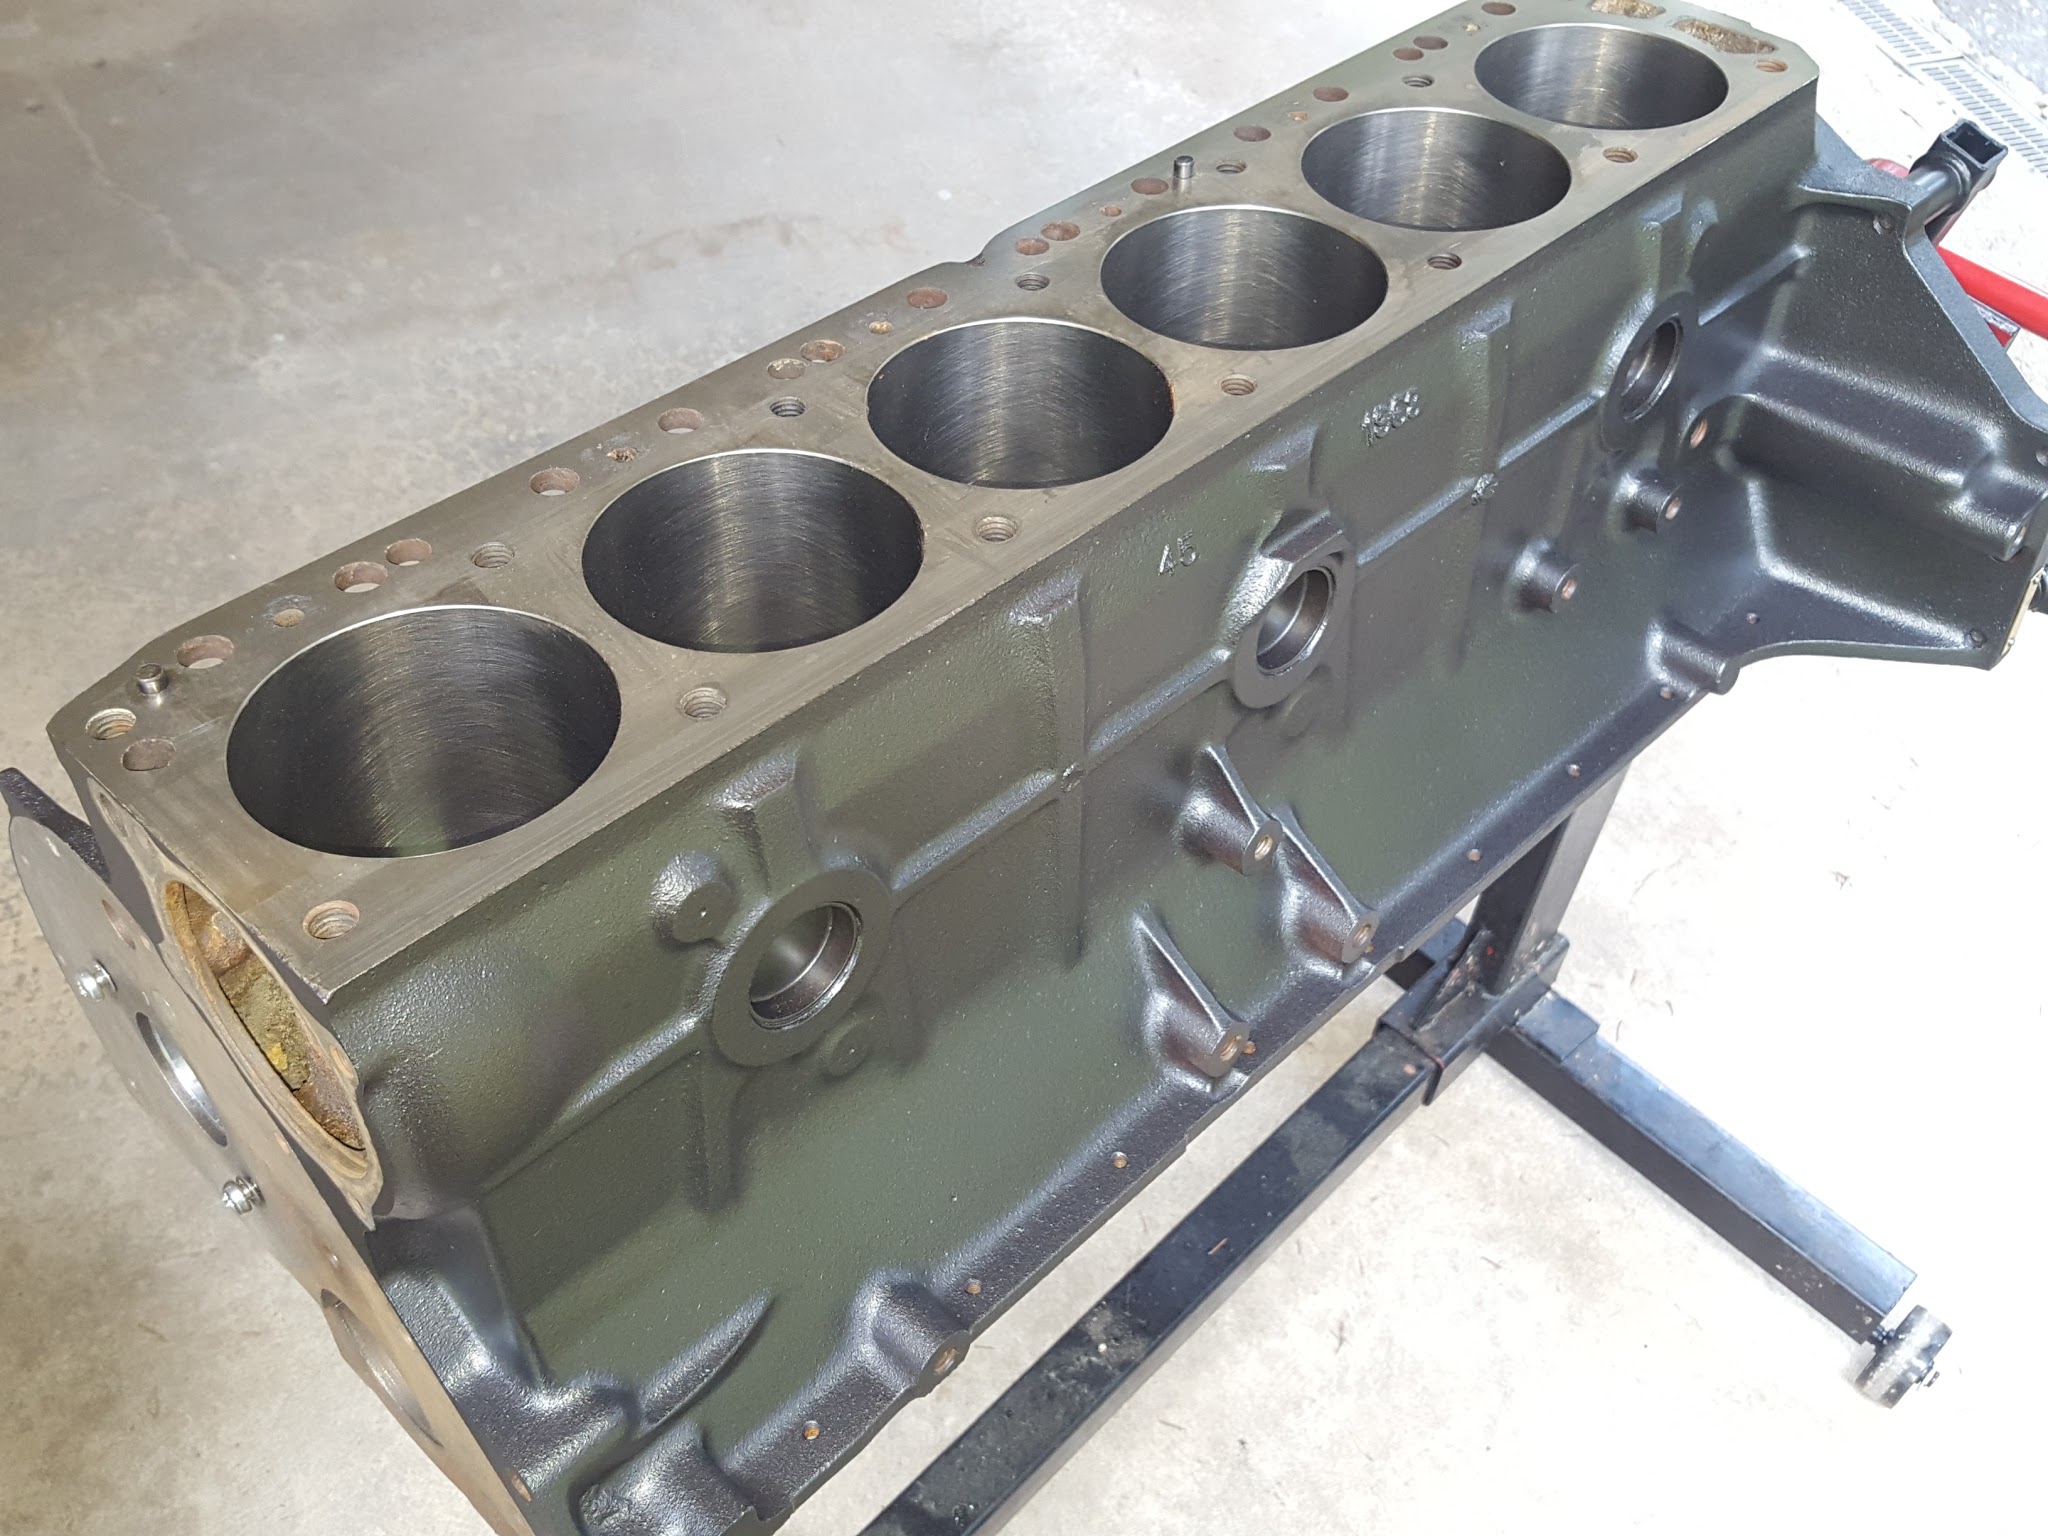
Pistons don’t look too bad and the deck is fairly smooth
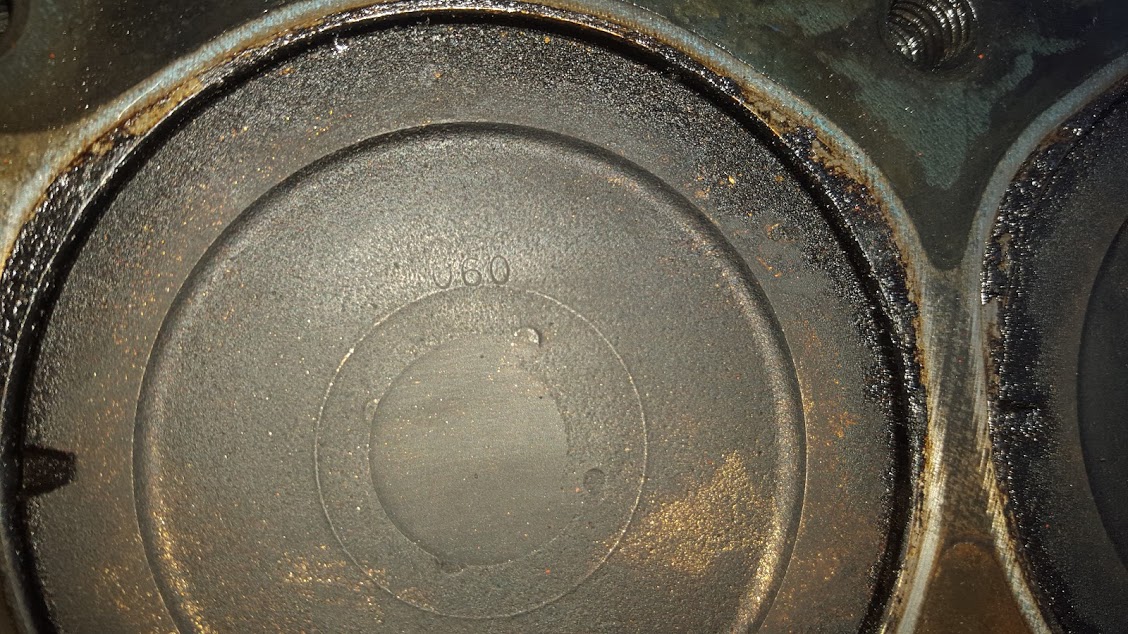
Pistons show “60” stamp—this block was already .060” oversized
After complete dismantling, the parts went to the machine shop. They confirmed that we could go even larger, so we ordered custom forged pistons at 0.070” over. While waiting for the shop, we cleaned and painted all ancillary parts—mounts, pumps, and manifolds using VHT Metallic Black Pearl.
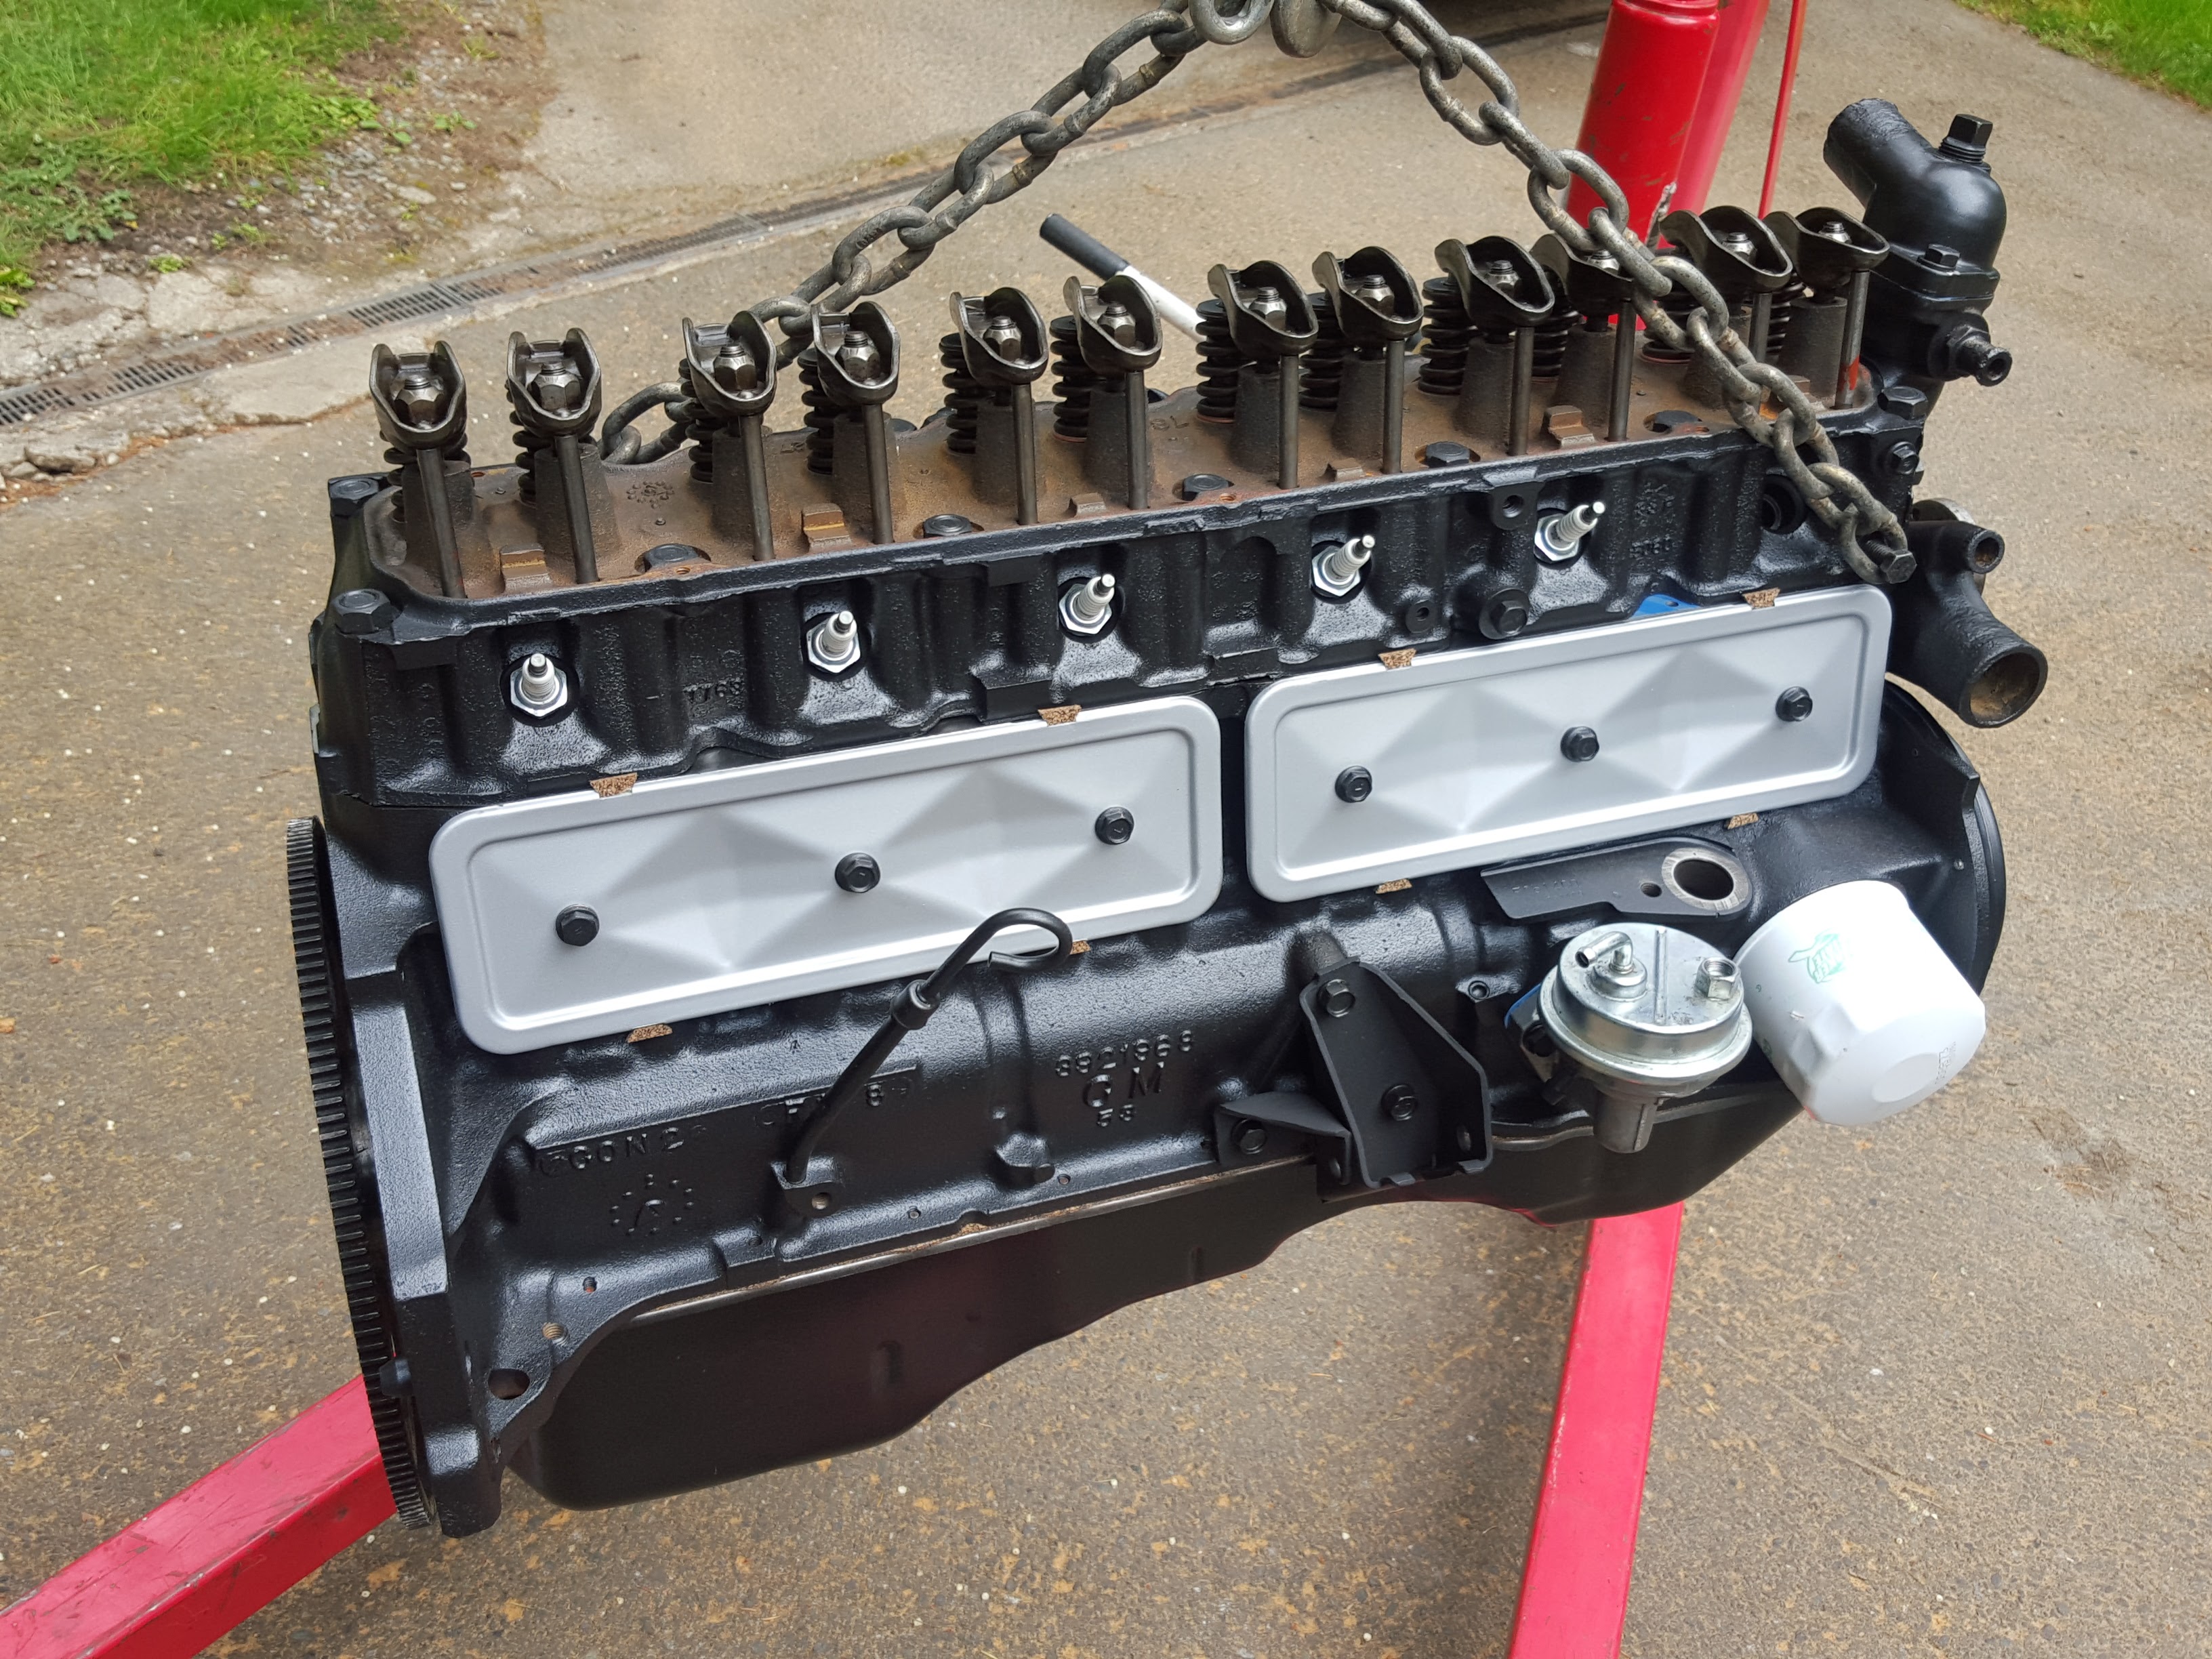
Block painted with VHT Metallic Black Pearl. Assembly has officially started
The assembly video below covers the installation of the bearings, crankshaft, rods, and pistons.
We used a Fel-Pro 1025 Performance head gasket to mate the modified cylinder head to the block. This gasket has a reputation for handling high-boost turbo applications. Once the long block was assembled, it was time for transplant.
Fresh Chevy 250 ready for transplant
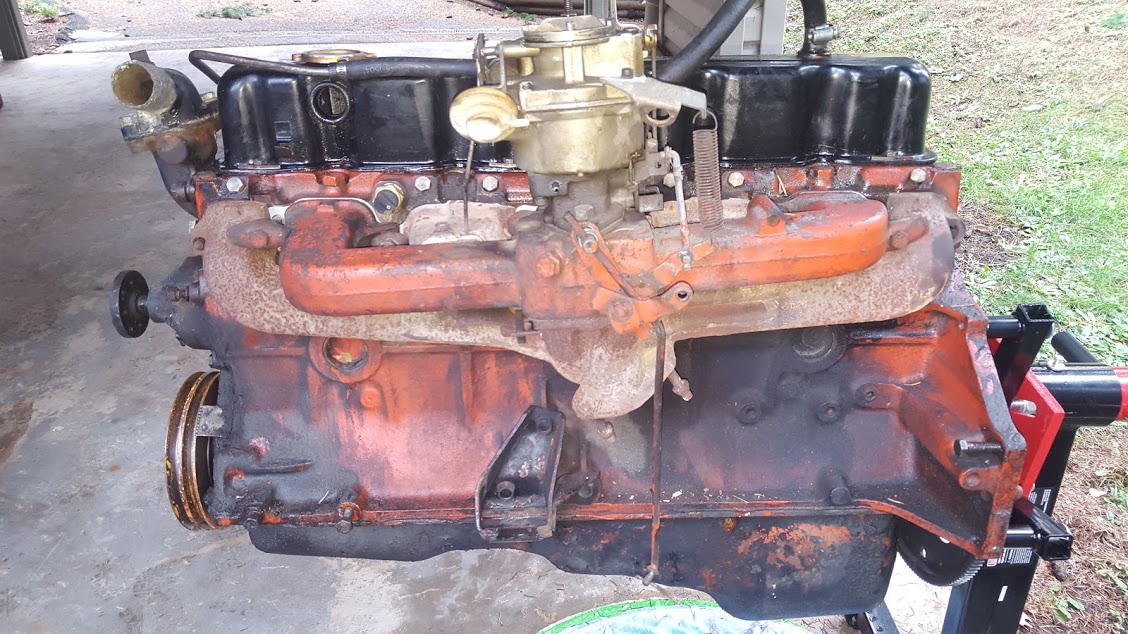
The final manifold setup was a puzzle: Offenhauser 5416 intake, Trans-Dapt 2090 adapter, 1/2” phenolic spacer, and the Holley 4776 carburetor. This stack left only 1/2” of hood clearance.
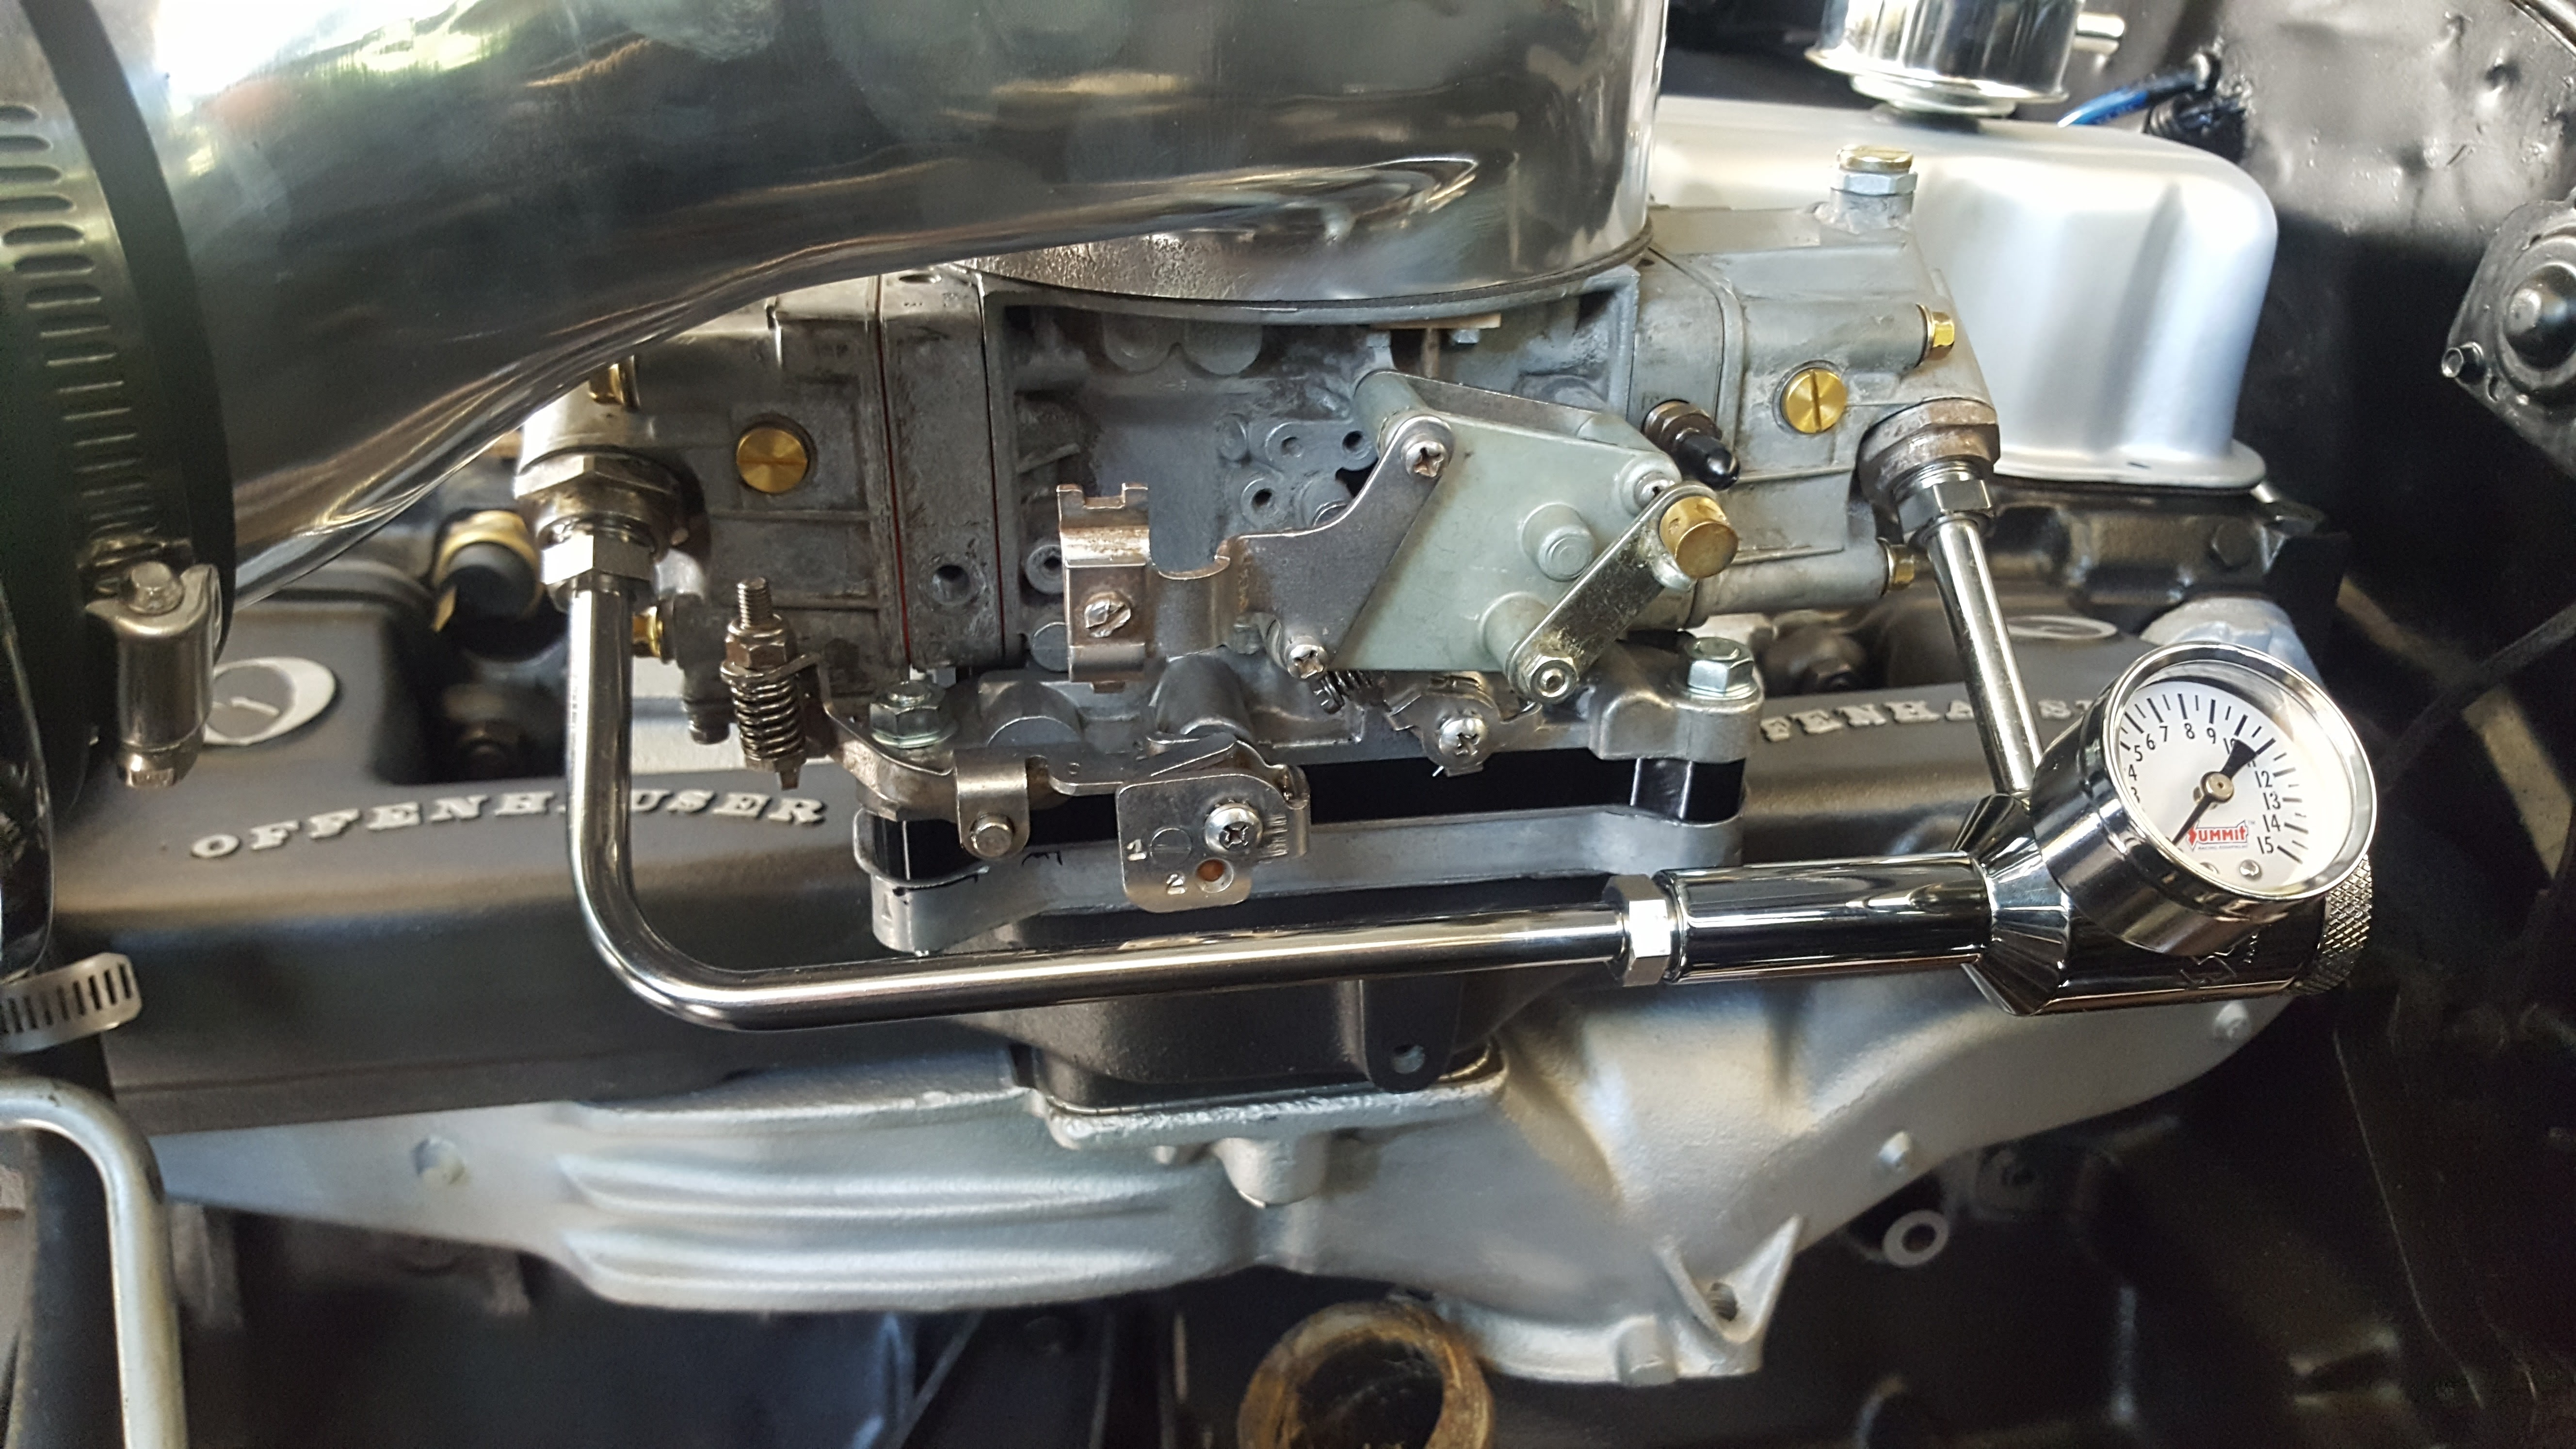
Final manifold setup: Offenhauser 5416, Trans-Dapt 2090, and Holley 4776
After 30 minutes of break-in revving between 2500-3000 RPM, the rebuild was deemed a success. This engine is now a solid platform for the upcoming alcohol injection and turbocharger upgrades.